Tuesday, February 26, 2013

Homemade Cheese

My kitchen productions have been pretty mediocre as of late.

I've been traveling a lot and incredibly busy with school and work.  And it's really interfering with my kitchen time.  I've felt kind of blah about the things I've been making and I really needed a pick me up.

And last night I found it.
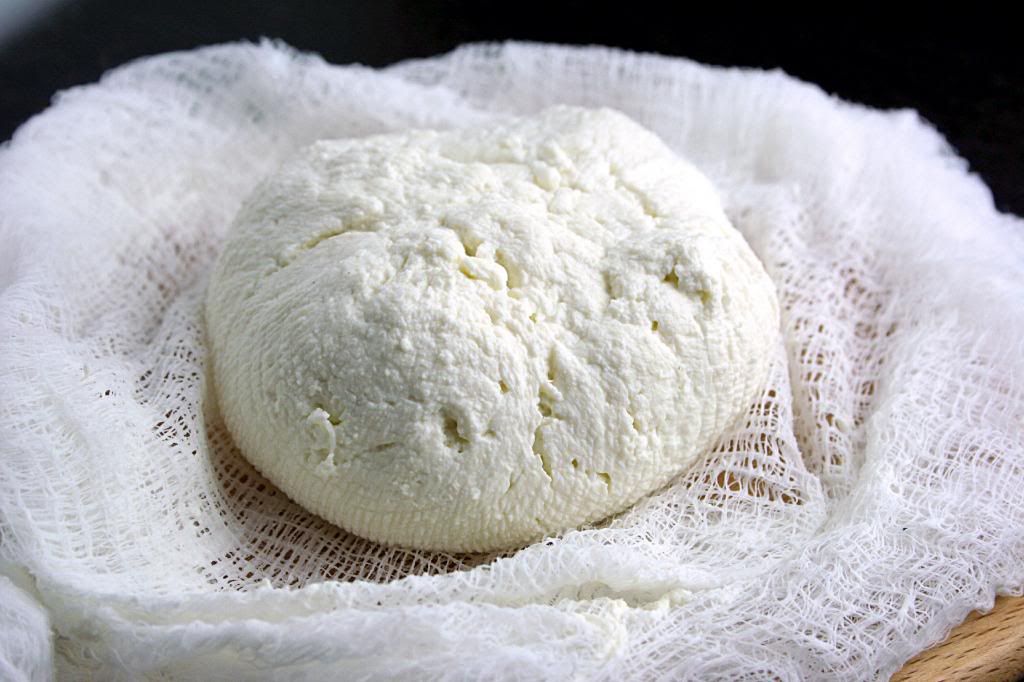


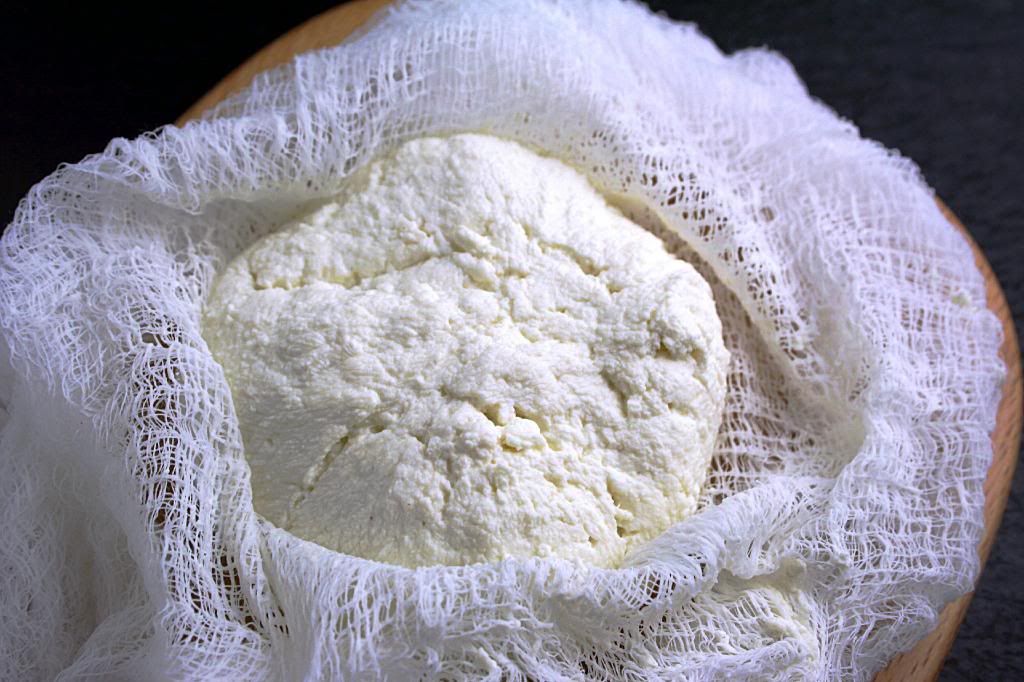
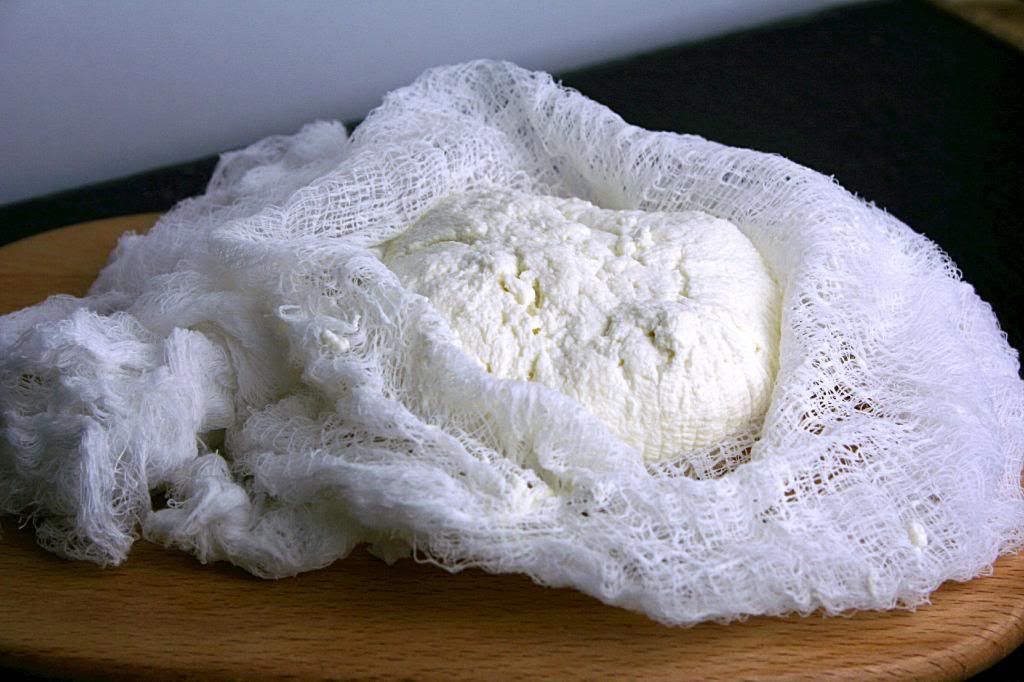
Homemade cheese was the answer.

I nervously stood within 5 feet of the milk to make sure it didn't get too hot (for 45 minutes...not a waste of time right?) and then poured in the vinegar and paced the kitchen for 8 minutes praying that it would actually curdle.  But then there were the tears of joy that started streaming when I went to stir and found beautiful curds (hate that word) swimming around.  Tears pre-taste test is an automatic win.

Who knew a half gallon of milk, some vinegar, and a bit of salt could put such a shining smile on my face?

After I sprinkled it with a bit of salt and tested it out I decided I needed to go a step further.  But not because it wasn't delicious.  Because I was excited.  And didn't want the process to end.

So I marinated the baby cheese in olive oil and herbs.

And...Oh...My...Goodness.  You can't understand until you make it yourself.

So do that.
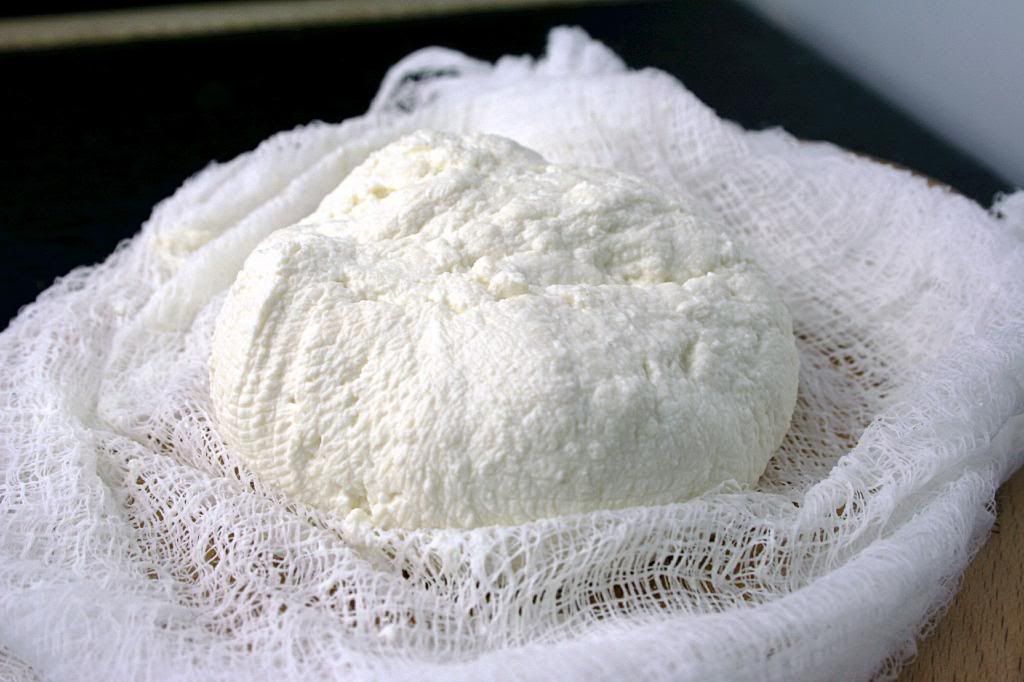


Makes: approximately 3/4 lb cheese
Cook Time: 45 minutes + 8 minutes for curdling
Strain Time: 15 minutes
Total Time: 1 hour 8 minutes

{Printable Recipe}

Ingredients:
1/2 gallon whole milk (not ultra-pasteurized)
1/6 cup apple cider or white vinegar
kosher salt
(cheesecloth)

Directions:
  1. Pour milk into a large nonreactive pot and set over low to medium-low heat.  Heat milk to 170-175°F stirring every so often.  This could take 45 minutes + but don't rush it!  If you don't have a thermometer to test the temperature every so often you can tell the milk is ready when little bubbles start to form on the sides of the pot and the top has a glossy but unbroken layer.  When it reaches this point remove from heat and add vinegar.  Let sit for 5-8 minutes to allow the curds to separate from the whey.
  2. Meanwhile grab your cheesecloth.  Make layers of 14 inch squares.  For a drier cheese use 2 layers and for a softer cheese use 6 layers.  I went for in the middle and used 4.  Place these layers in a strainer.
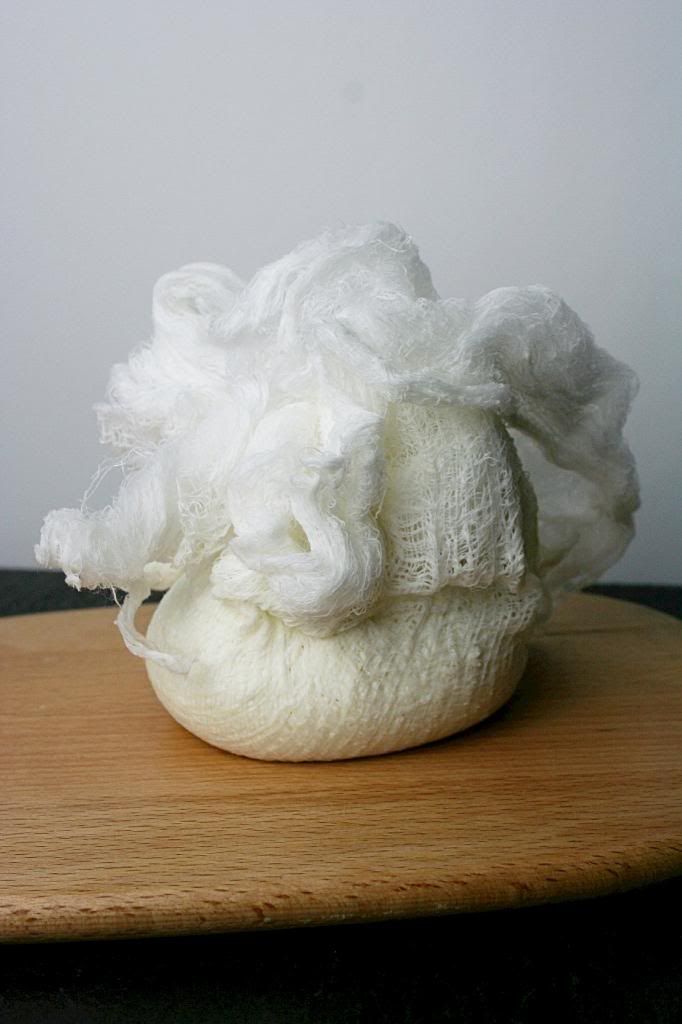
  3. After 8 minutes, spoon curds into cheesecloth over the strainer and push down lightly with the spoon to release some of the whey.  After all of the cheese is in the cloth, pull the top of the cloth together and tie in a knot.  Tie this to a wooden spoon and place over a pot to drain for 10-15 minutes.  The longer you let it drain the drier it will be.
  4. Remove from cloth and add kosher salt to taste.
  5. Add herbs (recipe below) or keep it as is.
  6. Place in an airtight container and store in the refrigerator.
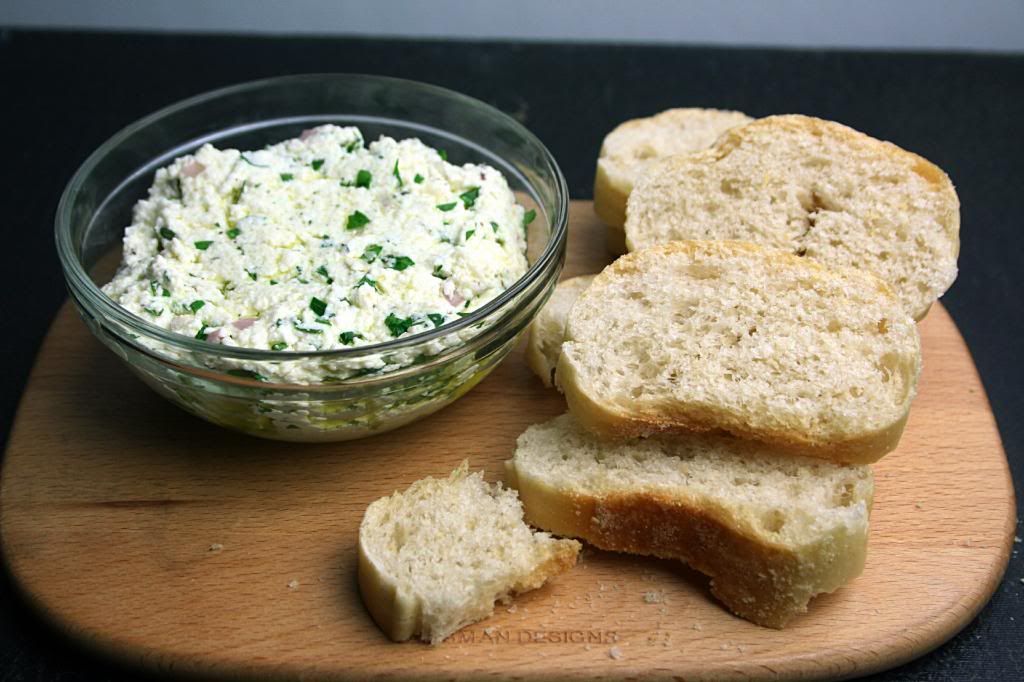


Marinated Cheese

Ingredients:
1/2 - 3/4 lb homemade cheese
1/4 cup extra virgin olive oil
2 teaspoons fresh parsley, minced
2 teaspoons fresh mint, minced
2 teaspoons shallot, finely minced
1 teaspoon fresh chives, minced
1/2 teaspoon fresh thyme
salt and pepper to taste

Directions:
  1. Mix everything in a bowl.  Season to taste with salt and pepper.


Monday, February 25, 2013

Giveaway Winners Announced

Due to an incredible, but very late evening at a Spirit Family Reunion show last night in Portsmouth, NH there will be no Meal Plan Monday this week.

But don't fret.  Sometimes there are better things than Meal Plan Mondays.

Like...Spirit Family Reunion.

 
You love them right? And what about giveaway winners?!  I think those are pretty great too.
So a big thank you goes out to everyone who entered the giveaway last week!  I've said it before but I wish you could all win.  Because that would be beyond wonderful.  But...that's not possible...so the winners are...

Oliva from Life as Liv and Dana T who is a fellow Boston blogger!  Congratulations to both of you!  If you'll get in touch with me I'll get your beautiful new cookbooks in the mail as soon as possible!

And for everyone else...stick around!  There should be some new recipes coming soon!

Monday, February 18, 2013

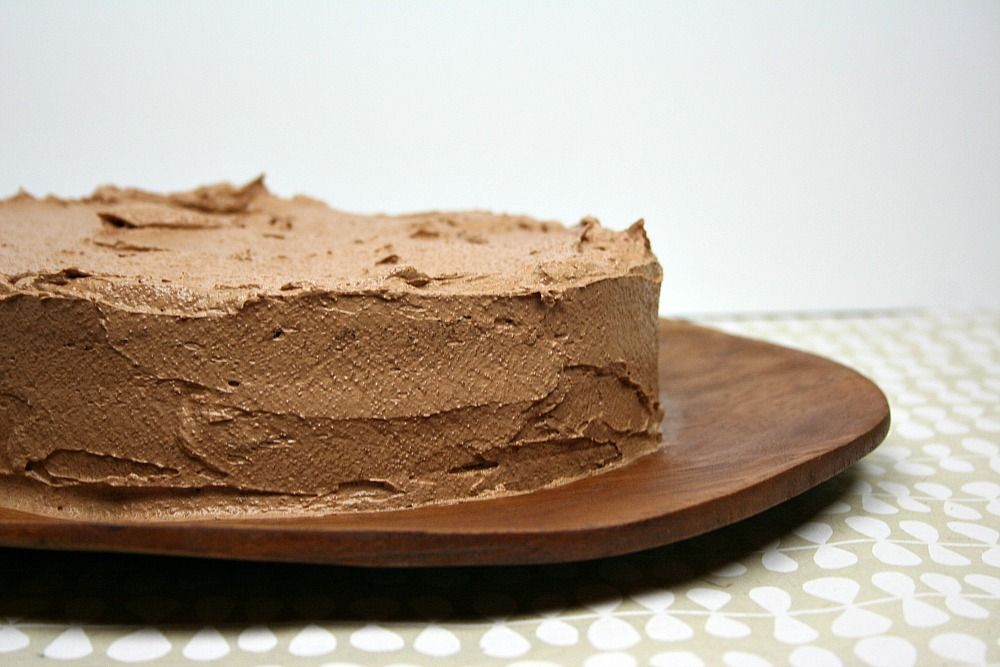
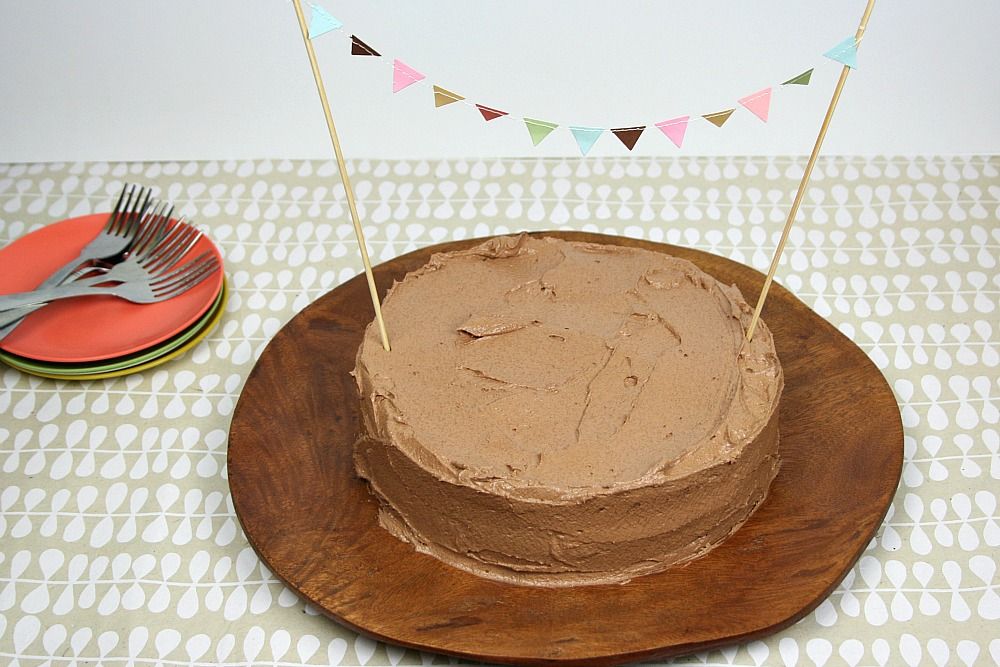
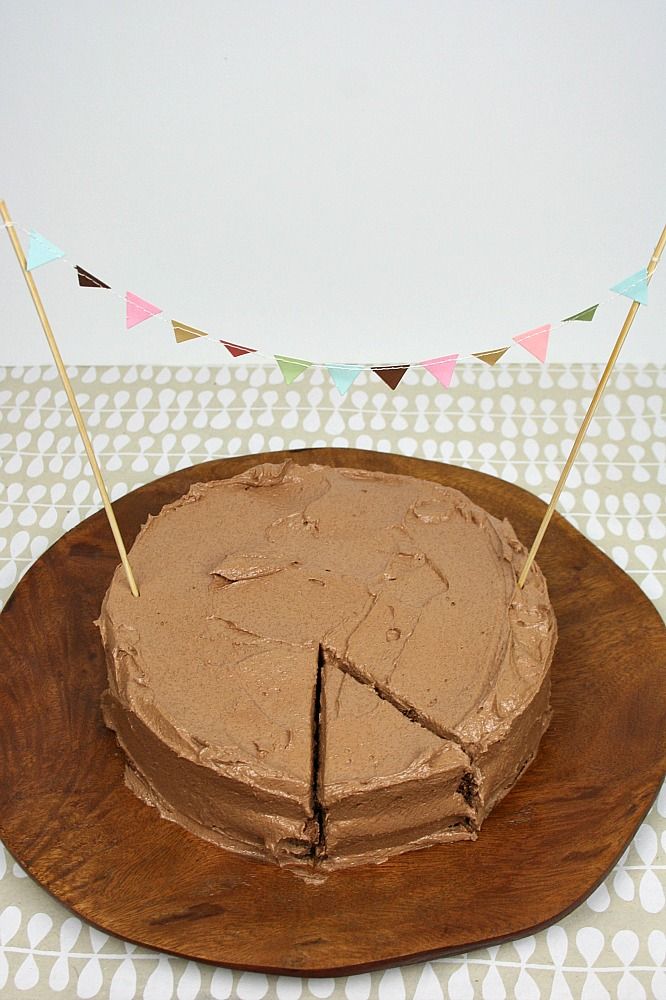
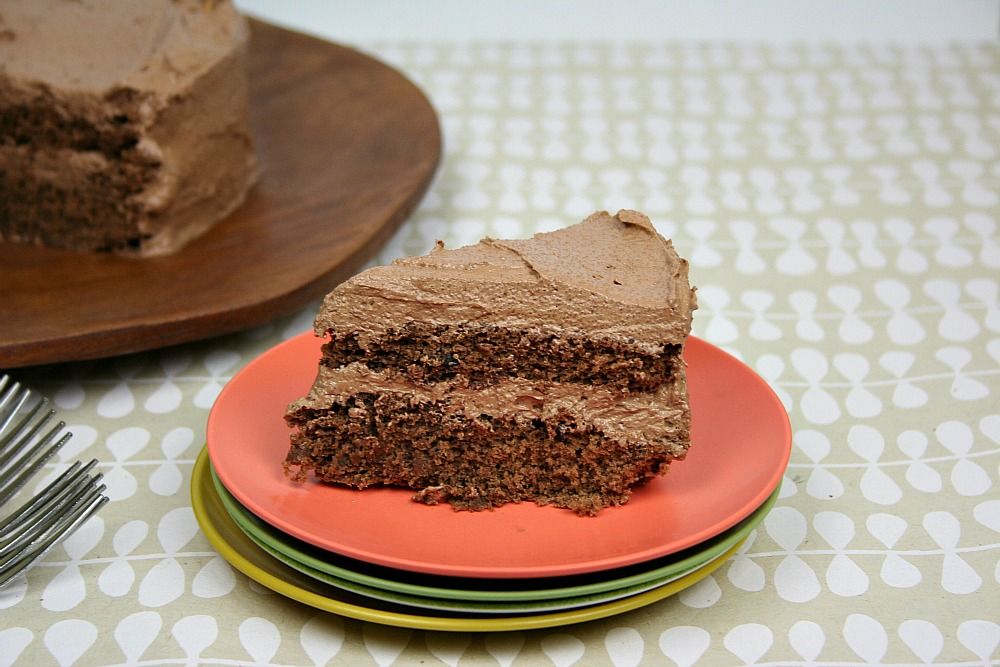
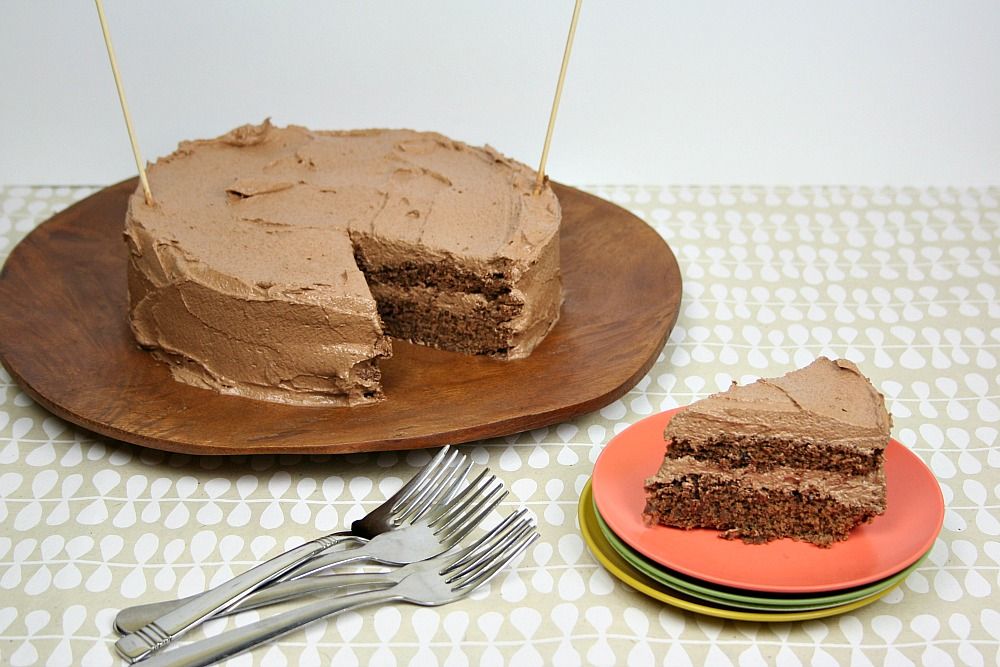
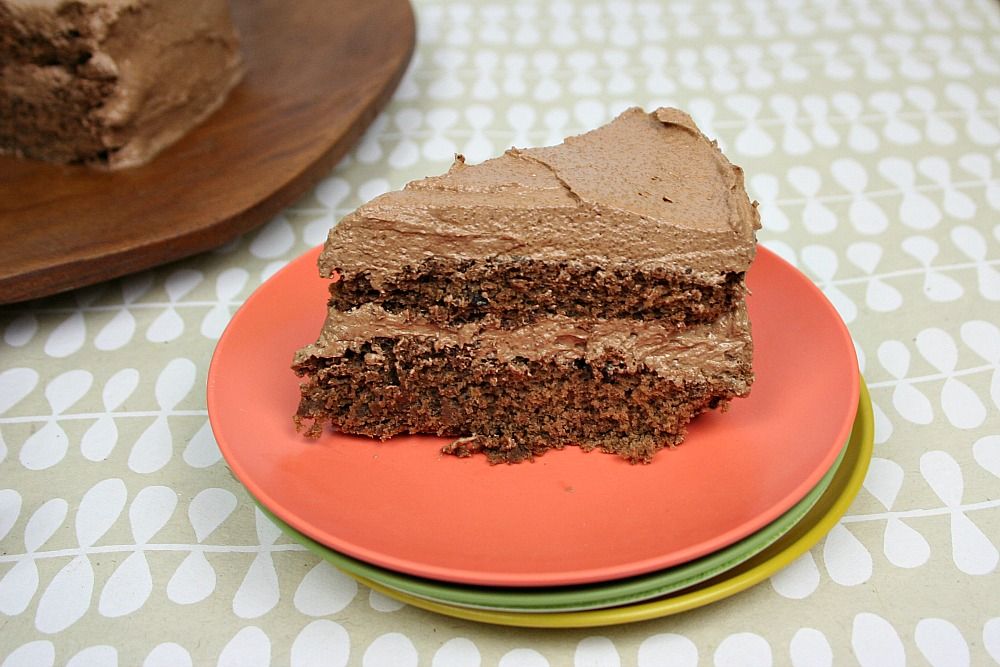
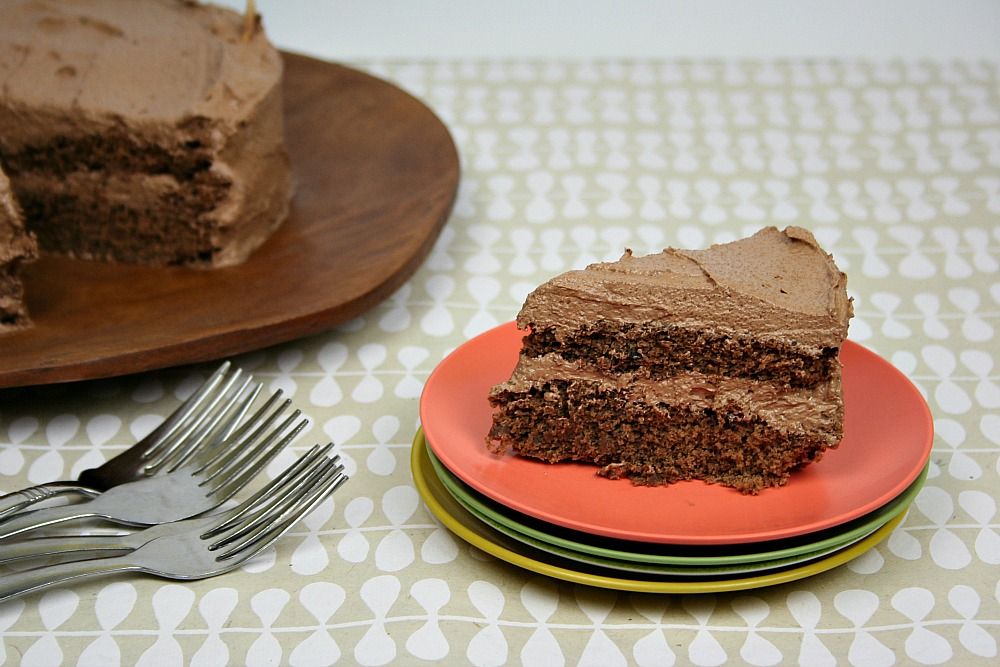
SFF's 2nd Birthday, a Chocolate Fudge Cake, and a giveaway!

I feel like it was just yesterday that I was writing {this} little post.

But it's been whole year.  And guess what that means? This little blog is turning two today!

Two.

Can you believe it?  Because I can't.

It's been such a great adventure.  Making food.  Getting to know you.  Learning about the wild world of food photography.  Destroying my teeny kitchen on a daily basis.  Creating recipes.  Hearing how much you love a recipe.  Pulling my hair out after a recipe goes bad and I really need to "blog about it".  Submersing myself in a food culture that I could've never dreamed of.  Teaming up with other bloggers.  Eating glorious food...

I could go on and on.

But I won't because there are cake and presents to be had.

Just know.  I love this little blog.  And I adore you even more for reading.  Because without you I wouldn't be sharing these things.  So thank you.  You're the best readers ever.  And I hope you'll stick with me as this little thing continues to grow.
 
Now for the good stuff.  I've said it before, but a birthday wouldn't be complete with out cake and presents.  Obviously.

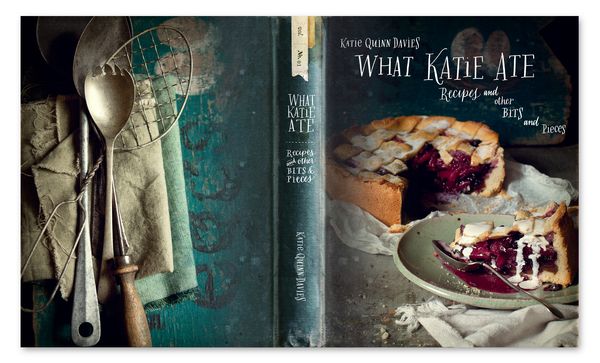
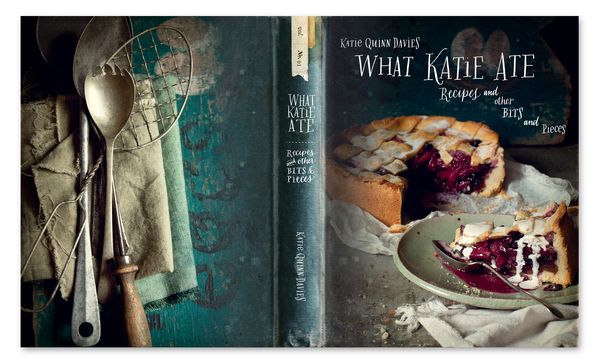
So, today in celebration of year number two, I'm giving away two copies of Katie Quinn Davies's Cookbook, What Katie Ate: Recipes and other Bits and Pieces to two lucky lucky ducks.

Seriously though.  Have you seen this thing?  It's beautiful.  Beyond beautiful actually.  Please go take a peek.  Click here...now...please?

Okay so now you're in love and need the cookbook.  Well here's how you can get your paws on it:

1 - Follow this blog (using Google Friend Connect on the left hand side of the screen or follow by email directly under GFC)
2 - Leave me a comment.  No stipulations.  No questions to answer.  Just tell me something.  Anything.

And then of course to receive extra entries:
1 - Tweet about this giveaway and include @emilie_bell
2 - Share the giveaway on Facebook
3 - Follow me on Bloglovin

Just make sure to leave a SEPARATE comment for each entry so that I can put your name in multiple times! 

The giveaway will close on Sunday February 24th at midnight so don't be late!

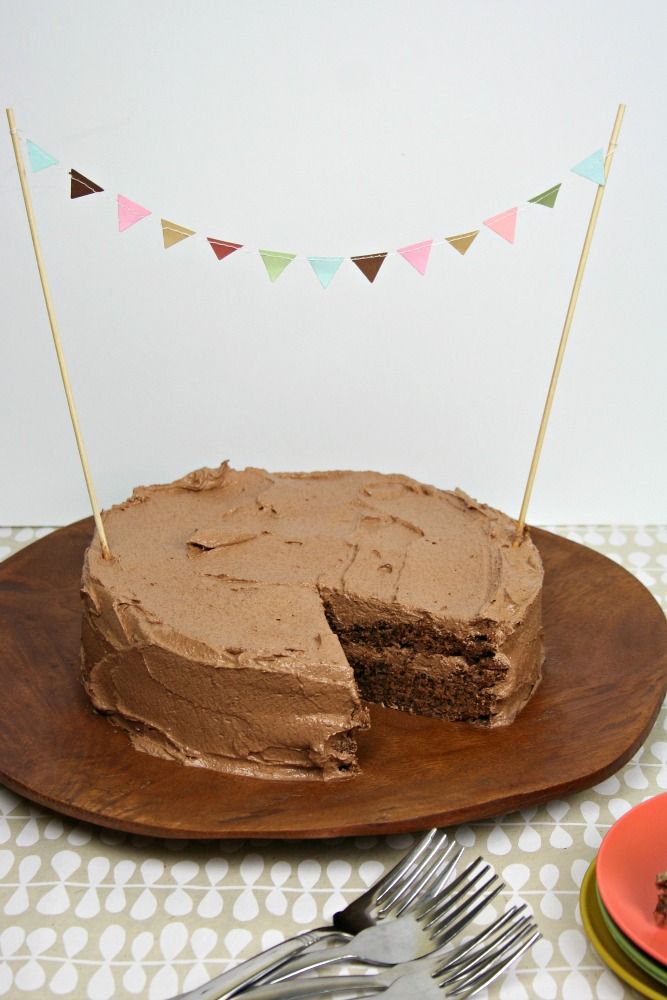
Now the super delicious cake.


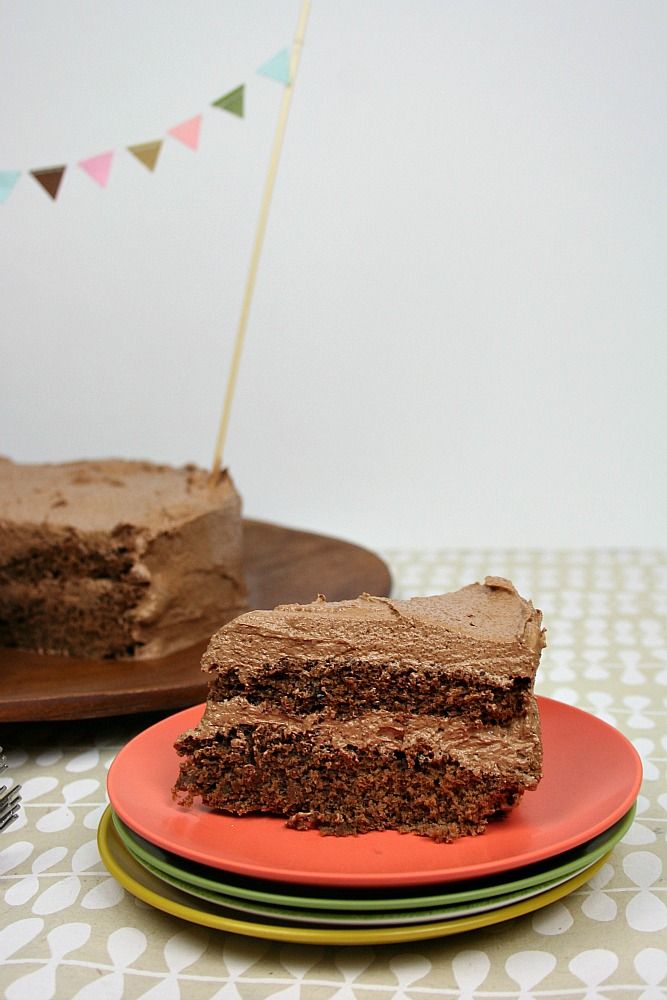
Chocolate.  Fudge.  Yum.  Drool.  Happy.  Birthday.


Adapted from What Katie Ate

Makes: 1-9inch two layer cake
Prep Time: 20 minutes
Bake Time: 40 minutes + 20 minutes cooling time
Total Time: 1 hour 20 minutes

{Printable Recipe}

Ingredients:
for the cake-
1 1/4 cup self rising flour
1/2 cup sugar
1/2 cup brown sugar
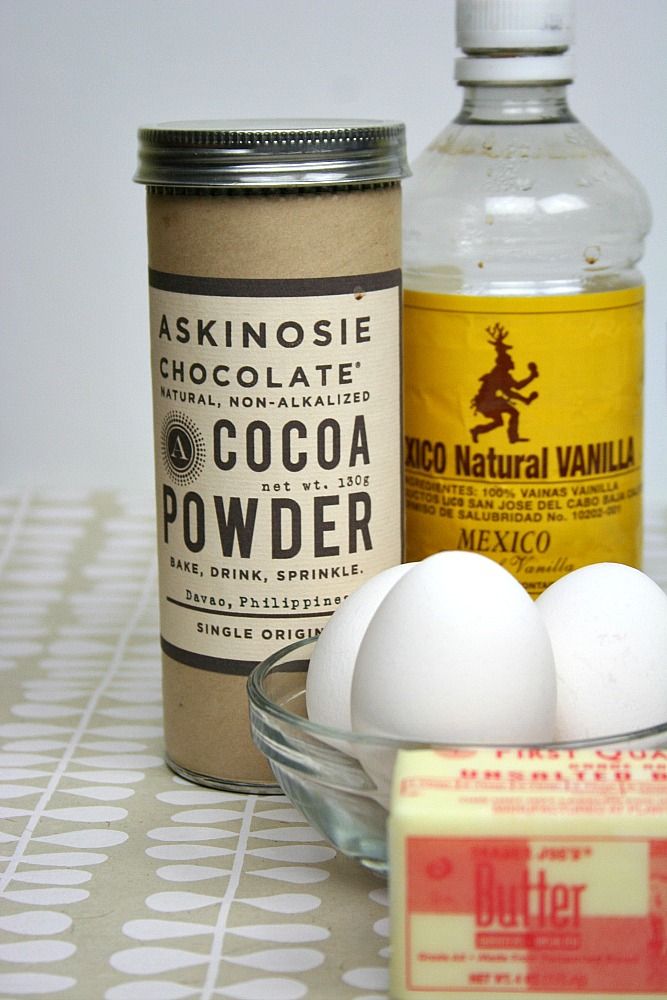
4 tablespoons butter, melted
1/2 cup good quality cocoa
1 teaspoon vanilla
1 large tablespoon blueberry jam
3 eggs
1/2 cup milk

for the frosting-
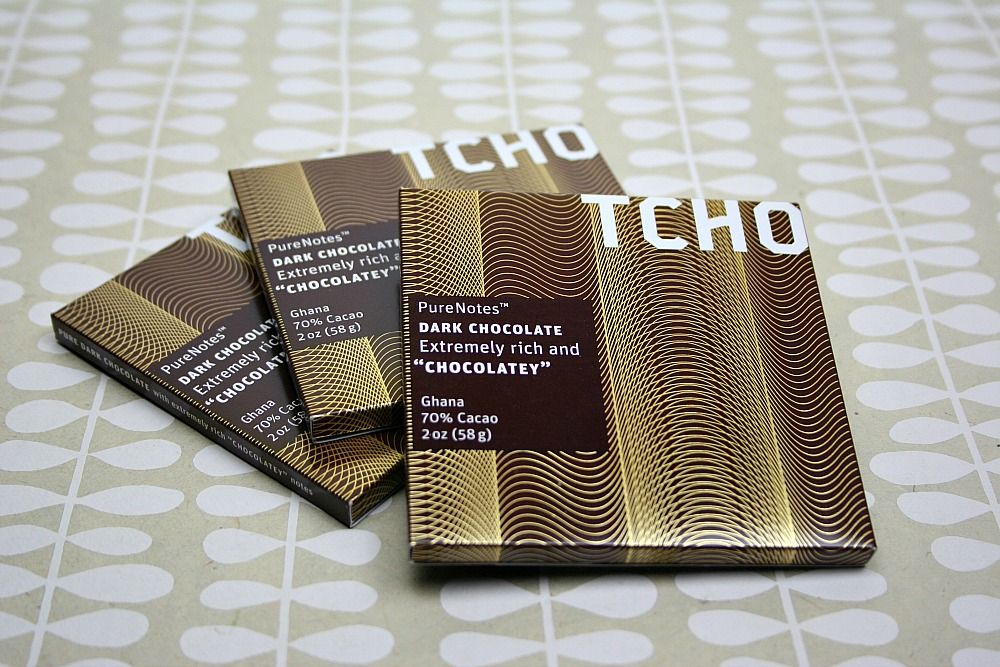
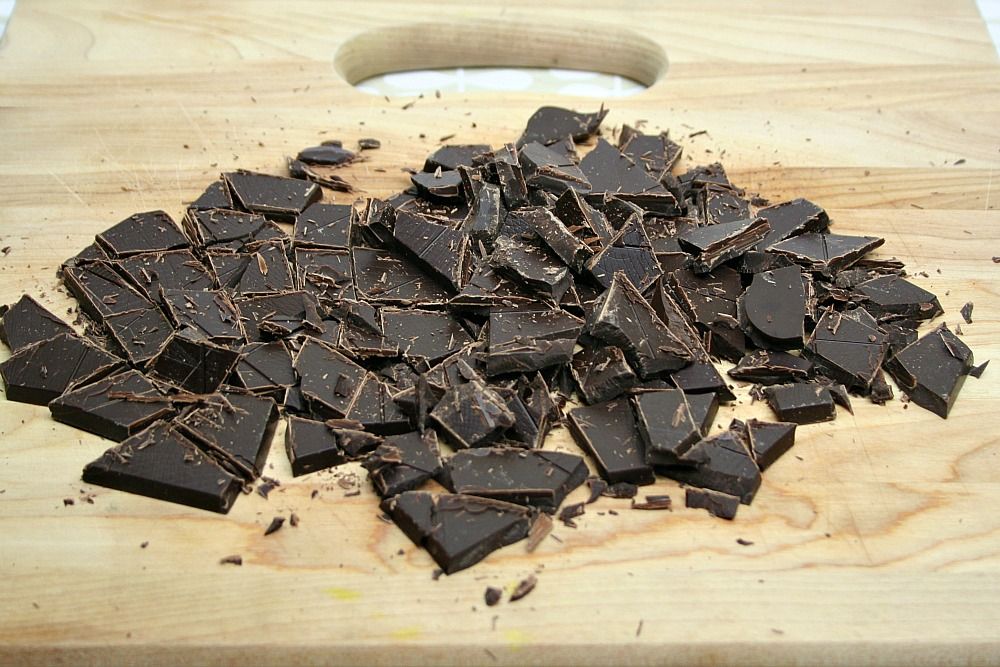
170 grams 70% chocolate
1 1/4 cups unsalted butter
1 1/4 cups sugar
1 teaspoon vanilla
1 tablespoon strong coffee 

Directions:
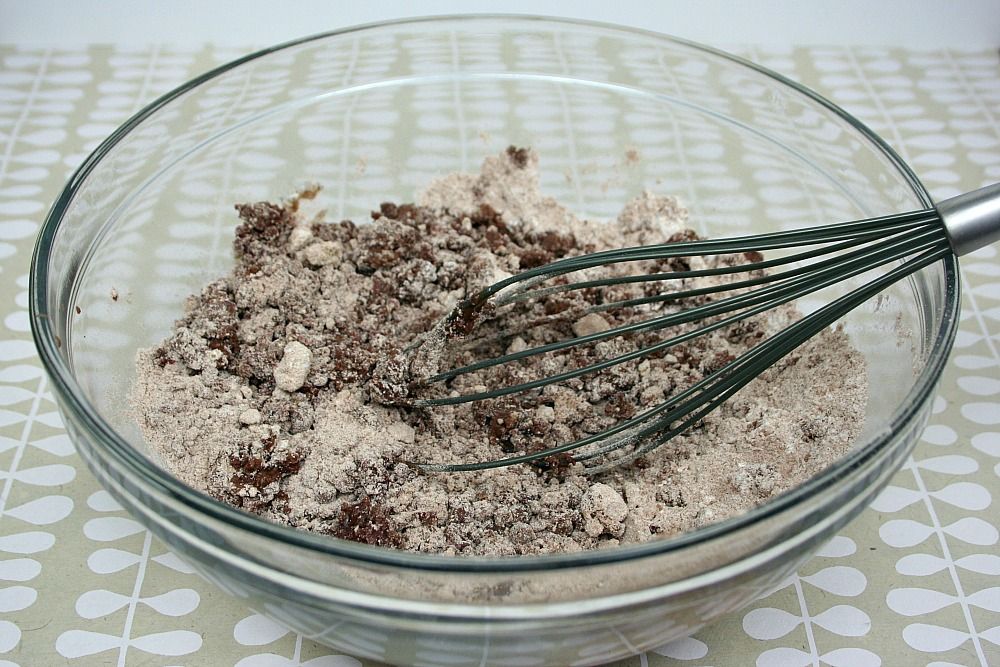
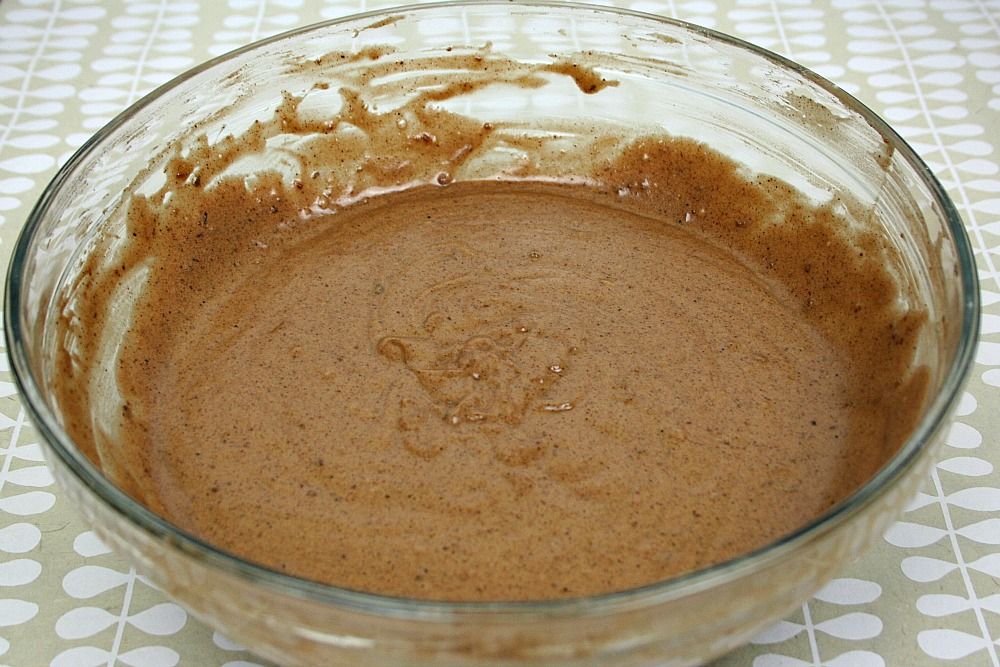
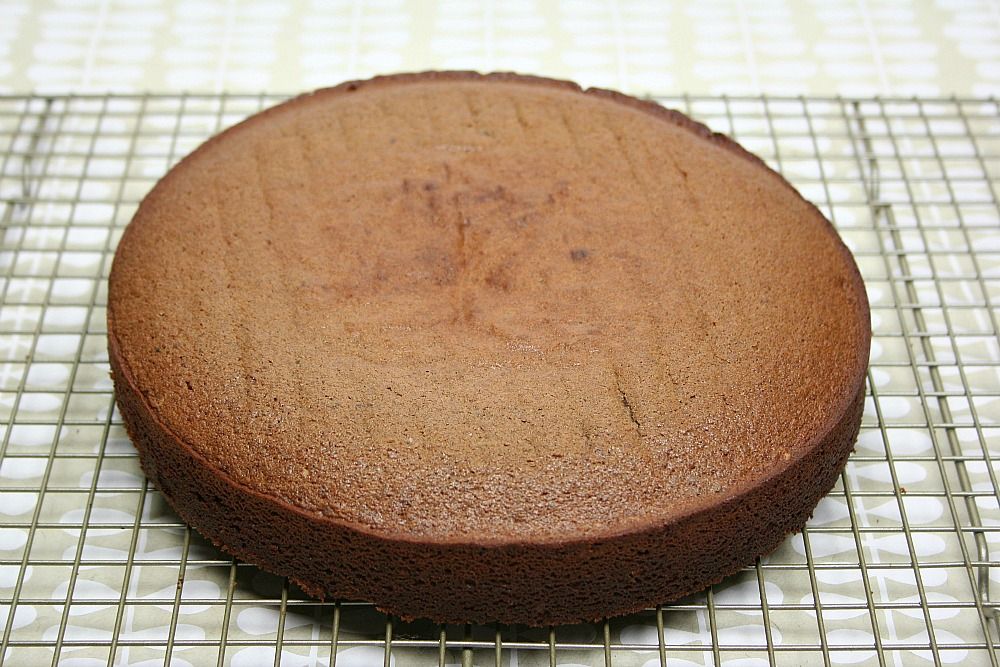
  1. Preheat oven to 325°.  In a bowl combine the cocoa, sugar, brown sugar, flour, vanilla, melted butter, and jam.  Whisk to combine.  Add the eggs one at a time, mixing after each addition and then pour in the milk.  Mix until batter is smooth.  Place mixture into a greased 9" round cake tin and bake at 325° for 35-40 minutes or until the center of the cake springs back when touched.  
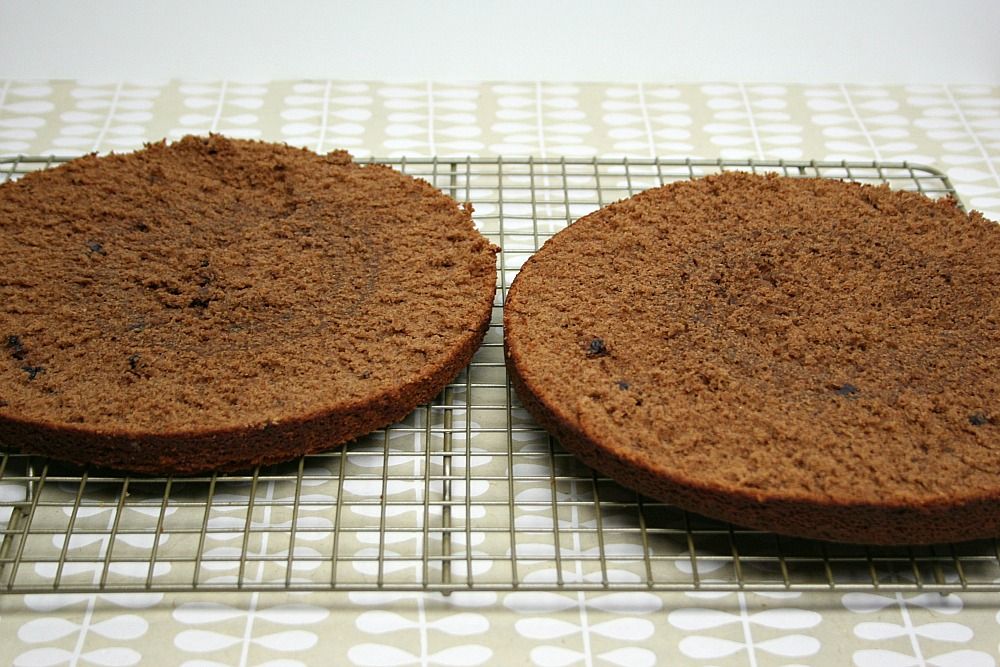
  2. Remove from oven and let sit for 10 minutes.  After 10 minutes turn onto a wire rack and allow to cool completely.  Once cool, slice in half horizontally to make two layers.  (If you want a three layer cake, make double of the above mixture and divide into 3 tins, cooking each layer separately.)
  3. To make the frosting, combine butter and sugar in a bowl and beat with a mixer until smooth and creamy.  In a separate bowl melt the chocolate over a pan of lightly simmering water, making sure to keep a close eye on the chocolate.  Once the chocolate has melted, remove from heat and add the vanilla and coffee, mixing it all together.  It will get lumpy but don't worry!  Add this to the butter/sugar mixture, beating on low speed until the frosting is glossy and smooth.
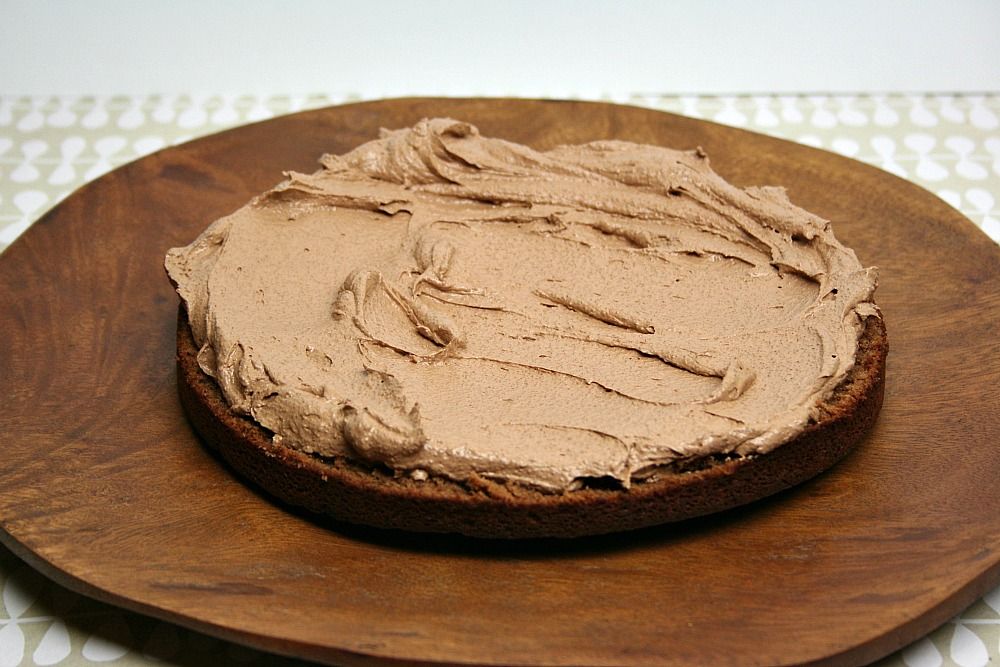
  4. To frost, place the first layer on a cake place and spoon icing onto the top.  Spread evenly and start to bring it down the sides with a knife or spatula.  Place the second layer on top and repeat with the remaining frosting until the entire cake is covered.


Related Posts Plugin for WordPress, Blogger...