

I still don't eat a ton of bread but interestingly enough, I find homemade bread to be one of the best and most fascinating things to bake. Dough is so incredibly temperamental. Everything has to be just right in terms of ingredients and temperatures. And by making homemade doughs time and time again, you begin to learn all of the little secrets and start to be less reliant on recipes and more reliant on your senses. It's such a captivating process. And you end up feeling like a rocket scientist.
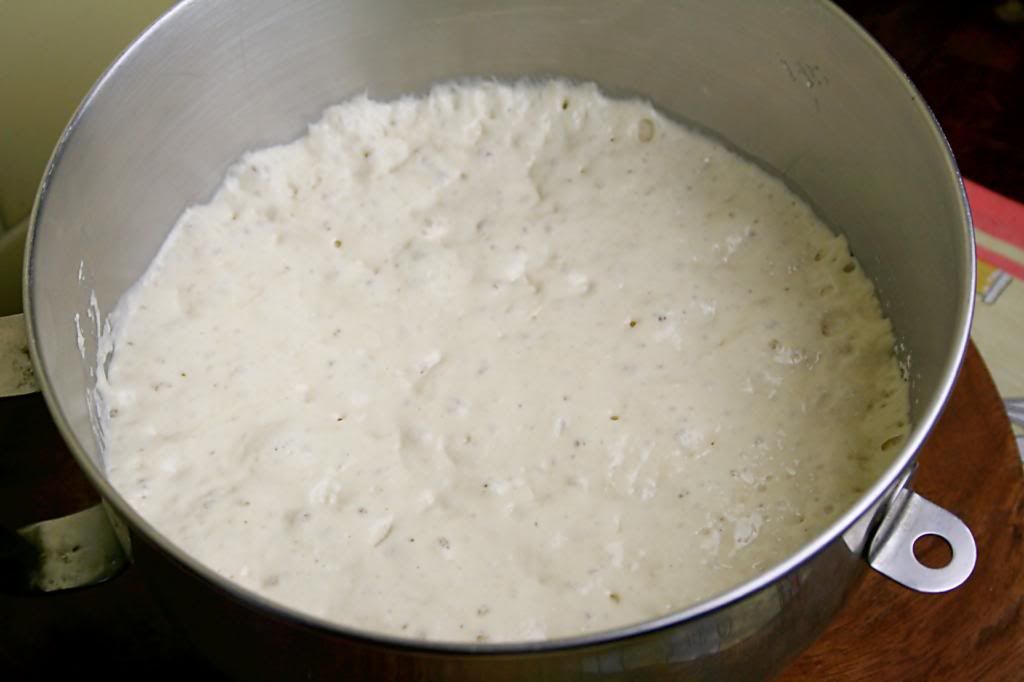
So even though my childhood would not deem me as a "bagel" person, I may have become one the moment I walked into my kitchen to see my "mother dough/sponge" almost overflowing out of the bowl and bubbling like crazy. I ran around the house and made everyone watch the bubbling bread bowl. However, no one was nearly as excited as I was.
Granted, they've seen a bread sponge before...but so have I...many, many times. And it's still just as thrilling as the first time.
As you can imagine after my excitement over just the sponge, the whole process of forming the bagels, proofing them, doing a float test, boiling them, and then baking them was almost more than I could handle. Especially the boiling part. Boiling bread dough is just not something you do often...so of course it was a highlight.
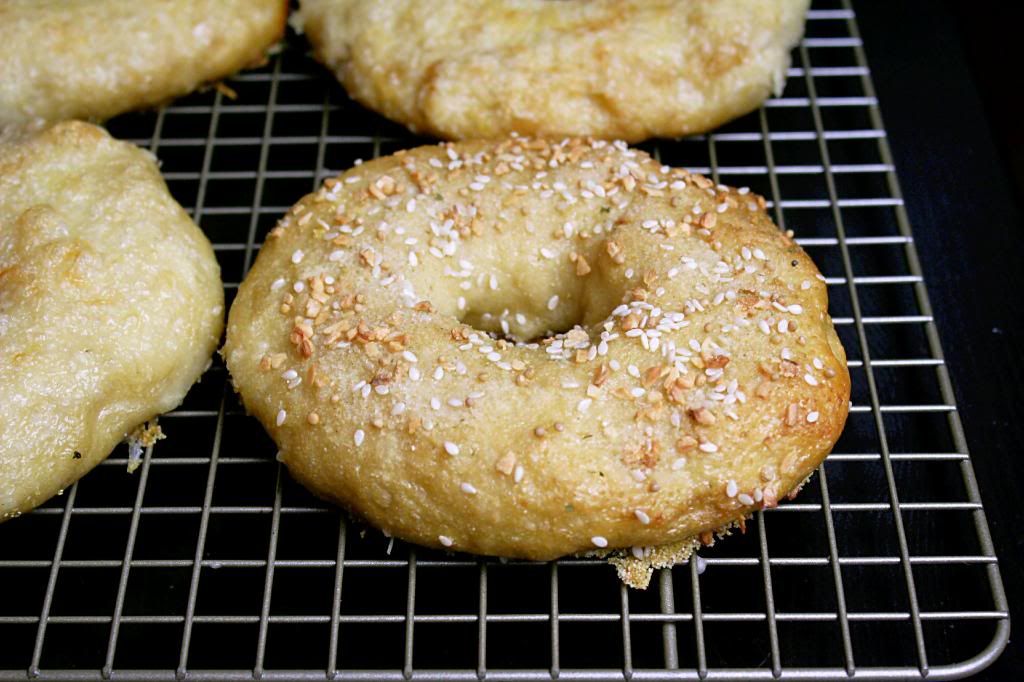
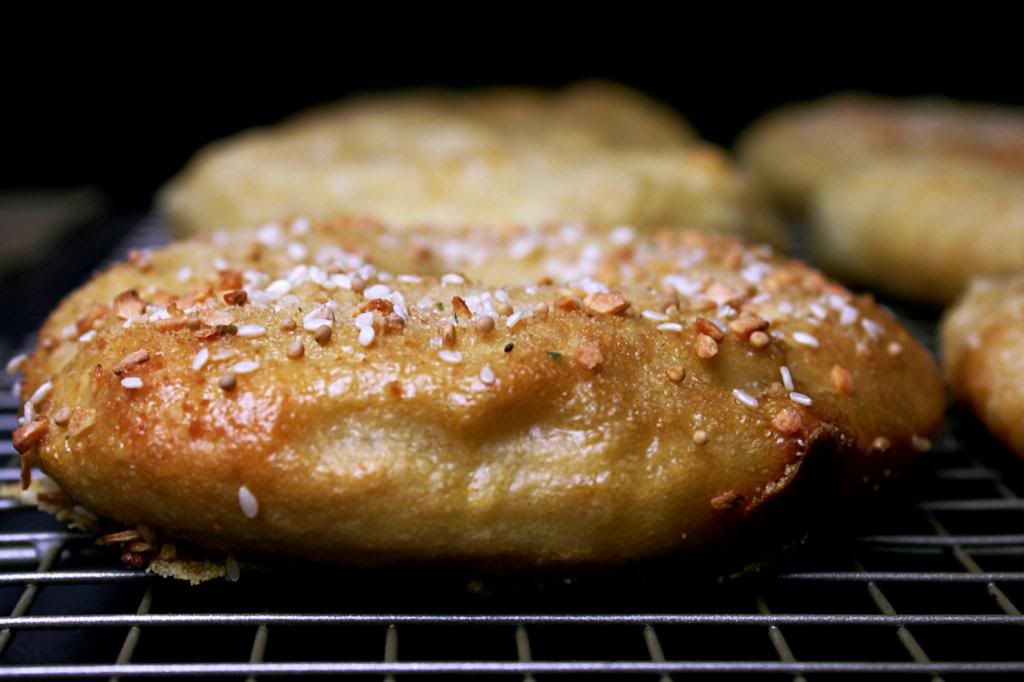
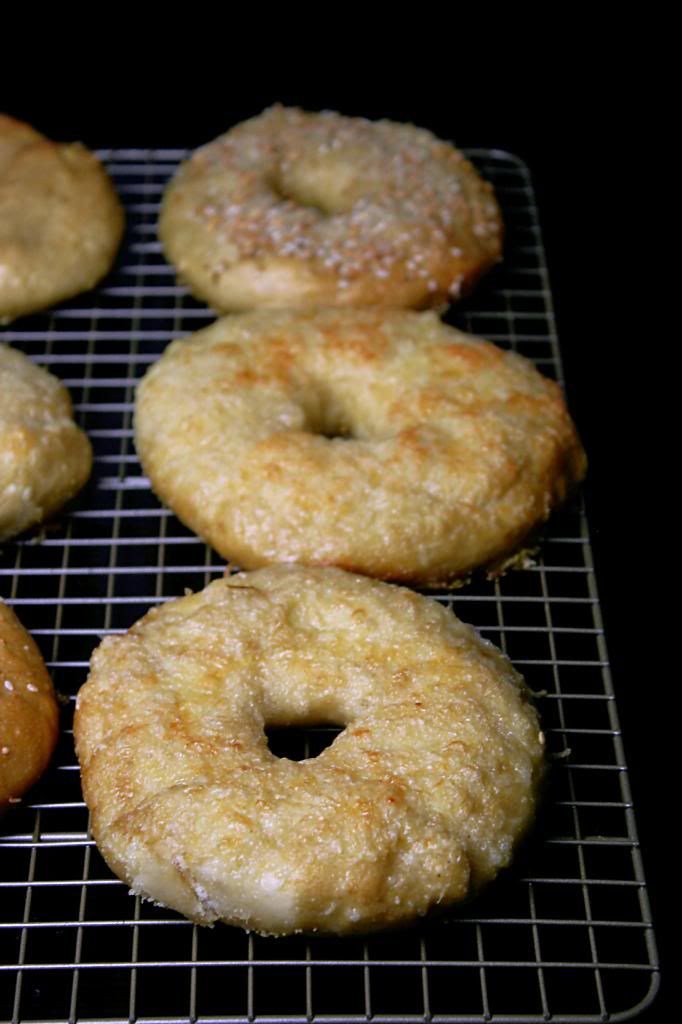
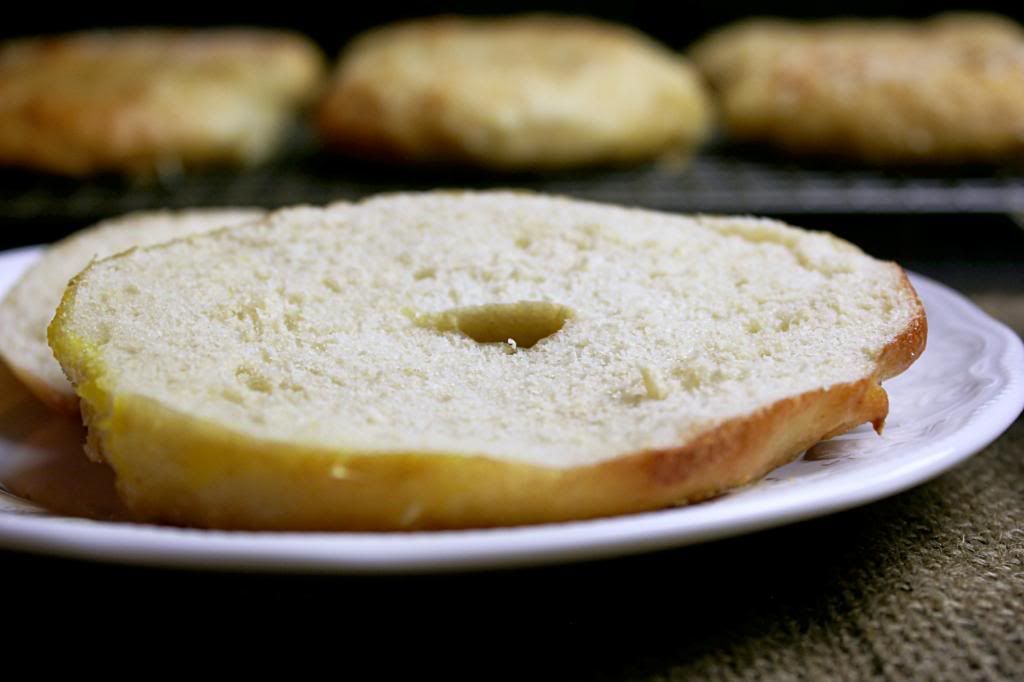
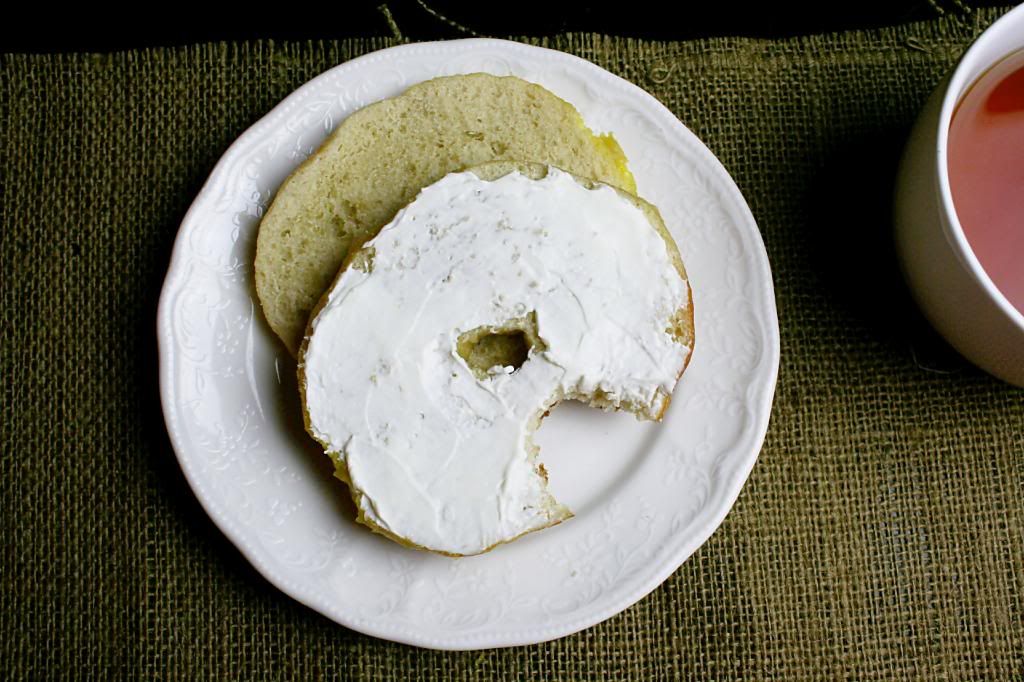
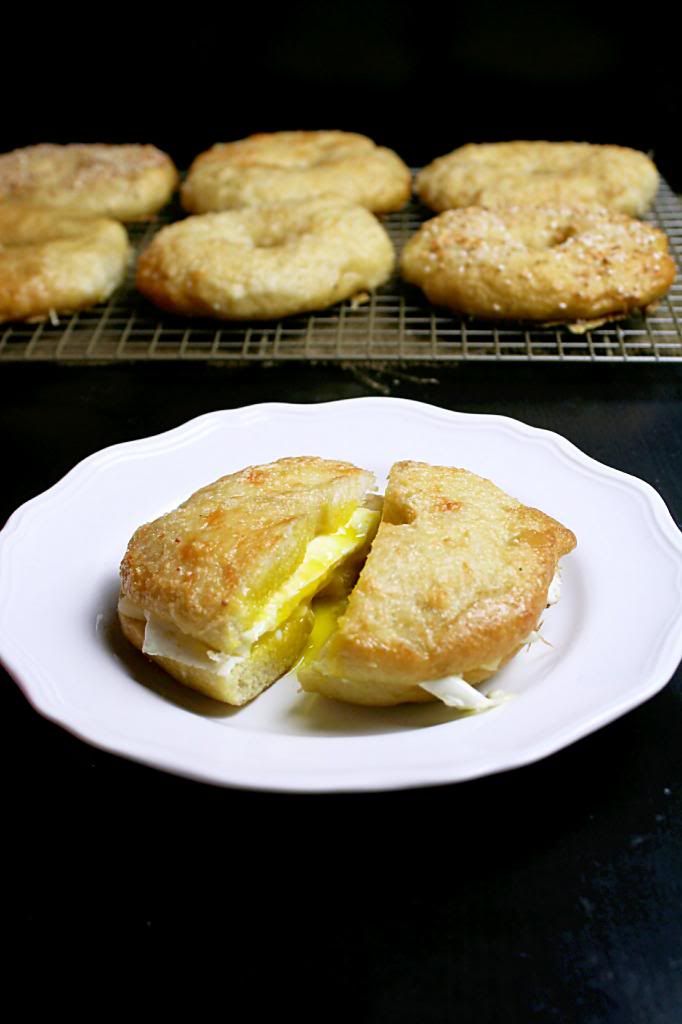
Unfortunately I can't give you a big comparison between these bagels and all of the other bagels I've had (but Smitten Kitchen can!). But from all of the oooh's and aaah's and other expletives that rang in my ears while the herd was devouring the bagels straight off the hot pans, I'm going to go ahead and tell you that these are some of the best bagels ever. They are the perfect combination of chewy on the outside and soft on the inside with neither being too much. Needless to say...they blow store bought bagels out of the water. But that was to be expected.
I know they take a while. But oh goodness. They're worth it.
Adapted from Peter Reinhart's The Bread Baker's Apprentice via Smitten Kitchen
Makes: 12 standard or 24 miniature bagels
Prep Time: 3 hours 30 minutes + overnight refrigeration
Cook/Bake Time: 40 minutes (boiling + baking)
Total Time: 4 hours 10 minutes + overnight refrigeration
{Printable Recipe}
Ingredients:
for the sponge-
1 teaspoon instant yeast
4 cups unbleached bread flour
2 1/2 cups water, at room temperature
for the dough-
1/2 teaspoon instant yeast
3 3/4 cups unbleached bread flour
2 3/4 teaspoons salt
2 teaspoons malt powder OR 1 tablespoon dark or light malt syrup, honey, or brown sugar
to finish-
1 tablespoon baking soda
cornmeal for dusting
1 egg
1 tablespoon water
toppings (I did a combination of asiago, everything, and plain bagels. For the everything bagels I used 2 teaspoons each of minced garlic, dehydrated onion, salt, mustard seeds, and sesame seeds.)
Directions:
- Day one: To make the sponge, stir the yeast into the flour in a large mixing bowl or the bowl of an electric mixer. Add the water, stirring until it forms a smooth, sticky batter. Cover the bowl with plastic wrap and leave at room temperature for approximately 2 hours, or until the mixture becomes very foamy and bubbly. It should almost double in size and collapse when the bowl is tapped on the counter top.
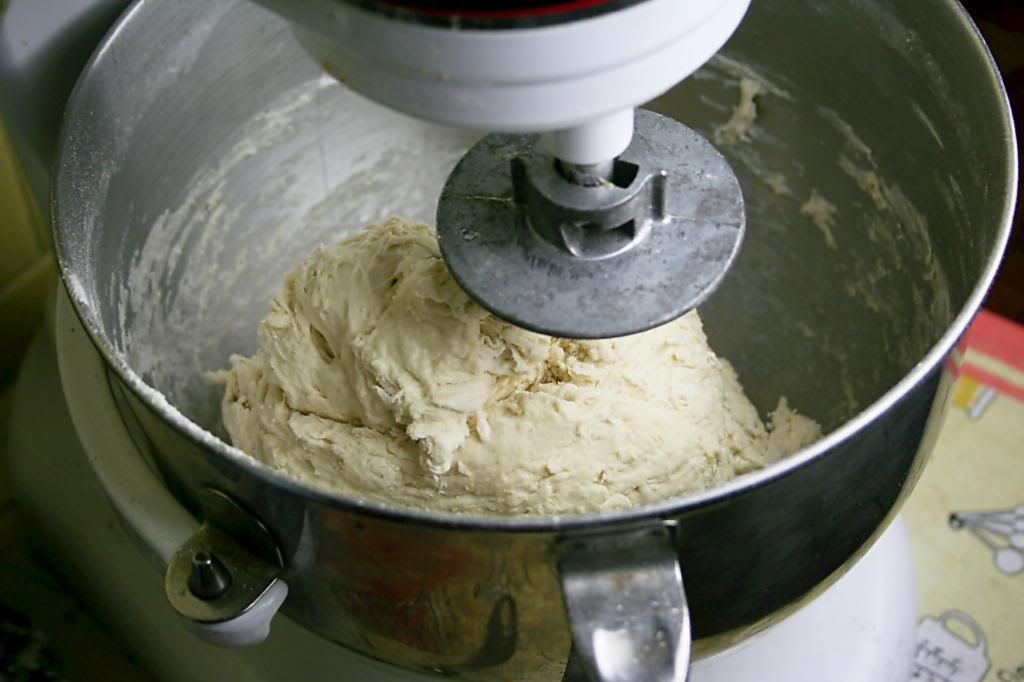
- To make the dough, in the same mixing bowl, add the additional yeast to the sponge and stir. Then add 3 cups of the bread flour, the salt, and malt powder (OR syrup, honey, or brown sugar). Stir until the ingredients form a ball, slowly working in the remaining 3/4 cup bread flour to stiffen the dough.
- If working by hand, transfer the dough to the counter and knead for at least 10 minutes. If using an electric mixer, knead for about 6 minutes. The dough should be firm but still pliable and smooth. There should be no raw flour and all of the ingredients should be hydrated. The dough should pass the windowpane test and register 71-77 degrees F. If the dough seems too dry and rips, add a few drops of water and continue kneading. If the dough seems tacky or sticky, add more flour to achieve the required stiffness.
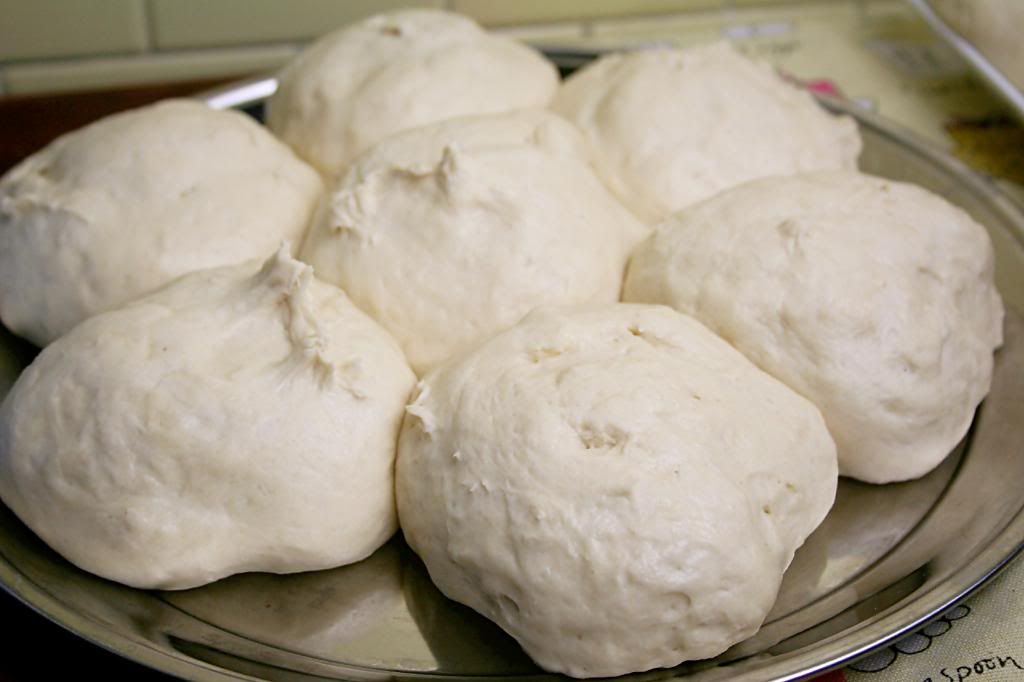
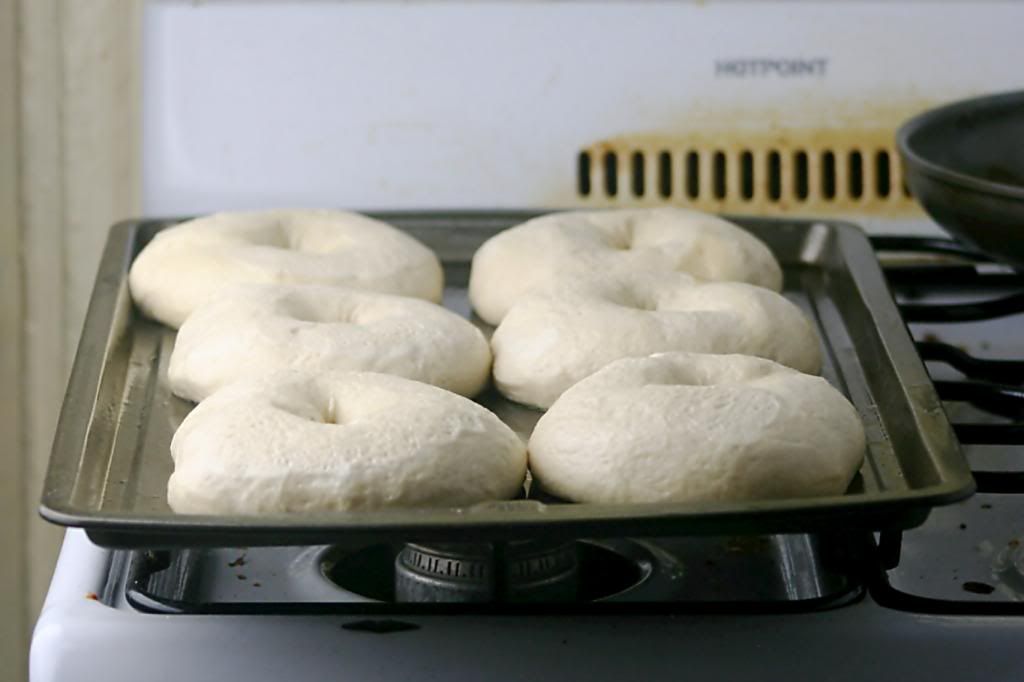
- Immediately divide the dough into 4.5 ounce pieces for standard bagels or 2.25 ounce pieces for miniature bagels. Weigh the pieces if possible to ensure even baking in the oven. Form the pieces into rolls and place on a baking sheet. Cover the rolls with a damp towel and allow them to rest for approximately 20 minutes.
- Line 2 baking sheets with parchment and mist lightly with spray oil.
- With your finger poke a hole in the very center of the ball. Gently rotate your thumb around the inside of the hole to widen it to approximately 2 1/2 inches in diameter. Be careful to keep the dough as evenly stretched as possible.
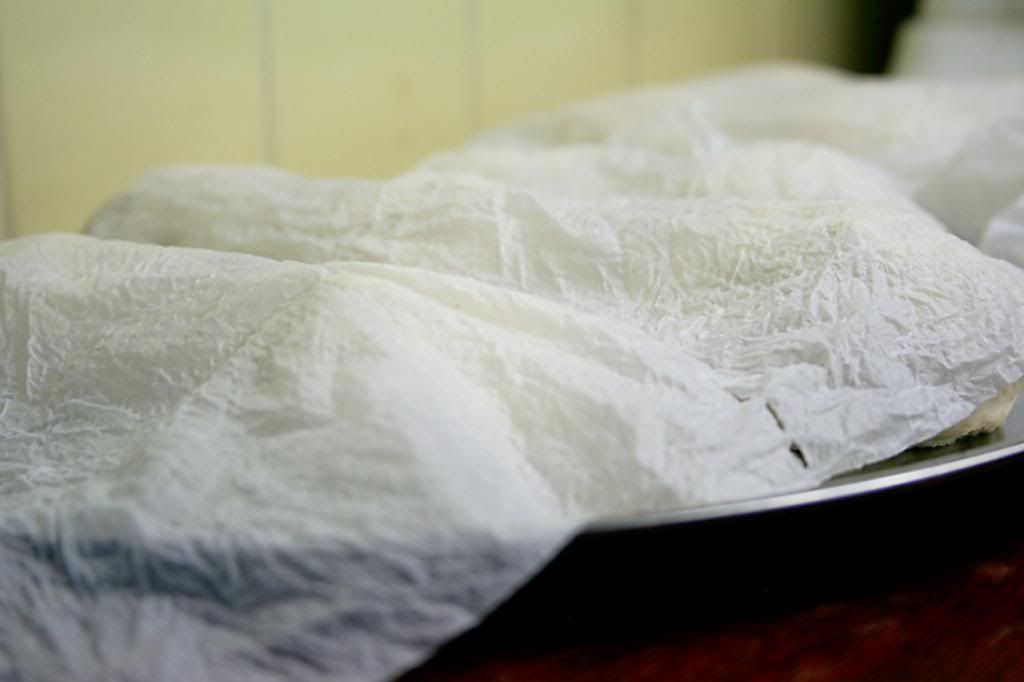
- Place each of the shaped pieces an inch apart on the pans and mist very lightly with the spray oil. Cover loosely with plastic wrap and let sit at room temperature for another 20 minutes.
- After 20 minutes check to see if the bagels are ready to be retarded in the refrigerator by using the "float test". Fill a small bowl with cool or room-temperature water and gently drop a bagel in the bowl. If the bagel floats within 10 seconds of being dropped into the bowl immediately return the bagel to the pan, pat it dry, cover the pan, and place it in the refrigerator overnight. If the bagel does not float return it to the pan and continue to proof the dough at room temperature, checking back every 10-20 minutes until a tester floats.
- Day two- preheat the oven to 500 degrees F with the two racks set in the middle of the oven. In a small bowl whisk 1 egg and 1 tablespoon water for the egg wash and set aside. Bring a large pot of water to a boil and then add the baking soda. Have a slotted spoon or skimmer near by.
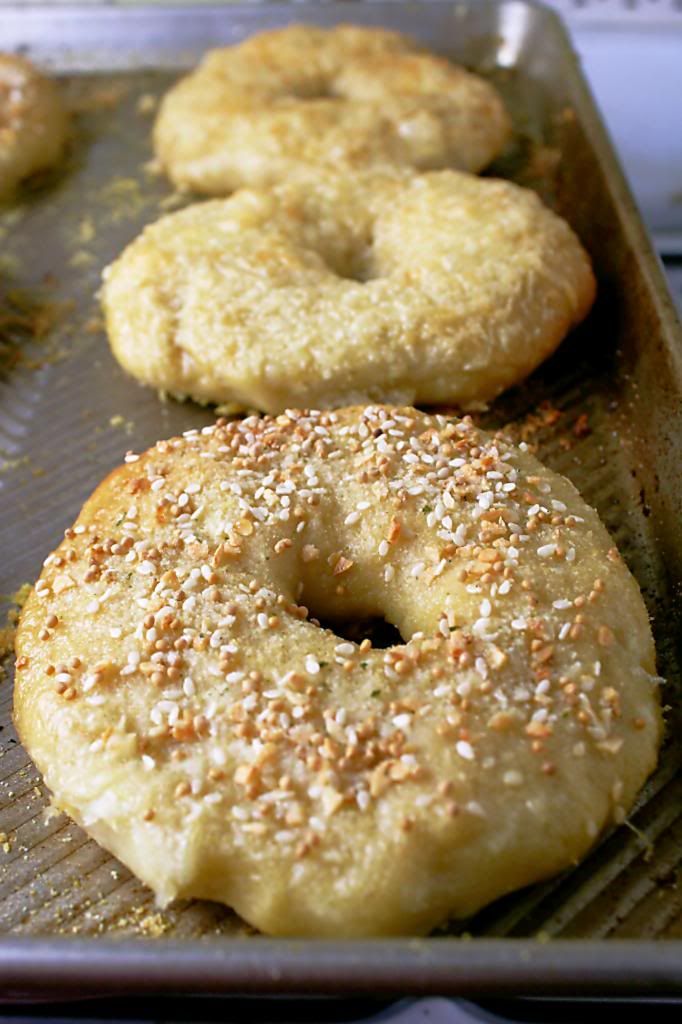
- Remove the bagels from the refrigerator and gently drop them into the water, boiling only as many as comfortably fit in the pot. After 1-2 minutes (I did 1:30 but wouldn't have minded 2 minutes) flip the bagels over and boil for the same amount of time. While the bagels are boiling, sprinkle the same parchment-lined sheet pans with cornmeal.
- As the bagels come out of the boiling water place them back on the cornmeal dusted baking sheets and brush with the egg wash before adding any additional toppings (like asiago or the "everything" mixture).
- When all the bagels have been boiled and properly "topped" place the pans on the 2 middle shelves in the oven and bake for approximately 5 minutes. After 5 minutes rotate the pans, switching shelves and giving the pans a 180 degree rotation. After the rotation, lower the oven setting to 450 degrees F and continue baking 8-10 minutes or until the bagels turn light golden brown.
- Remove the pans from the oven and let the bagels cool on a rack for at least 15 minutes before serving.

No comments:
Post a Comment