Showing posts with label baking. Show all posts

Thursday, March 27, 2014

Stone Fruit and Blackberry Cobbler with Cornmeal Drop Biscuits

*Awkwardly clears throat...*

Oh goodness.  Where should we even begin?  Do we need to re-introduce ourselves?

I'm Emilie.  And I'm a blog neglecter, deserter, sideliner, shunner....It's horrible.  But true.

The first step is admittance right?

As some of you will know, I've been away from this sweet little blog for almost seven months now. Good lord.  As I counted the months (on my fingers) just then, I realized I've surpassed the 6 month mark.  And that's just no good.  But today is my birthday and I decided that finally publishing a post would be the best present I could give myself!

So let's catch up a little bit shall we?

Last you heard, I had made the (tearful) move out of Boston and was on my way to Nashville via a little trip to Missouri.  Fast forward half a year and I have fully settled into Nashville and I'm soaking up every wonderful moment of it.

I must admit, this move to Nashville has turned out to be more than I could've ever hoped for.  Upon arriving I was immediately surrounded by a community of amazing people.  I don't just mean cheerful hospitable southerners.  I mean a mind blowing community of artists, musicians, foodies...you name it Nashville has it.  And I know, I know.  Those people are everywhere.  But there is something about Nashville and its attitude to come together, collaborate, and create amazing things that has me reveling.

In the five short months of being here, quite a few wonderful things have happened with thanks to the aforementioned community.  1) I've landed a job at two fantastic restaurants. 2) We've created a house venue at our home called The Mad Valley Lodge (We're going to have to talk more about this later.  It's my shining star at the moment.  I'm so so proud of it's creation.)  3) I've built a garden, which I've been daydreaming about for nearly 3 years.  After that amount of time cooped up in a 450 square foot apartment my hands were dying to play in some dirt. 4) I've finally started to make some (preliminary) food truck plans.  (I'm sure we will also talk about this later.)  And most importantly 5) I've finally settled in and gotten my schedule under enough control that I can slowly immerse myself back into this whole blogging thing.

It's a huge relief.  This blog has been sitting at the back of my mind constantly poking and begging me to get back to it.

So here I am.  Here you are.  It's time to talk about food.

This past Sunday, after a bloody mary (or two) I decided I needed to bake.  After a few suggestions/requests shouted from the backseat, the first being cornbread and the second being cobbler, I decided a combination of the two would fit the bill.

And what a good decision I made.  After a failed attempt to find rhubarb, I set out for some peaches.  As I was grabbing a peach, my hands started darting around on their own and I ended up throwing a of couple apricots and plums into the bag.  And at that point I thought "Why stop now?"  So...I picked up some blackberries.  And thus the Stone Fruit and Blackberry Cobbler was created.

The combination of a sweet fruit cobbler under some big cornbread "biscuits" is just what you need.  It's basically a cure all.  Or a you're the new favorite at the BBQ type thing.

It's still a little early for mouth watering fruit...but if it was this good this early in the year?  I can only imagine the deliciousness that will come from this cobbler in the coming months.

I think I'll just make one every few weeks in order to test my hypothesis.

Oh, and remember when I was talking about collaboration?  Well, all of these beautiful pictures you see below are the work of a sweet friend.  She made this post possible and made me excited to finally do it.  So thank you Molly!  I hope you're content with food as payment.


Adapted from Smitten Kitchen

Makes: 10-12 servings
Prep Time: 15 minutes
Bake Time: 25 minutes
Total Time: 40 minutes

Ingredients:
for the fruit-
4 cups stone fruit (I used peaches, plums, and apricots) pitted and cut into slices
2 cups (1 pint) blackberries, rinsed and dried
2/3 cup packed dark brown sugar
2 tablespoons flour
2 tablespoons fresh lemon juice
2 teaspoons minute tapioca
1/4 teaspoon ground cinnamon
1/4 teaspoon salt
2 tablespoons butter, sliced thin

for the biscuit topping-
1 1/2 cups all purpose flour
1/2 cup fine cornmeal
6 tablespoons dark brown sugar
3 teaspoons baking powder
1/2 teaspoon salt
6 tablespoons cold unsalted butter, cut into pieces
1 cup buttermilk

Directions:

  1. Preheat oven to 425°.  Toss the stone fruit with the blackberries, sugar, flour, lemon juice, tapioca, cinnamon and salt.  Pour into the bottom of a 2-quart baking dish. Spread 2 tablespoons of thinly sliced butter over the top of the fruit.
  2. Make the biscuit couch by stirring together the flour, cornmeal, brown sugar, baking powder, and salt.  Cut 6 tablespoons of the butter into the dry ingredients using your fingers or a pastry blender.  Stir in buttermilk with a rubber spatula until a wet tacky dough comes together.
  3. Drop spoonfuls of the biscuit dough over the filling until evenly covered.
  4. Bake at 425° for 20-25 minutes or until the cobbler is bubbly and the biscuit tops are golden brown.
  5. Scoop into bowls and serve with fresh whipped cream or vanilla ice cream.

Friday, August 2, 2013

Tequila Lime Cornmeal Cookies

Due to my ever growing obsession with Joanne Chang/her cookbooks/her restaurant/her bakeries I've had quite a few conversations with people regarding one if not all of those things, which happen (most often) at my work, Shake the Tree, where we sell both of Joanne's cookbooks.

As people are flipping through the pages of either Flour or Flour, Too I typically rave about all of her delicious recipes such as the homemade breads, the sticky sticky buns, the decadent cakes...and the overall excellence of the recipes included in her cookbooks.  That typically leads into some of the recipes I've made or a little chat about her restaurants.  However, there is one other little comment that has entered it's way into the conversation time and time again...

"Those lime cornmeal cookies."

People are constantly RAVING about these things.  And now I understand why.

As people would tell me about their obsession with these cookies I would always think about the very good chance that the cookies would be dry and almost grainy from the cornmeal.  The combination always sounded appealing, but the cookie itself did not.

And then I made them.  And tried them.  And my mind is forever changed.

Cornmeal in cookies is a wonderful, wonderful thing.  It creates a texture that I've never experienced in cookies.  Dryness is nowhere near an issue as the edges of the cookies are lightly brown and crisp but the center is soft and almost cake like.  And the heavenly glaze balances out the cornmeal in the greatest way possible.

I've adapted the recipe ever so slightly to include tequila and coconut (because tequila, lime, coconut...why not?) but if you're not a fan of either, leave them out and your cookies will still be equally delicious.


Adapted from the Flour Cookbook by Joanne Chang

Makes: 14-16 cookies
Prep Time: 20 minutes
Bake Time: 15-18 minutes
Total Time: 35 minutes + 30 minutes cooling time

{Printable Recipe}

Ingredients:
1 cup unsalted butter, at room temperature
3/4 cup plus 2 tablespoons granulated sugar
2 tablespoons finely grated lime zest
1 tablespoon tequila (optional)
2 eggs
2 cups all-purpose flour
1/2 cup medium-coarse yellow cornmeal
2 teaspoons baking powder
1/2 teaspoon kosher salt
shredded coconut for sprinkling
for the lime glaze-
1 cup confectioners' sugar
2 teaspoons water
2 tablespoons fresh lime juice (1-1 1/2 limes)
1 1/2 teaspoons finely grated lime zest (about 1 lime)
1 teaspoon tequila (optional)

Directions:
  1. Position a rack in the center of the oven, and heat the oven to 350°.
  2. Using a mixer, cream together the butter and granulated sugar on medium speed for about 5 minutes, or until light and fluffy.  Stop the mixer a few times and scrape down the sides and bottom of the bowl.  Add the lime zest and beat on medium speed for about 1 minute to release the lime flavor.  Add the eggs, tequila, and vanilla and continue to beat on medium speed for 2-3 minutes.  Scrape the bowl again and make sure the eggs are thoroughly incorporated.
  3. In a small bowl, stir together the flour, cornmeal, baking powder and salt.  On low speed, slowly add the flour mixture to the butter/sugar mixture and mix until the flour is completely incorporated.
  4. Drop the dough in scant 1/4 cup balls onto a baking sheet.  Flatten each ball slightly with the palm of your hand.
  5. Bake for about 15-18 minutes, or until the cookies are pale brown on the edges, still pale in the center, and just firm to the touch in the center.  Let cool onthe baking sheet on a wire rack for 15-20 minutes, then transfer to the wire rack to cool to room temperature or just a bit warmer before glazing.
  6. While the cookies are cooling, whisk together the confectioners' sugar, water, lime juice, lime zest, and tequila in a small bowl until smooth.
  7. Brush the cookies with a thin layer of the glaze and sprinkle the cookies with a small amount of shredded coconut.  Allow the glaze to set for about 10 minutes before serving or storing.


Thursday, March 14, 2013

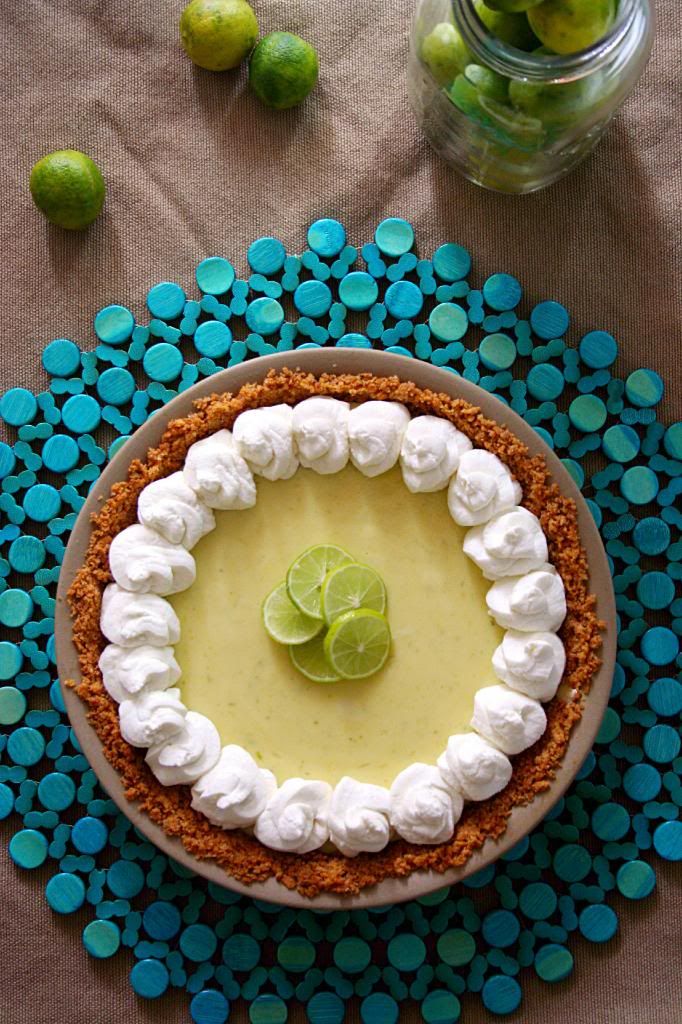
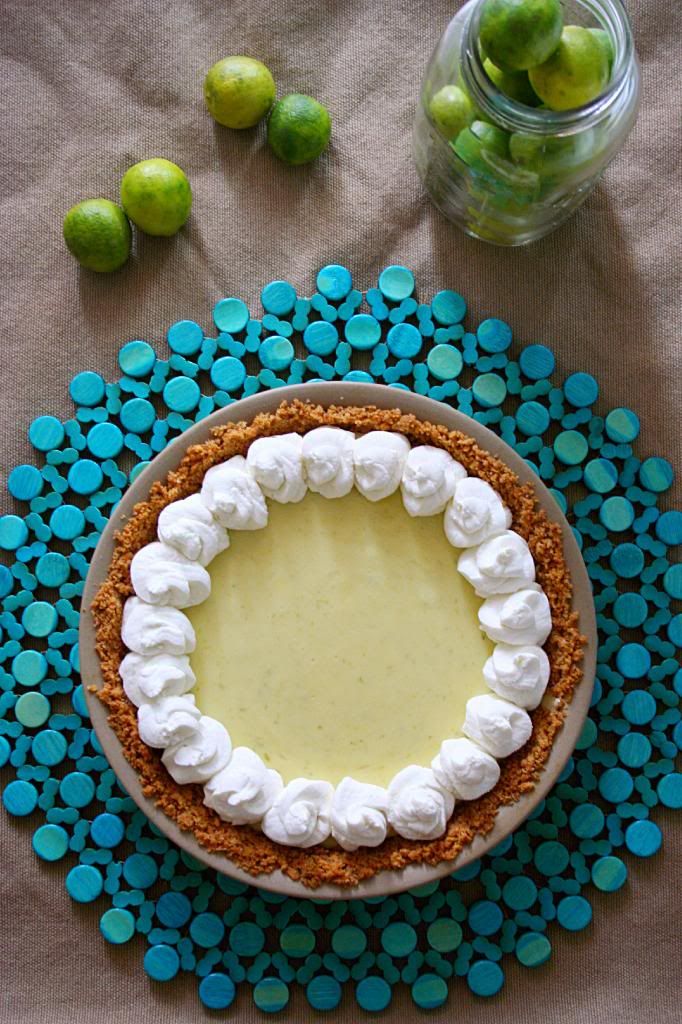
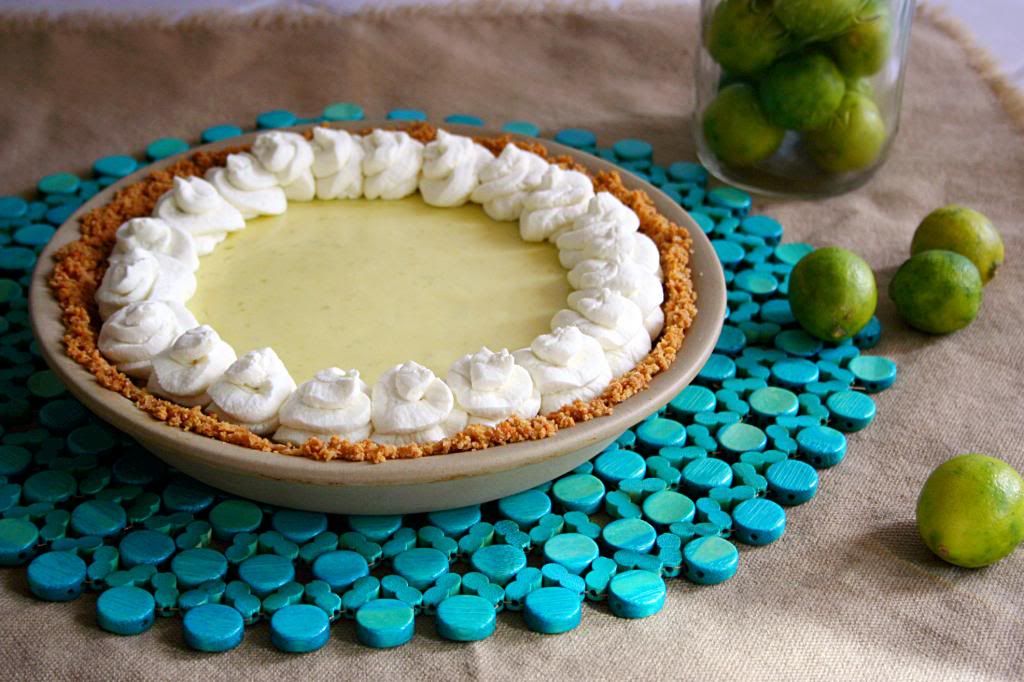
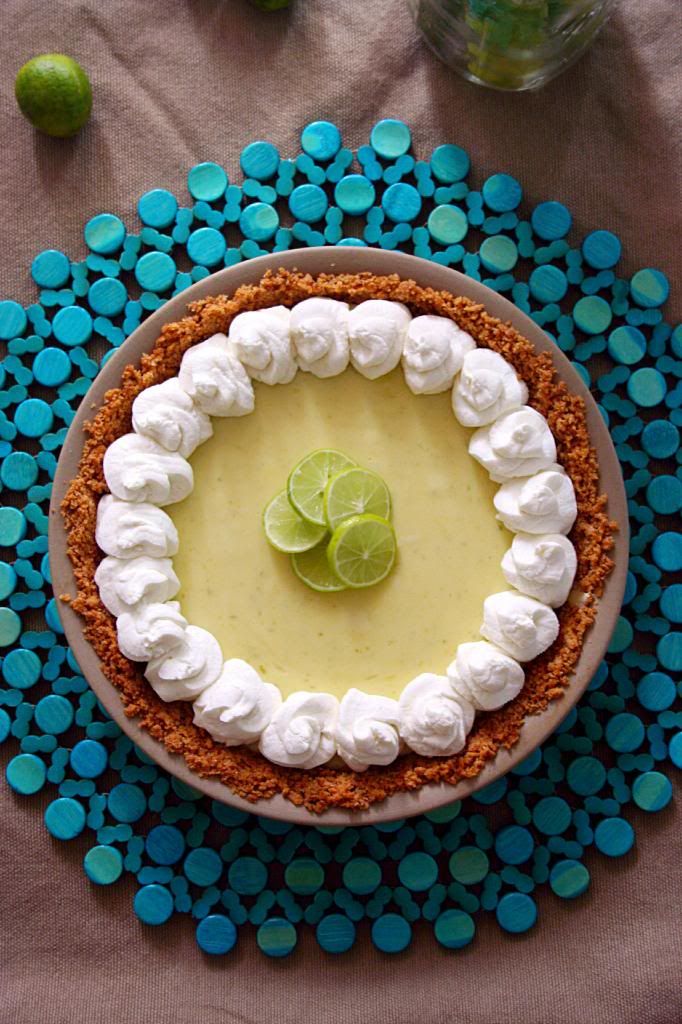
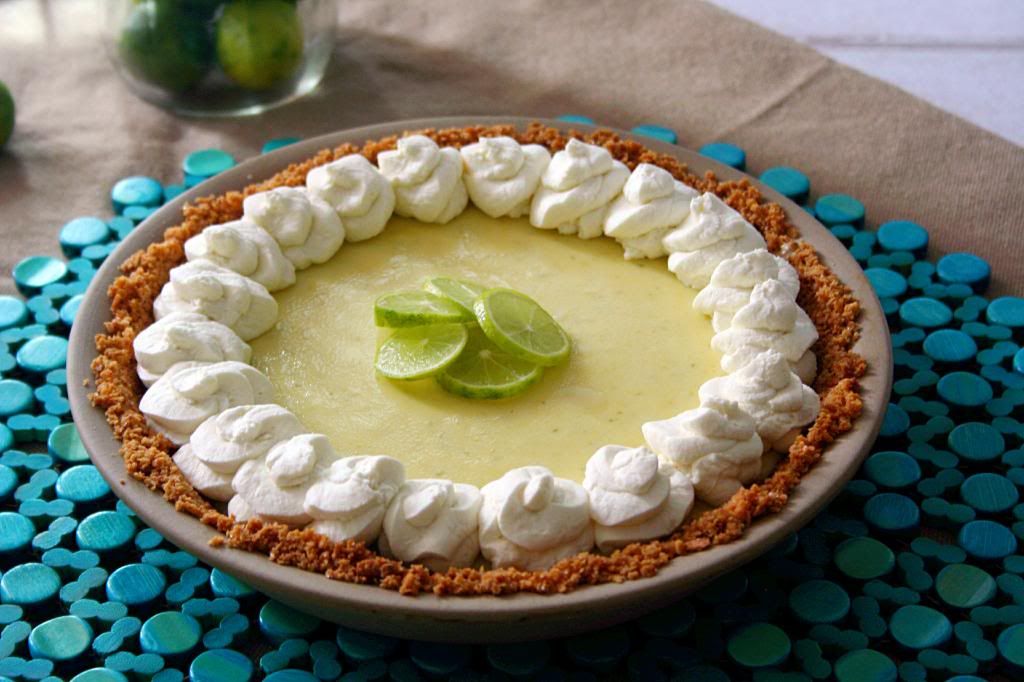
Key Lime Pie

It's been a while hasn't it?

I would say sorry.  But that would be untrue.  How could I be sorry about spending a week lounging/eating/drinking with my parents in the sunny land of Naples, Florida and then jetting up to snowy Vermont to sit by the fire and enjoy the company of friends during my last Spring Break ever?  I couldn't.  Oh and did you catch that last word?  Last Spring Break...Ever.

It's been an unbelievable last hurrah but why can't the real world have Spring Breaks?  It only seems fair.

But I probably shouldn't hold my breath on that one.


As some of you may already know...it's Pi Day!  You know...the whole 3.14/March 14th thing...right?  So naturally I had to share a pie with you.  What kind of themed food lover would I be if I didn't give you a pie recipe today?


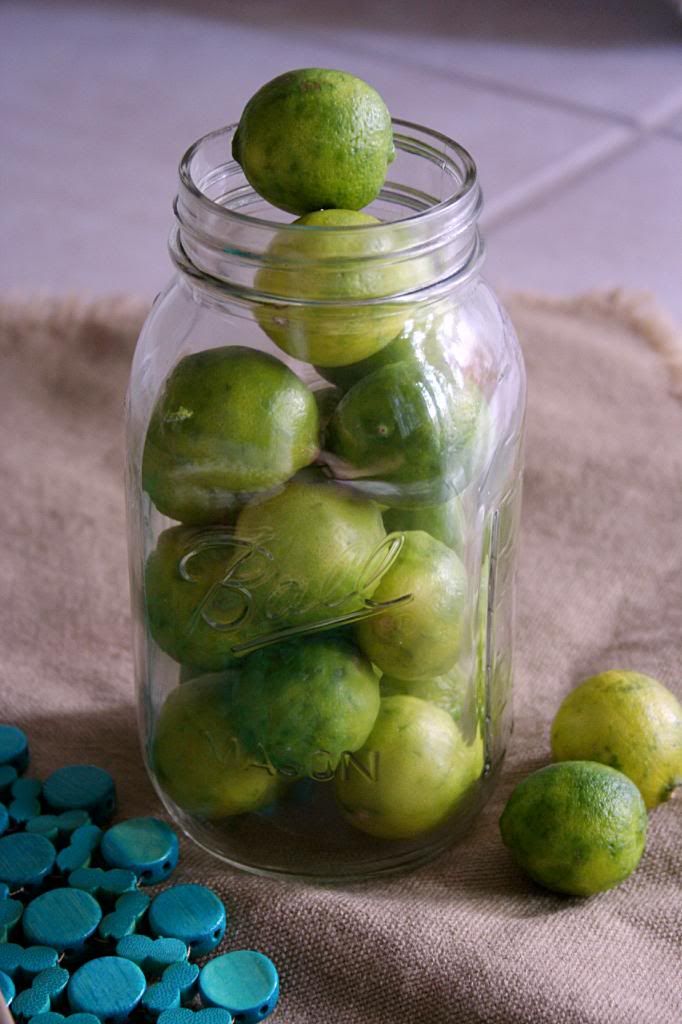
I also have to dedicate this pie to Miss Ashley from The Uniqueness of Being.  She has begged and begged and begged for me to make her a Key Lime Pie.  She even requested it as her birthday treat.  And like a good friend...I never made it for her.  Which I completely blame on the fact that key limes aren't exactly available during winter in New England.  And that she abandoned me for Missouri.  But either way...I owe this girl a pie.

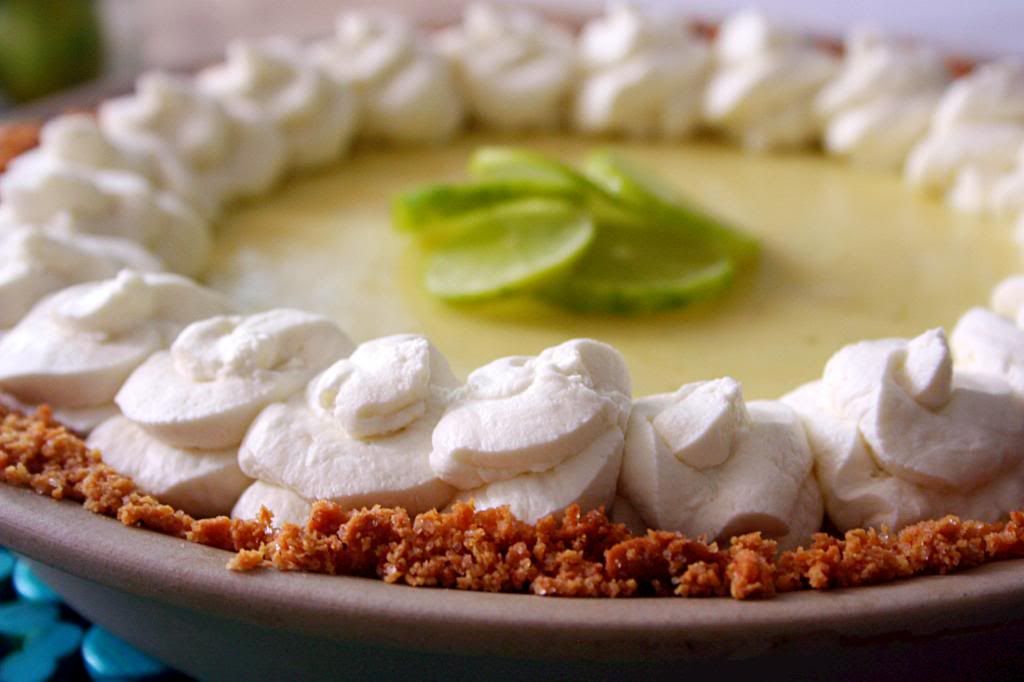
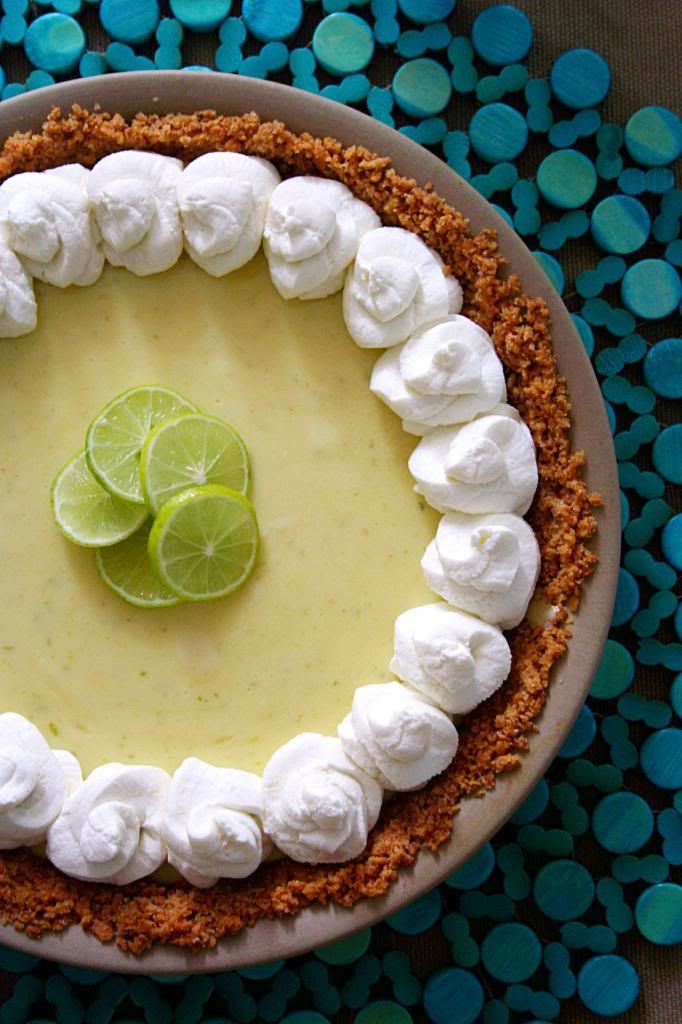
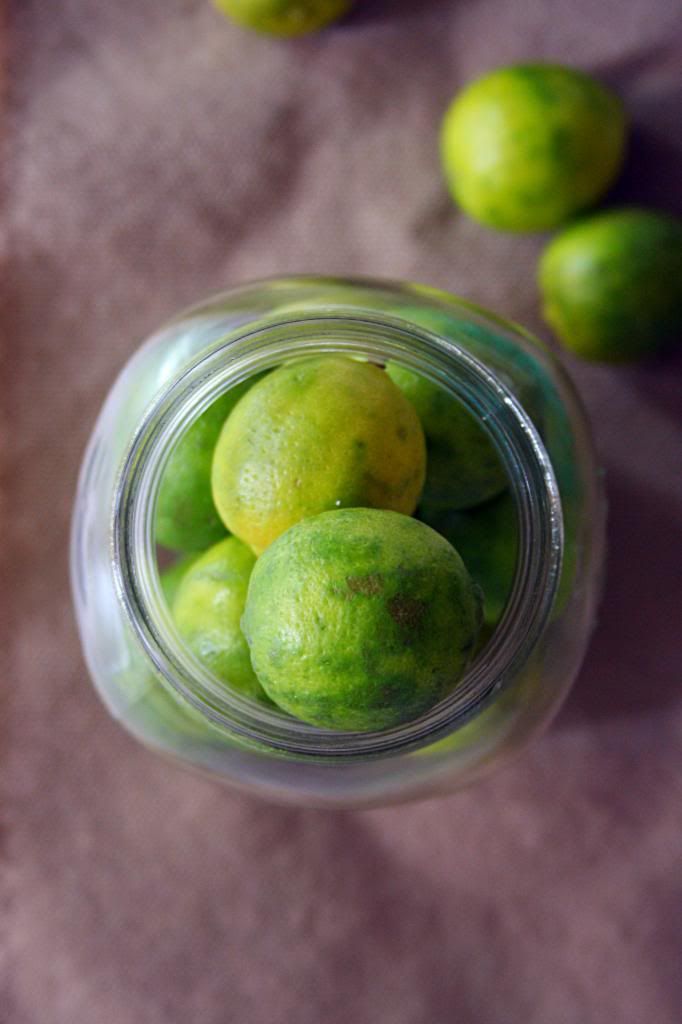
And this is the one she will get.  One of these days.  It's go weak in the knees good.  Perfectly tart.  Matched by the sweetness of the cream.  A magical crust.  Seriously.  You can't go wrong here.  And guess what.  I have even better news.  After doing some research...I have found that "Key Limes" aren't necessary!  If you can't find a bag of those adorable little limes just use regular limes and it will still be delicious!
Promise.


Adapted from Brown Eyed Baker

Makes: One 9-inch pie
Prep Time: 20 minutes
Bake Time: 30 minutes
Total Time: 50 minutes (active) + 4 hours (inactive)

{Printable Recipe}

Ingredients:
for the filling-
4 teaspoons grated lime zest
4 egg yolks
1 (14-ounce) can sweetened condensed milk
1/2 cup fresh lime juice

for the graham cracker crust-
9 graham crackers, pulverized into crumbs
2 tablespoons sugar
5 tablespoons unsalted butter, melted

for the whipped cream-
1 1/2 cups heavy cream, chilled
1/2 cup powdered sugar

Directions:
  1. Preheat oven to 325°F.
  2. To make the filling-Whisk the lime zest and egg yolks in a medium bowl for 2 minutes until frothy.  Whisk in the sweetened condensed milk and the lime juice.  Set aside at room temperature to let it thicken while you prepare the crust.
  3. To make the crust-In a medium bowl, stir together the graham cracker crumbs and granulated sugar.  While stirring with a fork, slowly drizzle in melted butter.  Mix until all of the dry ingredients are moistened.  Transfer the crumbs to a 9-inch pie plate and evenly press the crumbs in the bottom of the pan and up the sides.  Bake until the crust is fragrant, about 15-18 minutes.  Transfer to a wire rack to cool to room temperature.
  4. Once the crust has cooled to room temperature, pour the filling into the crust.  Bake until the center is set, yet slightly jiggly in the middle, about 15 minutes.  Return the pie to a wire rack; cool to room temperature.  Refrigerate until well-chilled, at least 3 hours.
  5. To make the whipped cream-Using an electric mixer, whip the cream on medium speed until soft peaks form.  Add powdered sugar 1 tablespoon at a time while continuing to whip the cream until stiff peaks form.  Decorate the pie with whipped cream and garnish with lime slices.


Monday, February 18, 2013

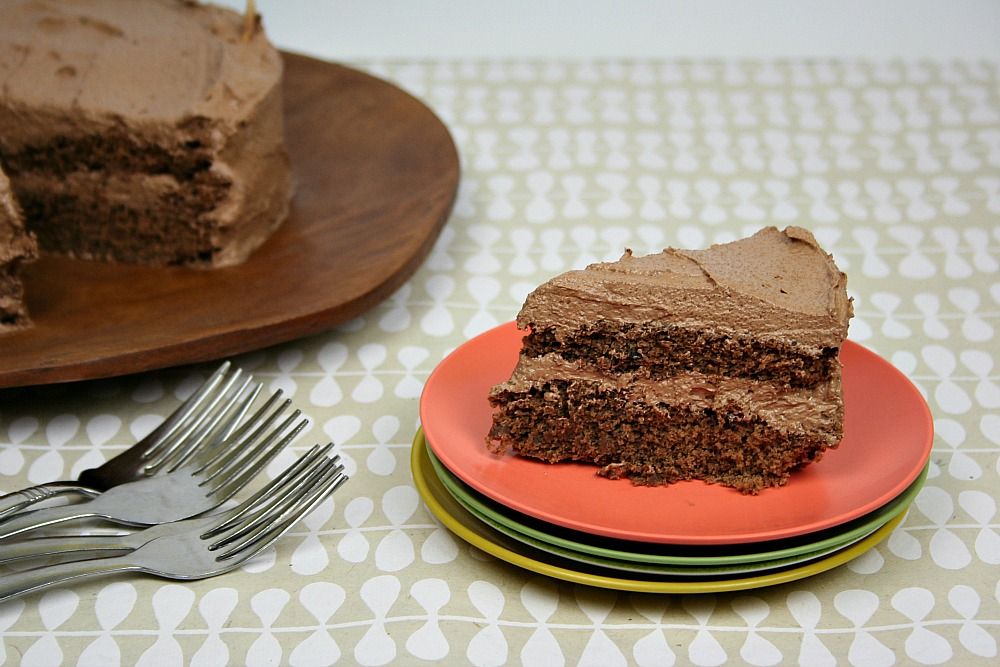
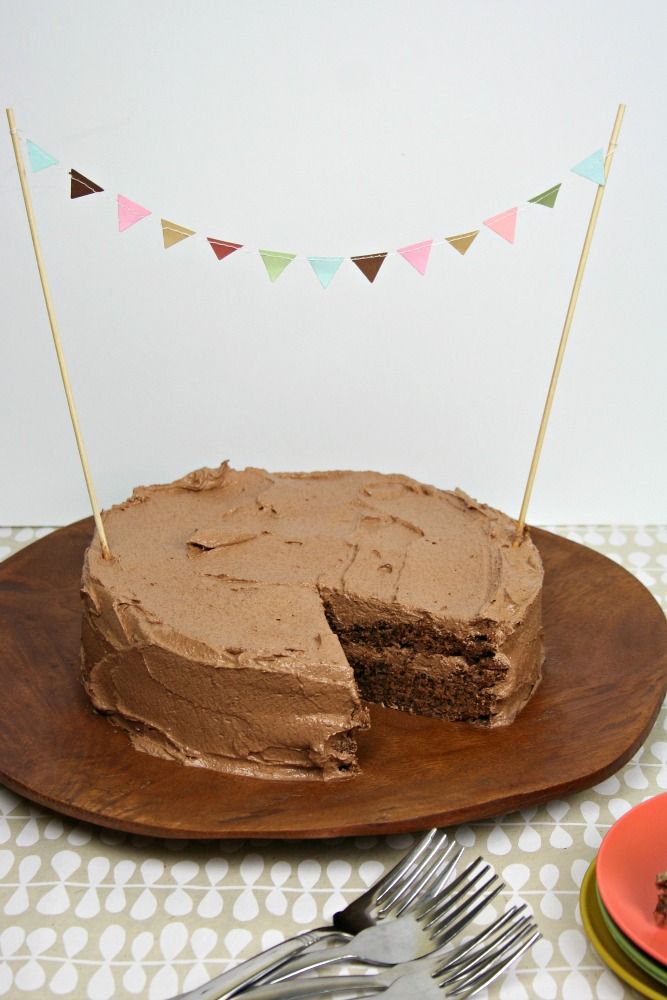
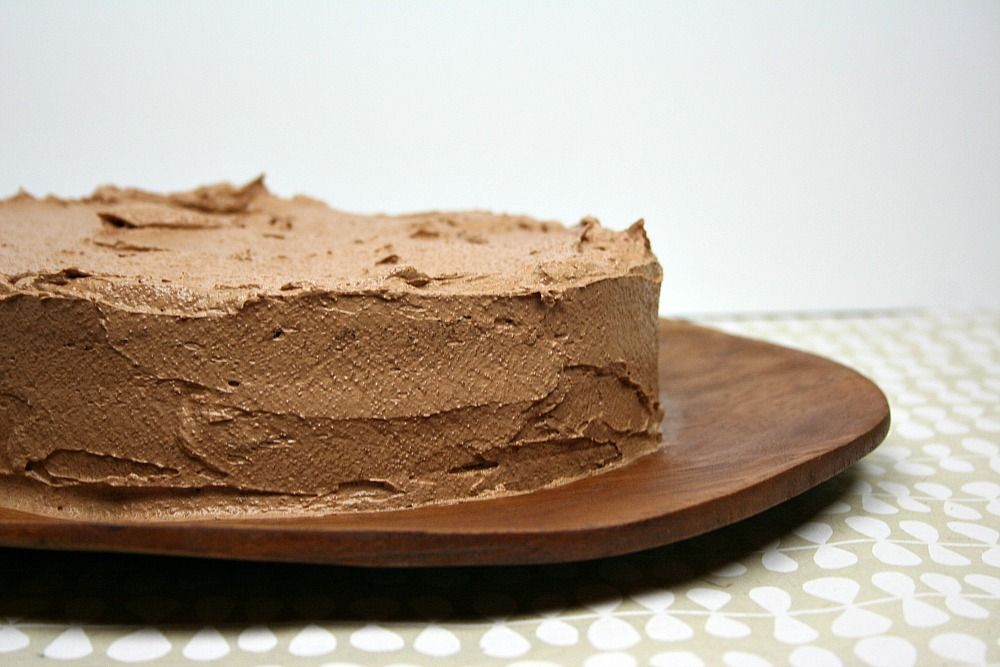
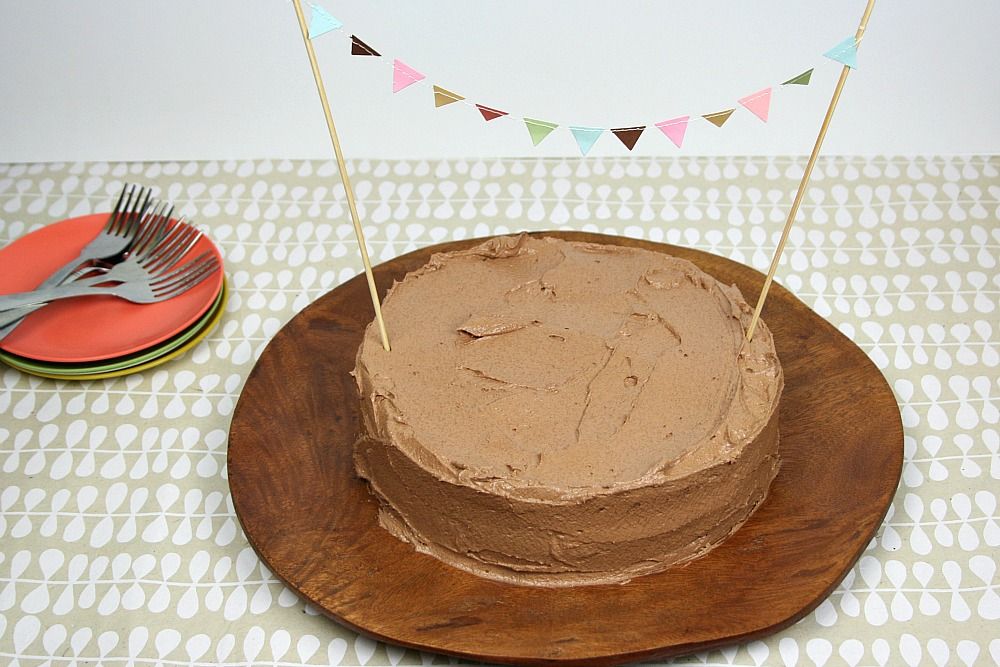
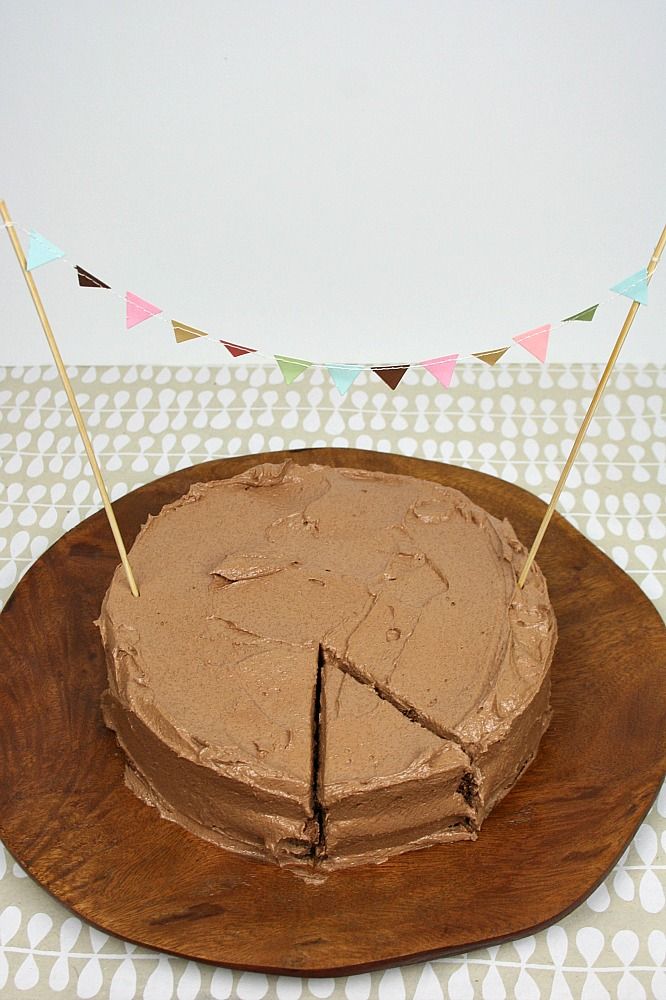
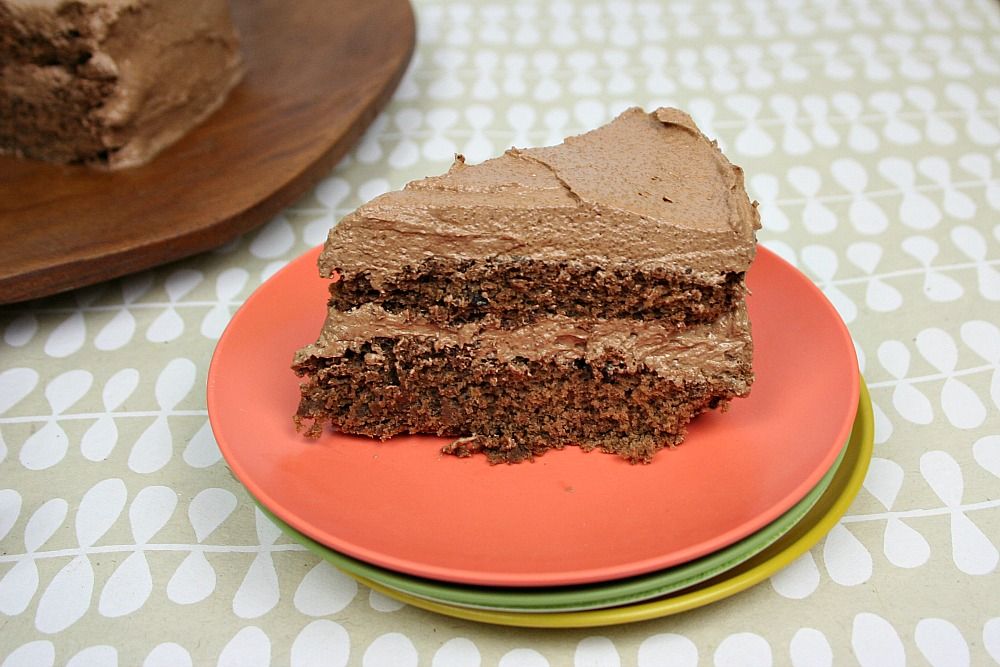
SFF's 2nd Birthday, a Chocolate Fudge Cake, and a giveaway!

I feel like it was just yesterday that I was writing {this} little post.

But it's been whole year.  And guess what that means? This little blog is turning two today!

Two.

Can you believe it?  Because I can't.

It's been such a great adventure.  Making food.  Getting to know you.  Learning about the wild world of food photography.  Destroying my teeny kitchen on a daily basis.  Creating recipes.  Hearing how much you love a recipe.  Pulling my hair out after a recipe goes bad and I really need to "blog about it".  Submersing myself in a food culture that I could've never dreamed of.  Teaming up with other bloggers.  Eating glorious food...

I could go on and on.

But I won't because there are cake and presents to be had.

Just know.  I love this little blog.  And I adore you even more for reading.  Because without you I wouldn't be sharing these things.  So thank you.  You're the best readers ever.  And I hope you'll stick with me as this little thing continues to grow.
 
Now for the good stuff.  I've said it before, but a birthday wouldn't be complete with out cake and presents.  Obviously.

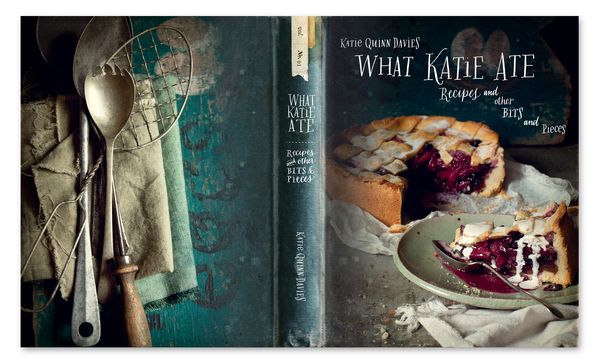
So, today in celebration of year number two, I'm giving away two copies of Katie Quinn Davies's Cookbook, What Katie Ate: Recipes and other Bits and Pieces to two lucky lucky ducks.

Seriously though.  Have you seen this thing?  It's beautiful.  Beyond beautiful actually.  Please go take a peek.  Click here...now...please?

Okay so now you're in love and need the cookbook.  Well here's how you can get your paws on it:

1 - Follow this blog (using Google Friend Connect on the left hand side of the screen or follow by email directly under GFC)
2 - Leave me a comment.  No stipulations.  No questions to answer.  Just tell me something.  Anything.

And then of course to receive extra entries:
1 - Tweet about this giveaway and include @emilie_bell
2 - Share the giveaway on Facebook
3 - Follow me on Bloglovin

Just make sure to leave a SEPARATE comment for each entry so that I can put your name in multiple times! 

The giveaway will close on Sunday February 24th at midnight so don't be late!

Now the super delicious cake.


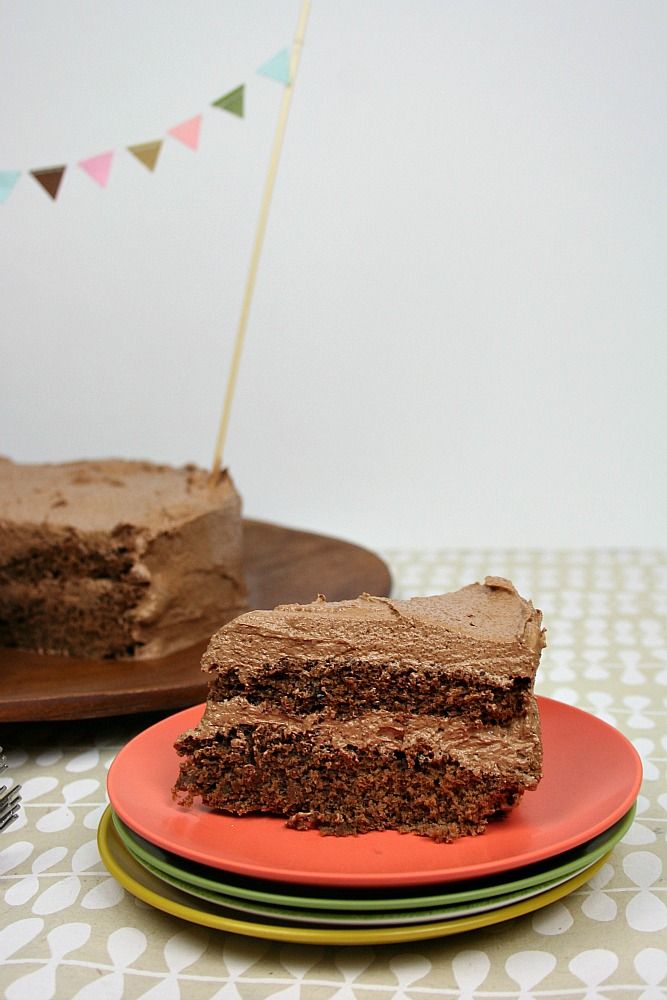
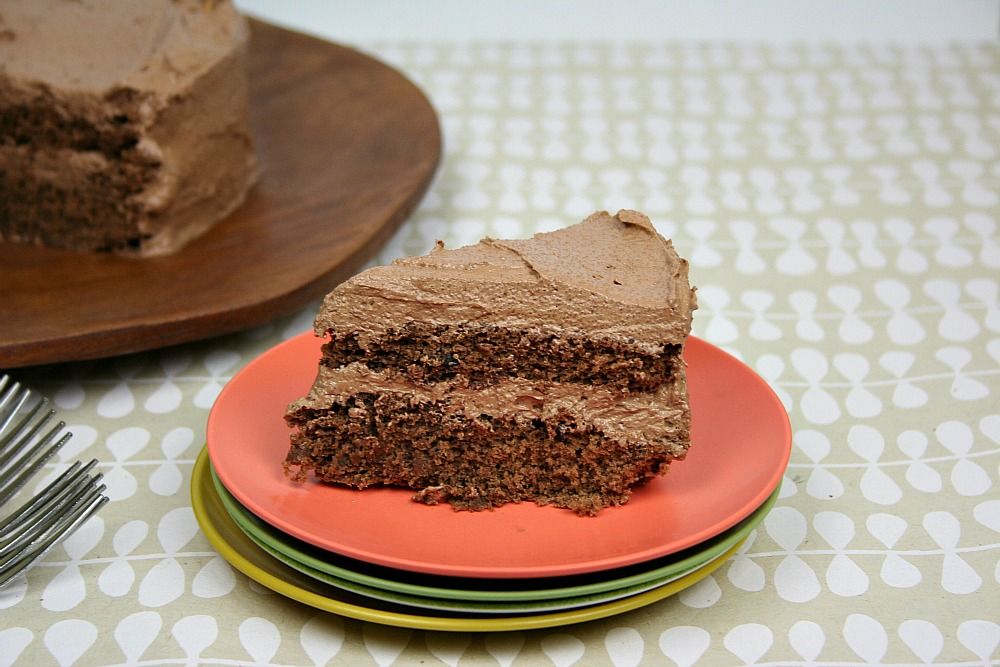
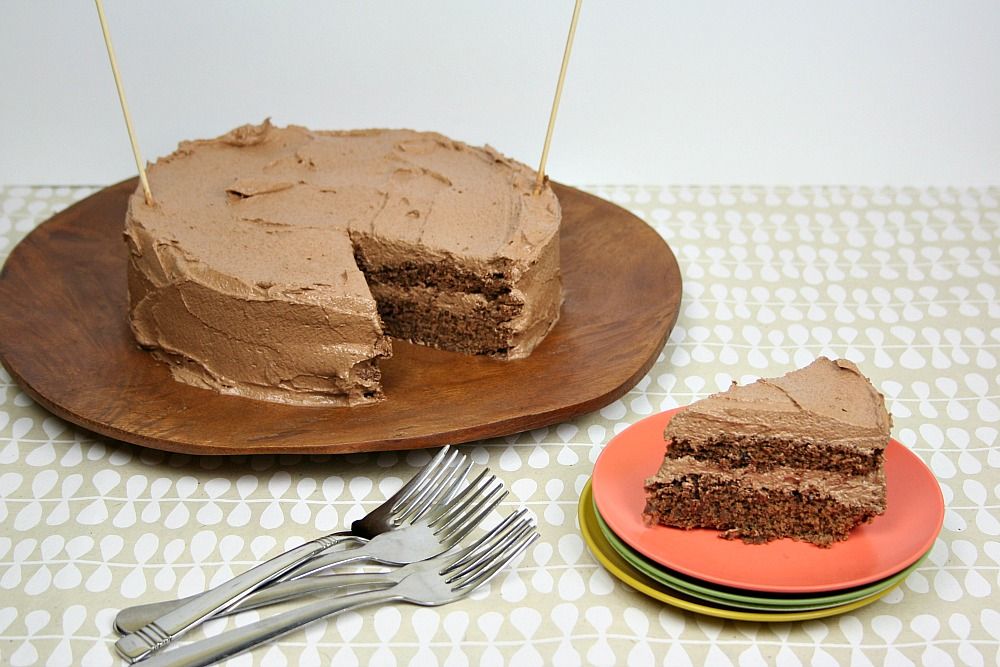
Chocolate.  Fudge.  Yum.  Drool.  Happy.  Birthday.


Adapted from What Katie Ate

Makes: 1-9inch two layer cake
Prep Time: 20 minutes
Bake Time: 40 minutes + 20 minutes cooling time
Total Time: 1 hour 20 minutes

{Printable Recipe}

Ingredients:
for the cake-
1 1/4 cup self rising flour
1/2 cup sugar
1/2 cup brown sugar
4 tablespoons butter, melted
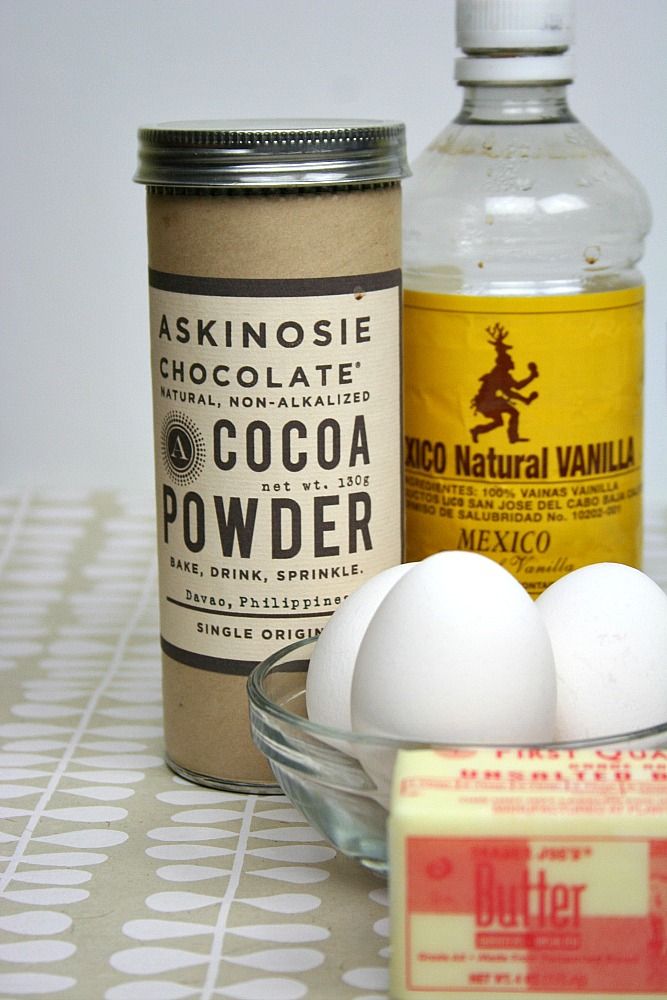
1/2 cup good quality cocoa
1 teaspoon vanilla
1 large tablespoon blueberry jam
3 eggs
1/2 cup milk

for the frosting-
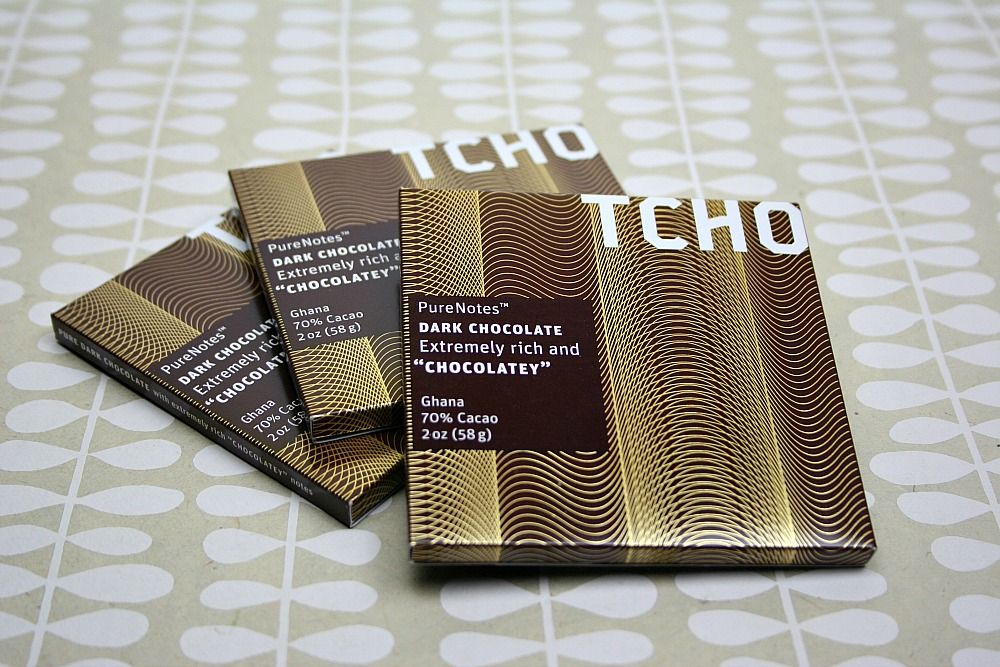
170 grams 70% chocolate
1 1/4 cups unsalted butter
1 1/4 cups sugar
1 teaspoon vanilla
1 tablespoon strong coffee 

Directions:
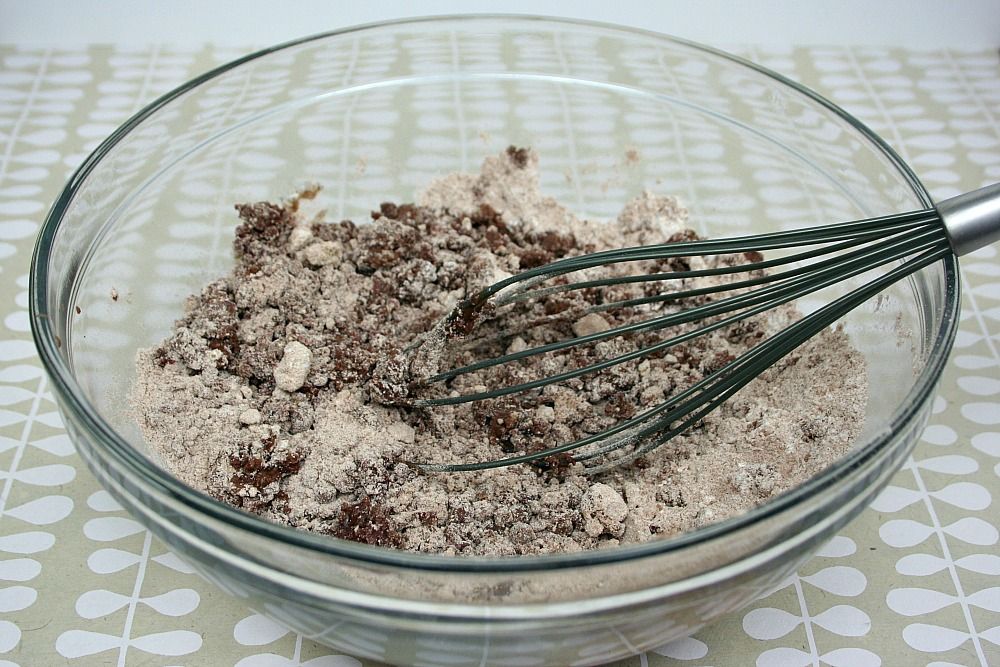
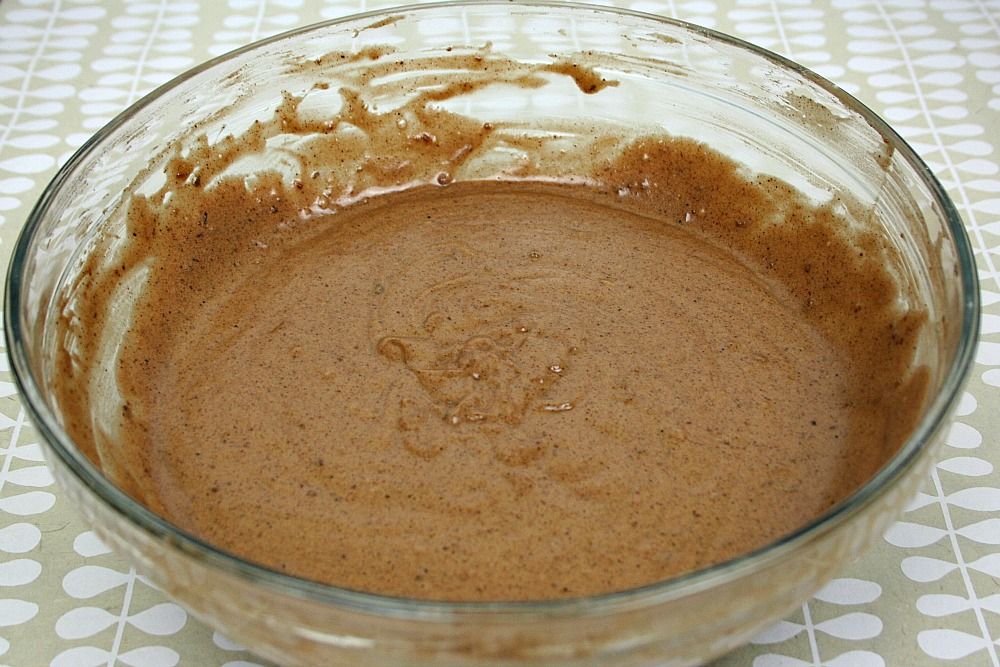
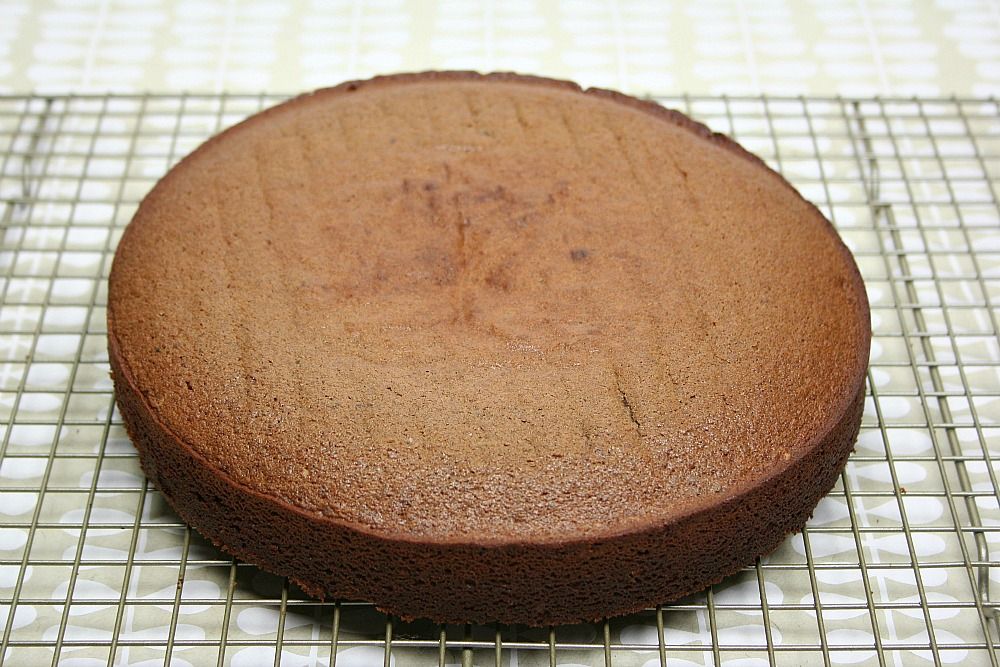
  1. Preheat oven to 325°.  In a bowl combine the cocoa, sugar, brown sugar, flour, vanilla, melted butter, and jam.  Whisk to combine.  Add the eggs one at a time, mixing after each addition and then pour in the milk.  Mix until batter is smooth.  Place mixture into a greased 9" round cake tin and bake at 325° for 35-40 minutes or until the center of the cake springs back when touched.  
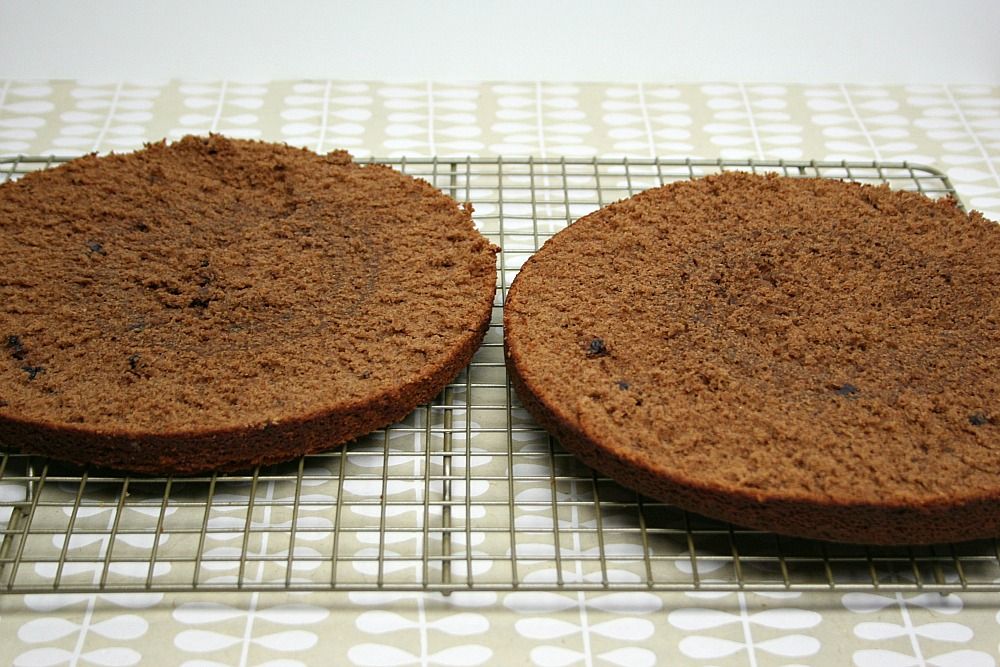
  2. Remove from oven and let sit for 10 minutes.  After 10 minutes turn onto a wire rack and allow to cool completely.  Once cool, slice in half horizontally to make two layers.  (If you want a three layer cake, make double of the above mixture and divide into 3 tins, cooking each layer separately.)
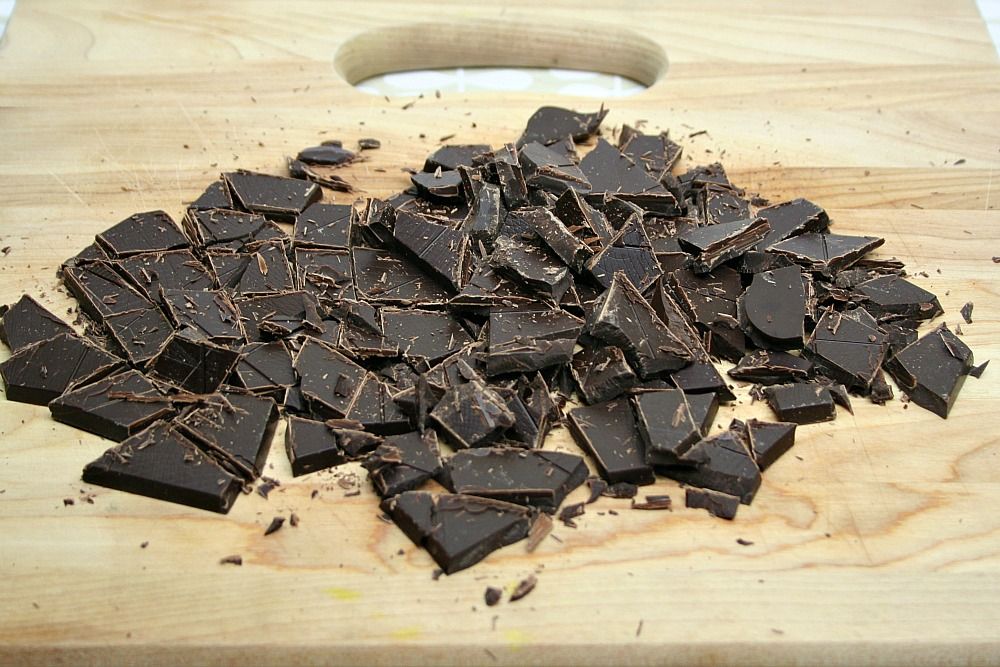
  3. To make the frosting, combine butter and sugar in a bowl and beat with a mixer until smooth and creamy.  In a separate bowl melt the chocolate over a pan of lightly simmering water, making sure to keep a close eye on the chocolate.  Once the chocolate has melted, remove from heat and add the vanilla and coffee, mixing it all together.  It will get lumpy but don't worry!  Add this to the butter/sugar mixture, beating on low speed until the frosting is glossy and smooth.
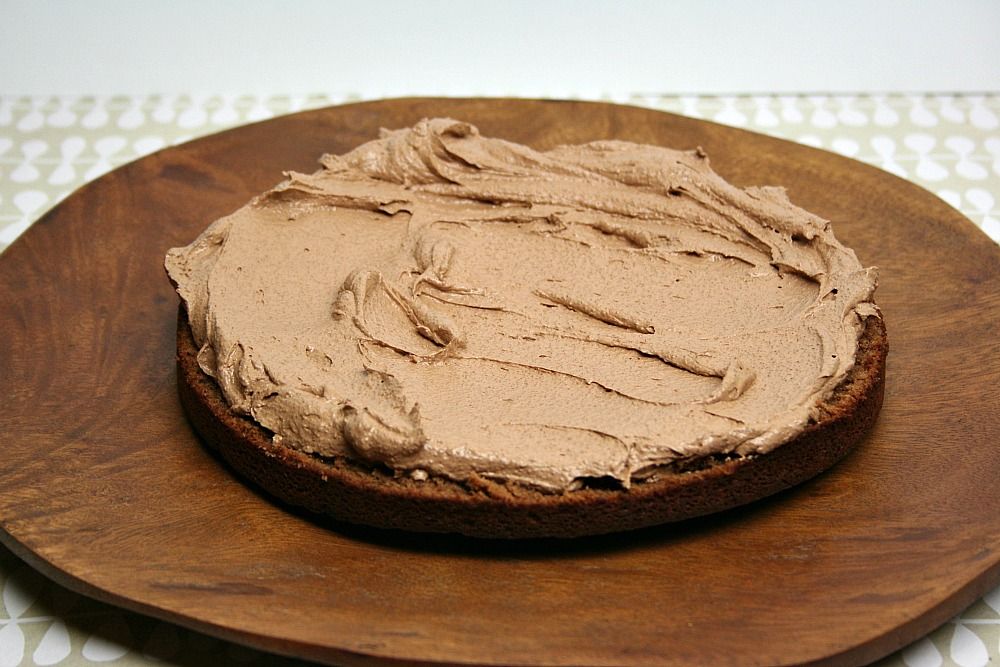
  4. To frost, place the first layer on a cake place and spoon icing onto the top.  Spread evenly and start to bring it down the sides with a knife or spatula.  Place the second layer on top and repeat with the remaining frosting until the entire cake is covered.


Tuesday, December 18, 2012

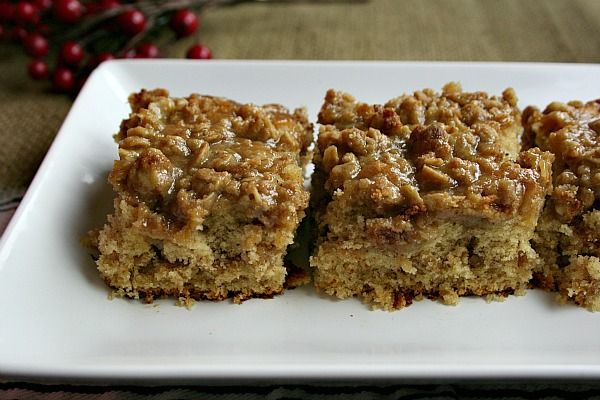
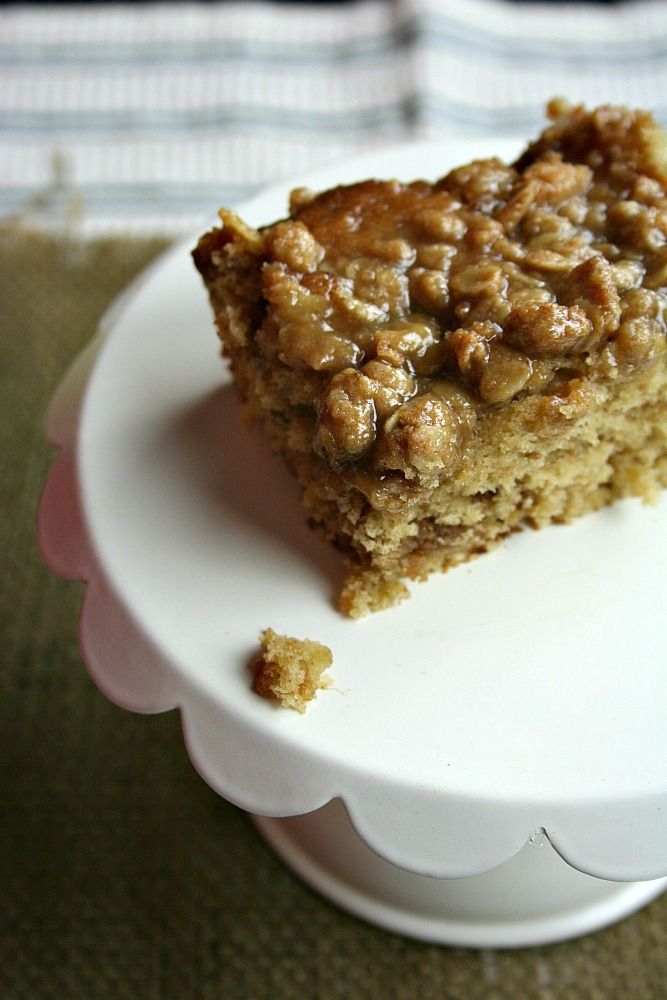
Eggnog Crumble Cake

Last Monday I did a little guest post over at the lovely blog, This Heart is Mine.

And just in case you didn't have the chance to check it out last week, I promised that I would share it here this week.  I wouldn't want you missing out you know.

So, before I head off to Missouri (bright and early in the morning!) and get even slower with my blog posts...I figured now would be the best time to share this little gem as a little "please forgive me when I abandon the blog for a few weeks" type thing.


I've always been a lover of breakfast.  No matter the hour of day or time of year...I need my breakfast.  And if I'm deprived...you should probably steer clear.

I'm usually a light and savory type of breakfast girl.  But I completely understand the glory that comes from switching it up every once in a while.  It's a special occasion thing.  Like when my mom makes her world famous waffles.  Or when the holidays roll around.  That's the time when you need a big gooey cinnamon roll or a stack of pancakes and a steaming cup of coffee to get into the holiday spirit.  Nothing kills that spirit like an egg white omelet stuffed with vegetables. (Even though I'm on the egg white omelet boat 360 days a year.)


'Tis the season - Might as well eat cake for breakfast.  Right? Right.


Just as I'm not usually on the sweets for breakfast bandwagon, I'm typically not on the eggnog bandwagon.  But I will admit, I love the flavor.


And that's why this breakfast "cake" knocks it out of the park.  It's sweet.  But not too sweet.  The flavor of eggnog is there but you don't feel like you're drinking a big glass of heavy cream.  The whole wheat flour gives it a boost in the texture department, and justifies the whole sweetness thing.  It's quite perfect.
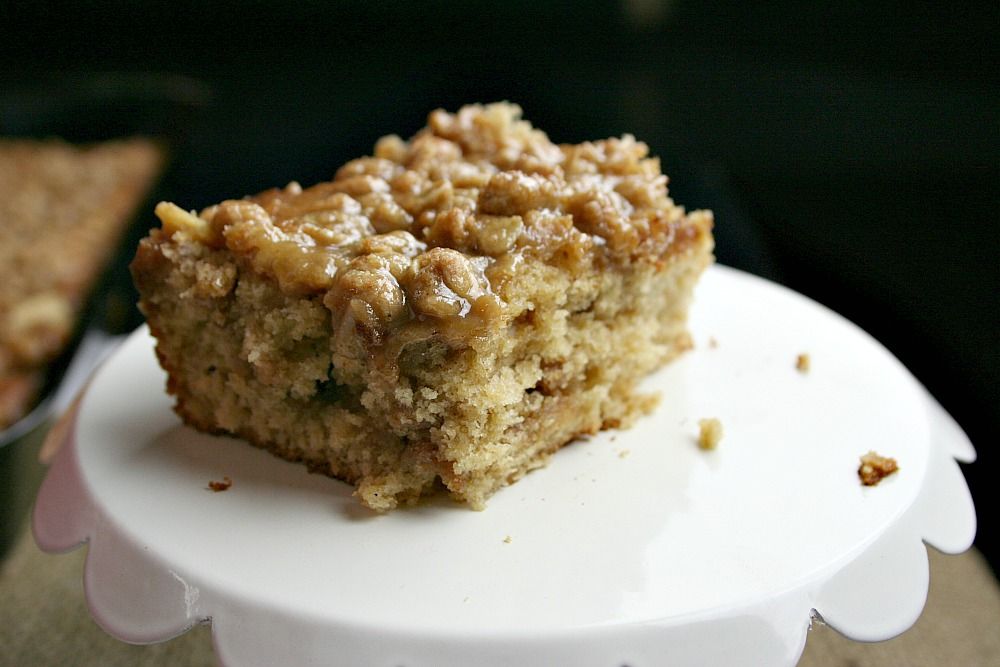
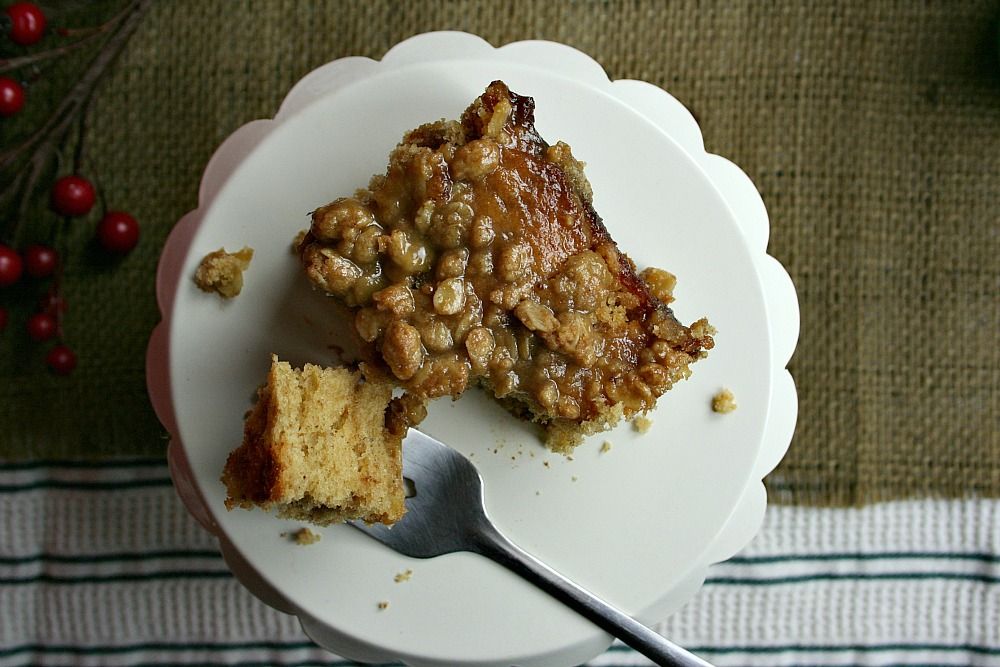
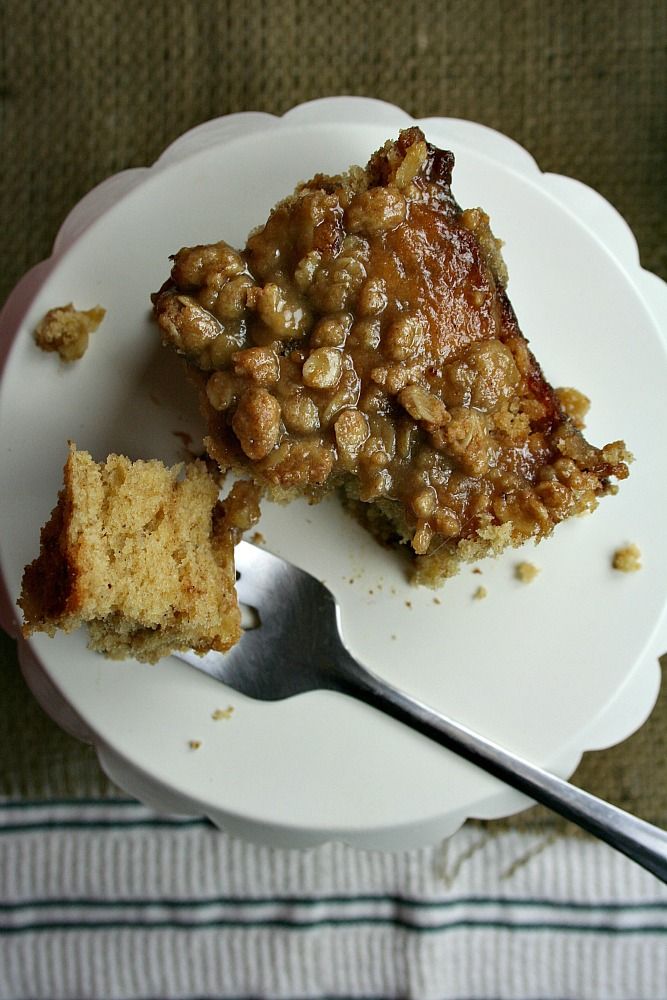
I recommend whipping up this little treat for an early morning family gathering.  Or maybe a mid afternoon nibble.  But of course it would also do as a late night snack.  I don't want to limit you, you know.

Either way, you'll be the hit of the season.


Adapted from How Sweet It Is

Makes: one 9x13 cake
Prep Time: 10 minutes
Bake Time: 20-25 minutes
Total Time: 35 minutes

Ingredients:
for the coffee cake-
2 cups whole wheat pastry flour
1 tablespoon baking powder
1/2 teaspoon nutmeg
1/4 teaspoon salt
1/4 teaspoon cinnamon + an extra 1/4 teaspoon
1/4 teaspoon cloves
6 tablespoons unsalted butter, melted and cooled
1/2 cup loosely packed brown sugar + an extra 1/3 cup
1/3 cup granulated sugar
2 large eggs
1 teaspoon vanilla extract
1 cup eggnog

for the crumble-
1/2 cup whole wheat pastry flour
1/3 cup oats
1/3 cup brown sugar
1/4 teaspoon cinnamon
4 tablespoons unsalted butter, melted

for the eggnog glaze-
1/2 cup brown sugar
1/3 cup eggnog
1/4 cup granulated sugar
1 teaspoon vanilla extract
pinch of nutmeg

Directions:
  1. Preheat oven to 350° and spray a 9x13 baking dish with nonstick spray or rub with butter.  
  2. In a small bowl combine 1/3 cup brown sugar and 1/4 teaspoon cinnamon, set aside.  In another small bowl combine flour, baking powder, salt, nutmeg, cinnamon, and cloves, whisking to combine.
  3. In a large bowl, add butter and sugars whisking until smooth.  Whisk in eggs one at a time, mixing well after each addition.  Stir in vanilla.  Slowly add dry ingredients and eggnog until a batter forms and then whisk until smooth.  Pour half of the batter in the baking dish and then sprinkle the brown sugar/cinnamon mixture over the top.  Cover with the remaining batter, gently spreading with a spatula until even.
  4. To make the crumble combine all ingredients in a bowl and mix until crumbly.  Sprinkle evenly over cake and bake for 20-25 minutes, or until cake is set in the middle.
  5. While the cake is baking, make glaze by heating all glaze ingredients in a small saucepan over medium heat.  Allow to come to a boil and then reduce heat and let simmer for 2-3 minutes.  Remove from heat and set aside until cake is finished baking.
  6. When the cake comes out of the oven, immediately poke holes all over with a toothpick.  Drizzle glaze over the top.
  7. Cut, serve, enjoy!
Related Posts Plugin for WordPress, Blogger...