Showing posts with label sweets. Show all posts

Friday, August 2, 2013

Tequila Lime Cornmeal Cookies

Due to my ever growing obsession with Joanne Chang/her cookbooks/her restaurant/her bakeries I've had quite a few conversations with people regarding one if not all of those things, which happen (most often) at my work, Shake the Tree, where we sell both of Joanne's cookbooks.

As people are flipping through the pages of either Flour or Flour, Too I typically rave about all of her delicious recipes such as the homemade breads, the sticky sticky buns, the decadent cakes...and the overall excellence of the recipes included in her cookbooks.  That typically leads into some of the recipes I've made or a little chat about her restaurants.  However, there is one other little comment that has entered it's way into the conversation time and time again...

"Those lime cornmeal cookies."

People are constantly RAVING about these things.  And now I understand why.

As people would tell me about their obsession with these cookies I would always think about the very good chance that the cookies would be dry and almost grainy from the cornmeal.  The combination always sounded appealing, but the cookie itself did not.

And then I made them.  And tried them.  And my mind is forever changed.

Cornmeal in cookies is a wonderful, wonderful thing.  It creates a texture that I've never experienced in cookies.  Dryness is nowhere near an issue as the edges of the cookies are lightly brown and crisp but the center is soft and almost cake like.  And the heavenly glaze balances out the cornmeal in the greatest way possible.

I've adapted the recipe ever so slightly to include tequila and coconut (because tequila, lime, coconut...why not?) but if you're not a fan of either, leave them out and your cookies will still be equally delicious.


Adapted from the Flour Cookbook by Joanne Chang

Makes: 14-16 cookies
Prep Time: 20 minutes
Bake Time: 15-18 minutes
Total Time: 35 minutes + 30 minutes cooling time

{Printable Recipe}

Ingredients:
1 cup unsalted butter, at room temperature
3/4 cup plus 2 tablespoons granulated sugar
2 tablespoons finely grated lime zest
1 tablespoon tequila (optional)
2 eggs
2 cups all-purpose flour
1/2 cup medium-coarse yellow cornmeal
2 teaspoons baking powder
1/2 teaspoon kosher salt
shredded coconut for sprinkling
for the lime glaze-
1 cup confectioners' sugar
2 teaspoons water
2 tablespoons fresh lime juice (1-1 1/2 limes)
1 1/2 teaspoons finely grated lime zest (about 1 lime)
1 teaspoon tequila (optional)

Directions:
  1. Position a rack in the center of the oven, and heat the oven to 350°.
  2. Using a mixer, cream together the butter and granulated sugar on medium speed for about 5 minutes, or until light and fluffy.  Stop the mixer a few times and scrape down the sides and bottom of the bowl.  Add the lime zest and beat on medium speed for about 1 minute to release the lime flavor.  Add the eggs, tequila, and vanilla and continue to beat on medium speed for 2-3 minutes.  Scrape the bowl again and make sure the eggs are thoroughly incorporated.
  3. In a small bowl, stir together the flour, cornmeal, baking powder and salt.  On low speed, slowly add the flour mixture to the butter/sugar mixture and mix until the flour is completely incorporated.
  4. Drop the dough in scant 1/4 cup balls onto a baking sheet.  Flatten each ball slightly with the palm of your hand.
  5. Bake for about 15-18 minutes, or until the cookies are pale brown on the edges, still pale in the center, and just firm to the touch in the center.  Let cool onthe baking sheet on a wire rack for 15-20 minutes, then transfer to the wire rack to cool to room temperature or just a bit warmer before glazing.
  6. While the cookies are cooling, whisk together the confectioners' sugar, water, lime juice, lime zest, and tequila in a small bowl until smooth.
  7. Brush the cookies with a thin layer of the glaze and sprinkle the cookies with a small amount of shredded coconut.  Allow the glaze to set for about 10 minutes before serving or storing.


Friday, June 7, 2013

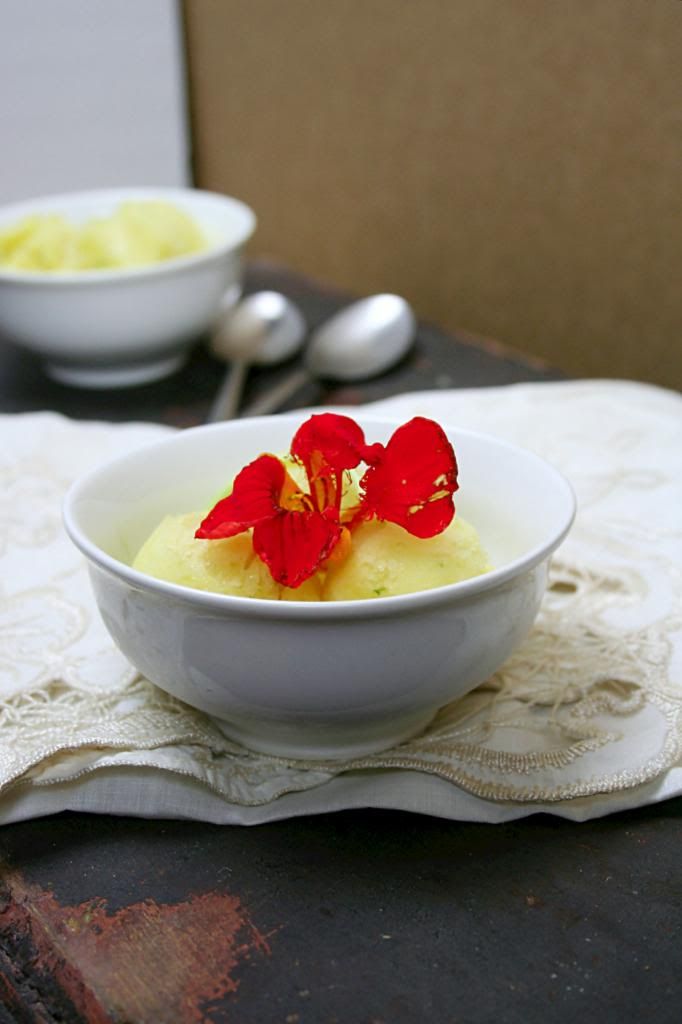
Mango and Candied Ginger Sorbet

Oh come on.

You didn't actually think I was going to leave for three weeks without doing another blog post did you?  Oh...you think that sounds like a typical move of mine?  Well.  You're right.  But not this time!

It's one of those mornings that I totally have my priorities in line.  I should be packing and getting everything ready for the trip but instead I'm sitting in the leaving room, listening to the storm outside, and working on blog posts.  I'm going to be freaking out in a couple of hours but it's totally worth it.  There's nothing like blogging on rainy mornings.


A rainy and somewhat cold morning doesn't seem like the ideal time to be posting about a fruity summer sorbet.  However, I feel that sorbet is ideal at all times and therefore negates the whole issue.

I decided to go with mango in this recipe because I loved the idea of mango and ginger together.  But it would be divine with basically any other ripe fruit.  I say head to your garden, farmers market, or local grocery store and scope out the best looking fruit around.  If it's ripe and looks delicious you're sorbet will probably be even more delicious.  And if you come up with mind blowing flavor combinations I would love to hear about them!

It tastes like a treat, it looks like a treat, and it's super healthy.  What more can you ask for?  Go make some sorbet!

PS- I'll try to be as diligent as possible about posting while I'm on the road for the next three weeks!  I definitely have some stored up recipes and some guest bloggers to share so keep your eyes peeled!


Adapted from Cooking with the Seasons at Rancho La Puerta 

Makes: 6 servings
Prep Time: 2 hours in the freezer + 10 minutes preparation
Cook Time: None!
Total Time: 2 hours 10 minutes

{Printable Recipe}

Ingredients:
1 1/2 bananas (about 1 cup), chopped into 1-inch cubes
2 cups ripe mango (or other fruit), peeled and cut into 1-inch pieces
1/2 cup fresh orange juice
2 tablespoons fresh lime juice (about 1 lime)
zest of 1 lime
2-3 tablespoons minced candied ginger, or more to taste
edible flower to garnish (optional)

Directions:
  1. Freeze fruit cubes on a sheet pan for several hours until they are solid.  Remove from freezer and let stand about 5 minutes.
  2. Place the fruit in the bowl of a food processor with the orange and lime juice, the lime zest, and ginger.  Puree until creamy.
  3. Add ginger, as needed, to taste.  Serve in chilled sorbet dishes, martini glasses, or bowls.  Garnish each serving with a flower or two.


Thursday, March 14, 2013

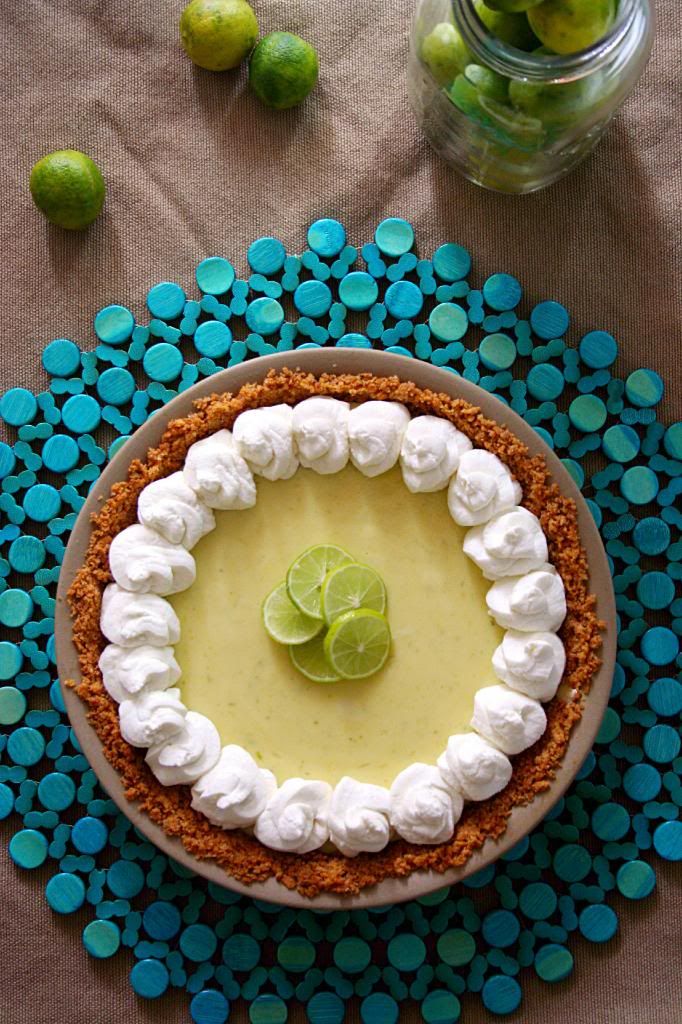
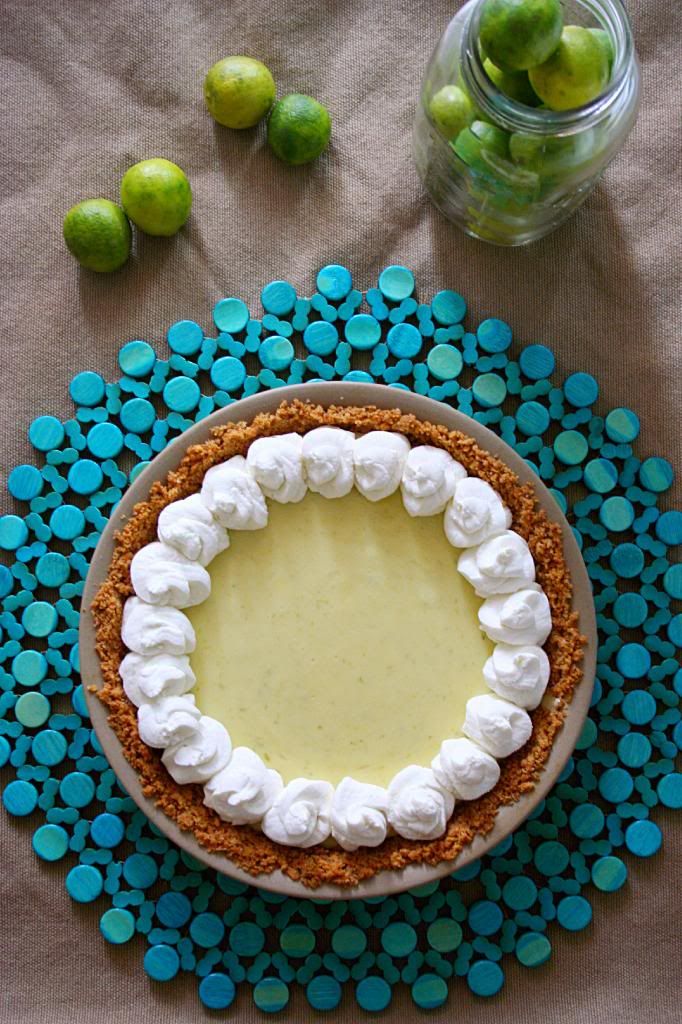
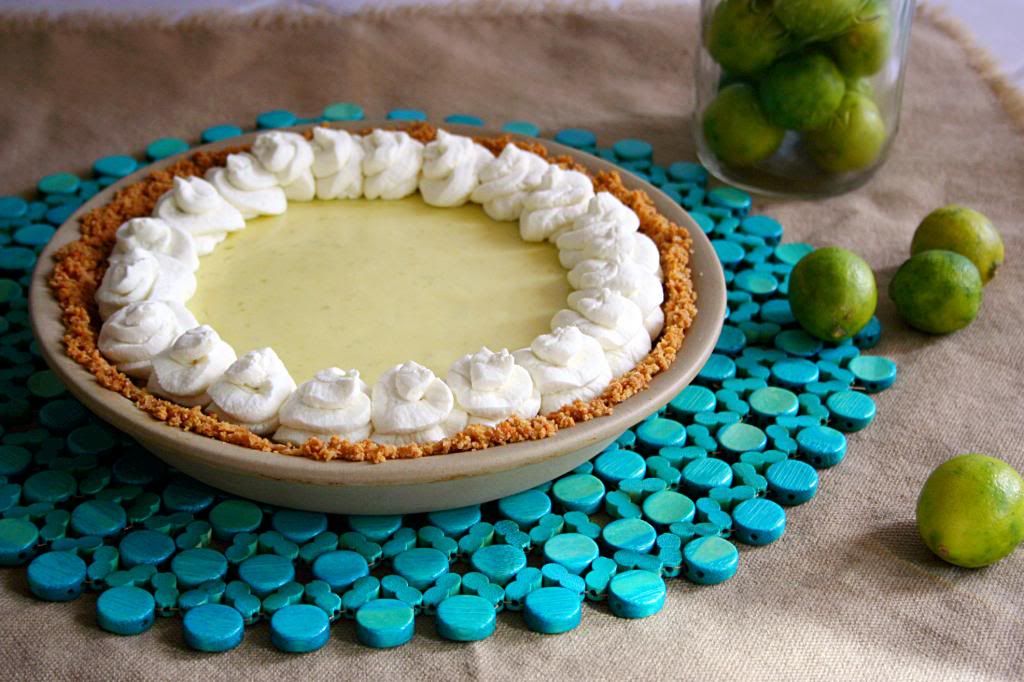
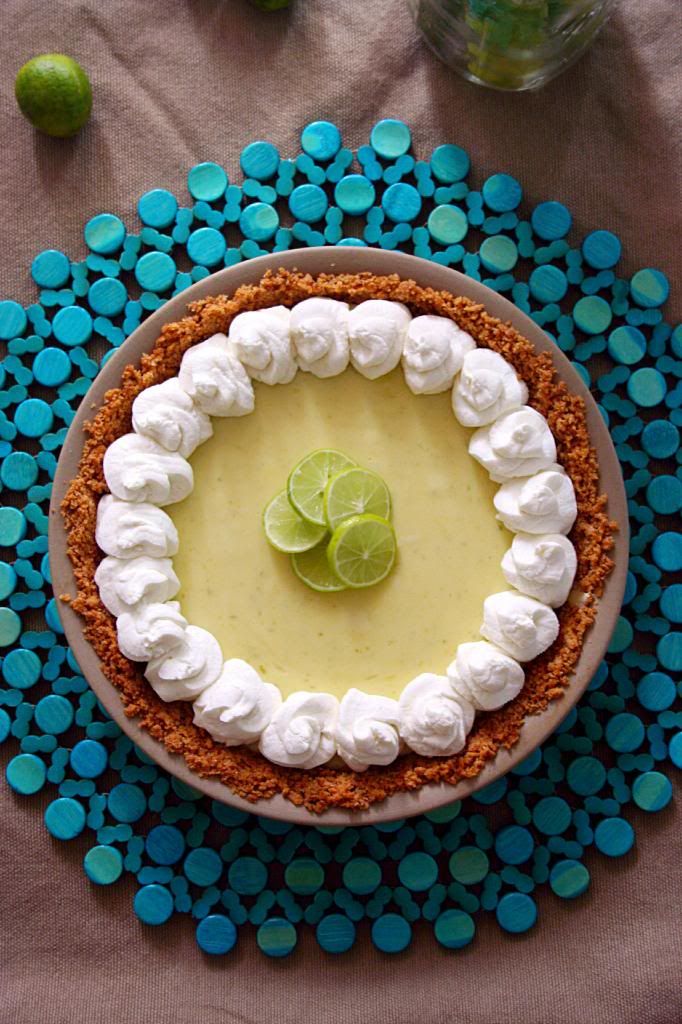
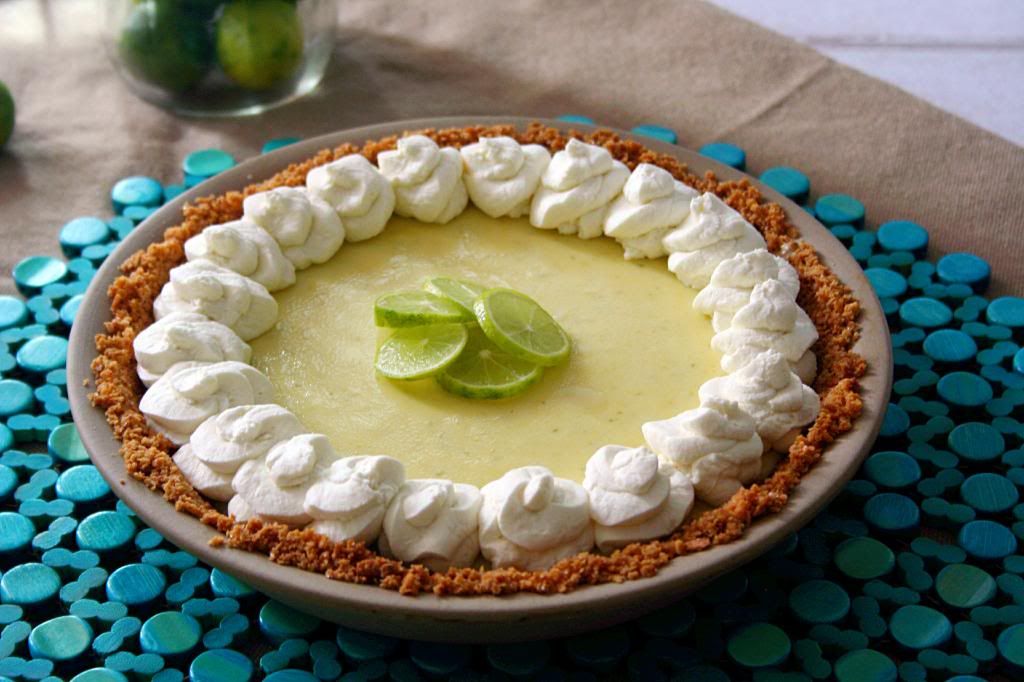
Key Lime Pie

It's been a while hasn't it?

I would say sorry.  But that would be untrue.  How could I be sorry about spending a week lounging/eating/drinking with my parents in the sunny land of Naples, Florida and then jetting up to snowy Vermont to sit by the fire and enjoy the company of friends during my last Spring Break ever?  I couldn't.  Oh and did you catch that last word?  Last Spring Break...Ever.

It's been an unbelievable last hurrah but why can't the real world have Spring Breaks?  It only seems fair.

But I probably shouldn't hold my breath on that one.


As some of you may already know...it's Pi Day!  You know...the whole 3.14/March 14th thing...right?  So naturally I had to share a pie with you.  What kind of themed food lover would I be if I didn't give you a pie recipe today?


I also have to dedicate this pie to Miss Ashley from The Uniqueness of Being.  She has begged and begged and begged for me to make her a Key Lime Pie.  She even requested it as her birthday treat.  And like a good friend...I never made it for her.  Which I completely blame on the fact that key limes aren't exactly available during winter in New England.  And that she abandoned me for Missouri.  But either way...I owe this girl a pie.

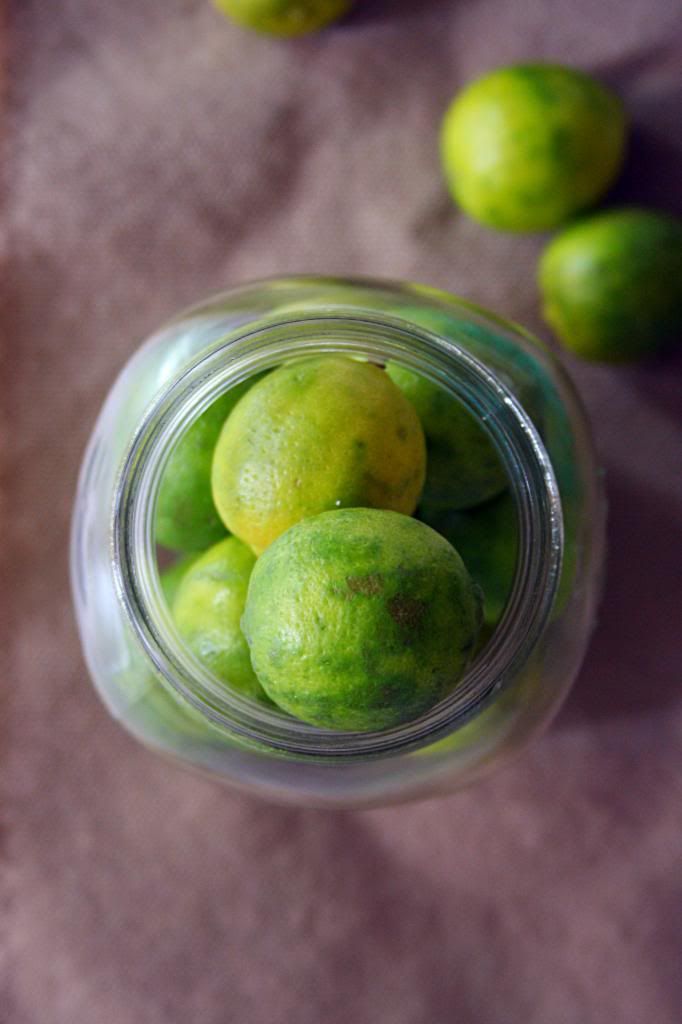
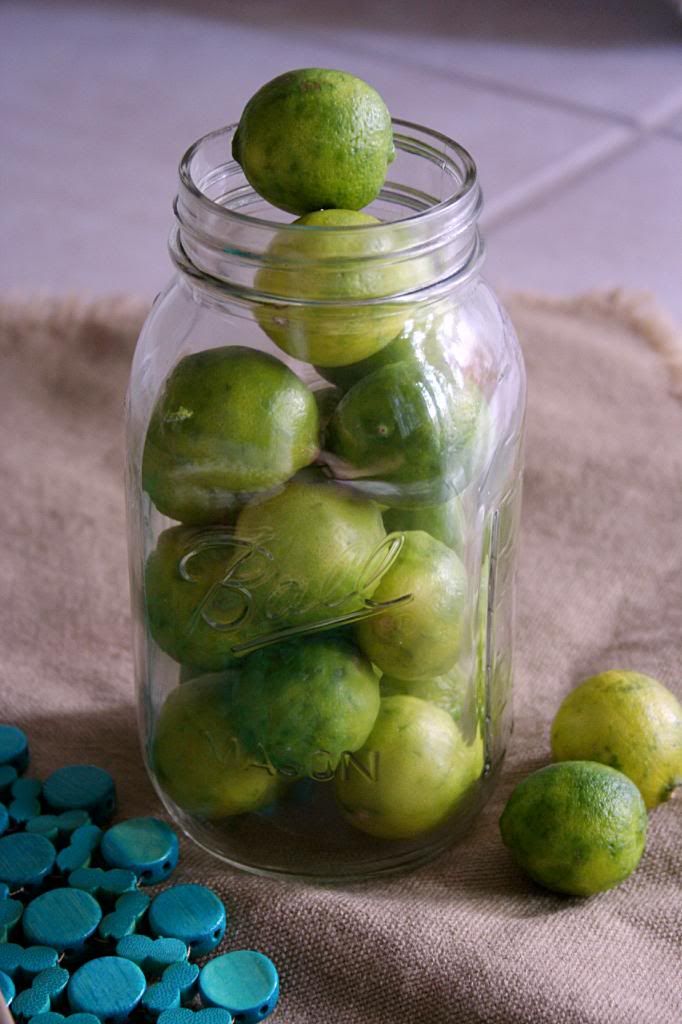
And this is the one she will get.  One of these days.  It's go weak in the knees good.  Perfectly tart.  Matched by the sweetness of the cream.  A magical crust.  Seriously.  You can't go wrong here.  And guess what.  I have even better news.  After doing some research...I have found that "Key Limes" aren't necessary!  If you can't find a bag of those adorable little limes just use regular limes and it will still be delicious!

Promise.


Adapted from Brown Eyed Baker

Makes: One 9-inch pie
Prep Time: 20 minutes
Bake Time: 30 minutes
Total Time: 50 minutes (active) + 4 hours (inactive)

{Printable Recipe}

Ingredients:
for the filling-
4 teaspoons grated lime zest
4 egg yolks
1 (14-ounce) can sweetened condensed milk
1/2 cup fresh lime juice

for the graham cracker crust-
9 graham crackers, pulverized into crumbs
2 tablespoons sugar
5 tablespoons unsalted butter, melted

for the whipped cream-
1 1/2 cups heavy cream, chilled
1/2 cup powdered sugar

Directions:
  1. Preheat oven to 325°F.
  2. To make the filling-Whisk the lime zest and egg yolks in a medium bowl for 2 minutes until frothy.  Whisk in the sweetened condensed milk and the lime juice.  Set aside at room temperature to let it thicken while you prepare the crust.
  3. To make the crust-In a medium bowl, stir together the graham cracker crumbs and granulated sugar.  While stirring with a fork, slowly drizzle in melted butter.  Mix until all of the dry ingredients are moistened.  Transfer the crumbs to a 9-inch pie plate and evenly press the crumbs in the bottom of the pan and up the sides.  Bake until the crust is fragrant, about 15-18 minutes.  Transfer to a wire rack to cool to room temperature.
  4. Once the crust has cooled to room temperature, pour the filling into the crust.  Bake until the center is set, yet slightly jiggly in the middle, about 15 minutes.  Return the pie to a wire rack; cool to room temperature.  Refrigerate until well-chilled, at least 3 hours.
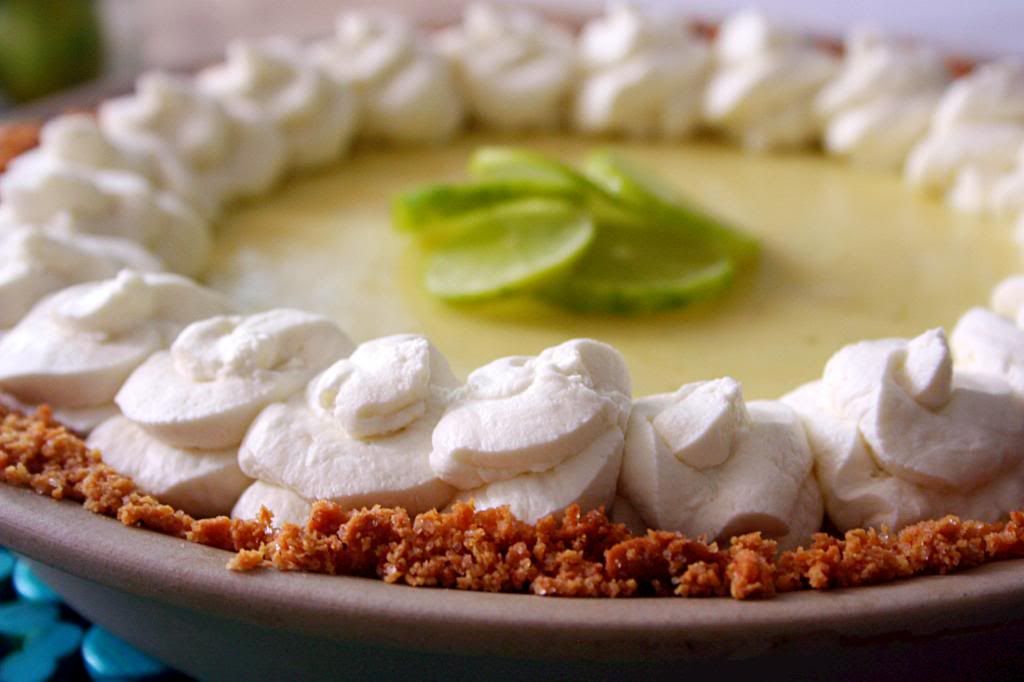
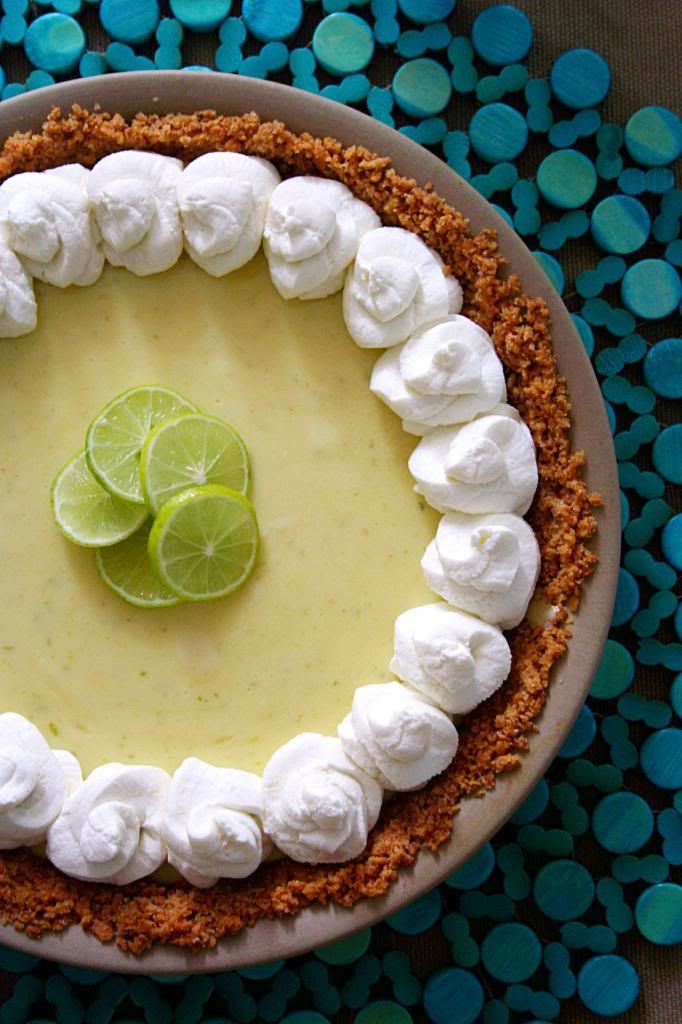
  5. To make the whipped cream-Using an electric mixer, whip the cream on medium speed until soft peaks form.  Add powdered sugar 1 tablespoon at a time while continuing to whip the cream until stiff peaks form.  Decorate the pie with whipped cream and garnish with lime slices.


Wednesday, February 6, 2013

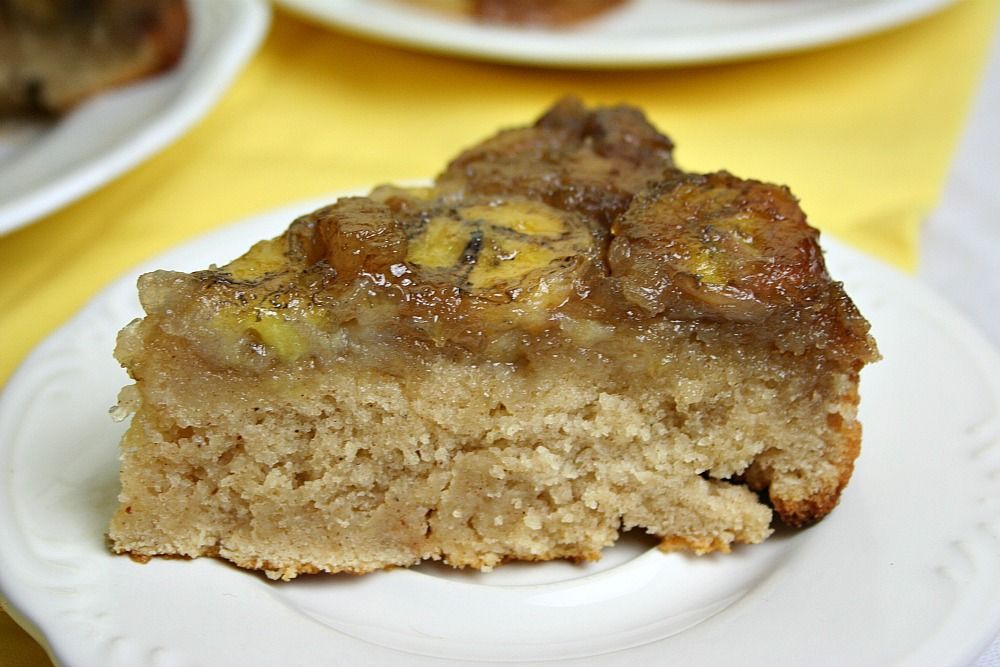
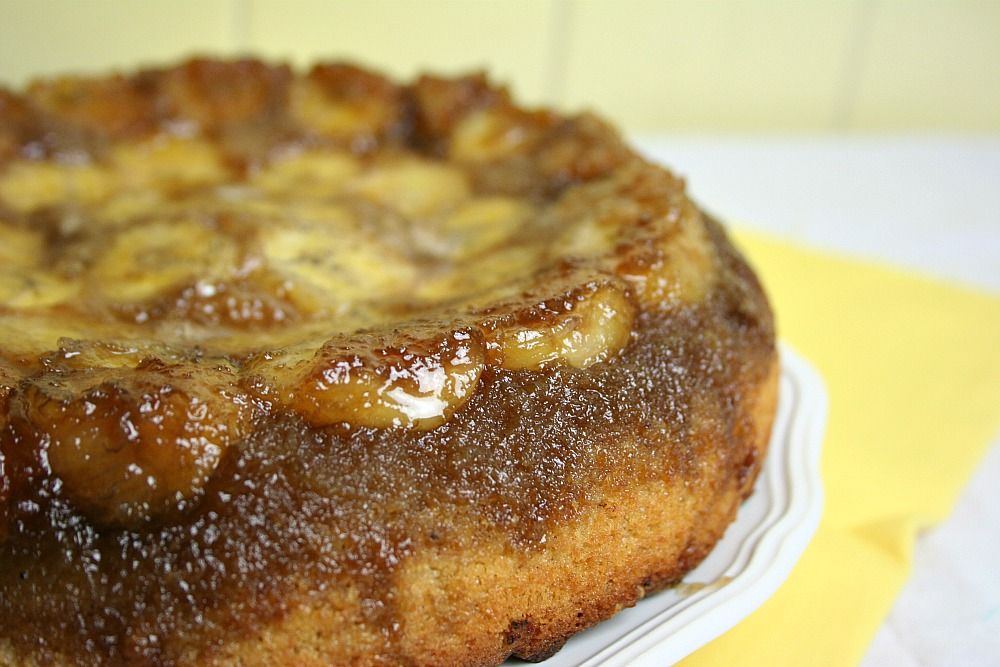
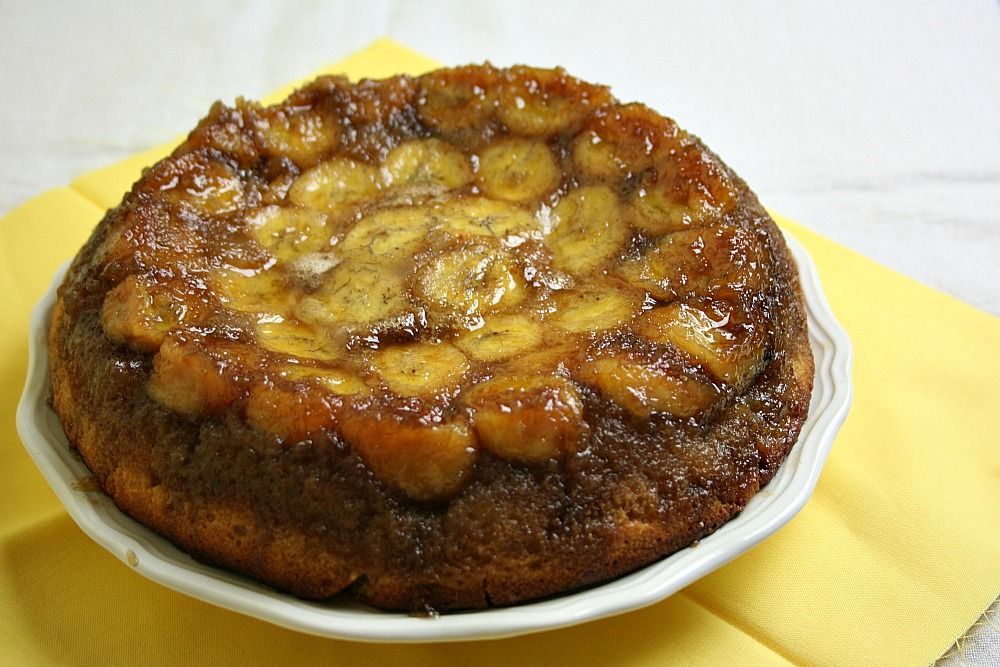
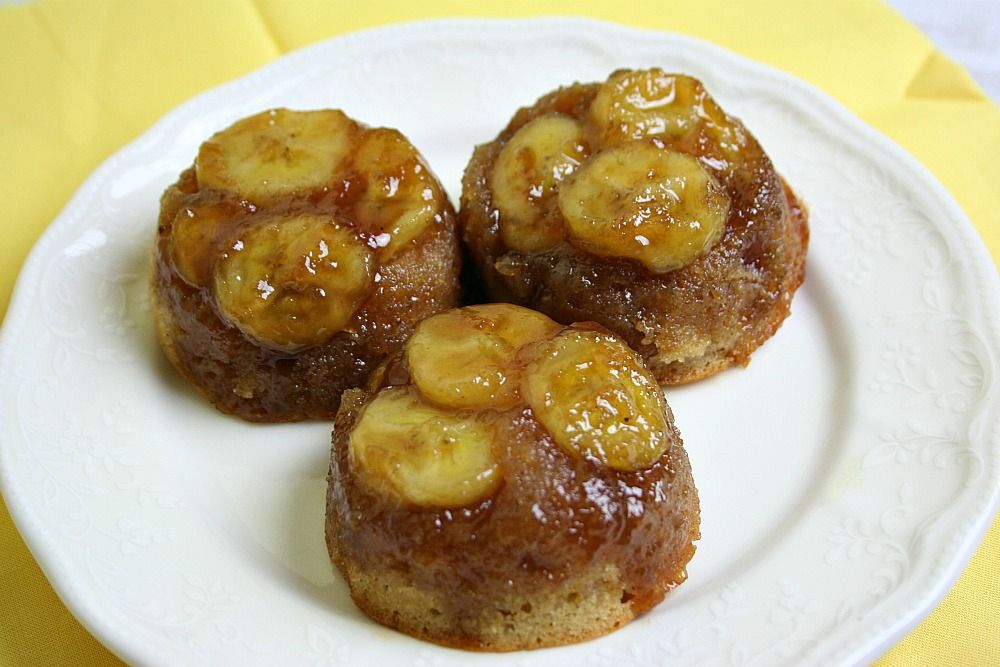
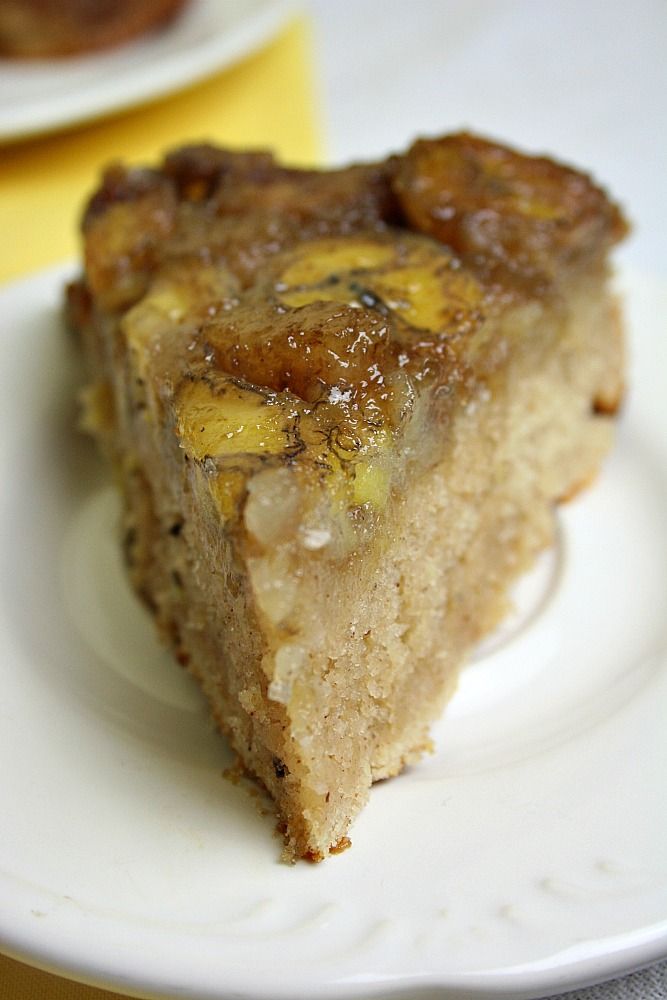
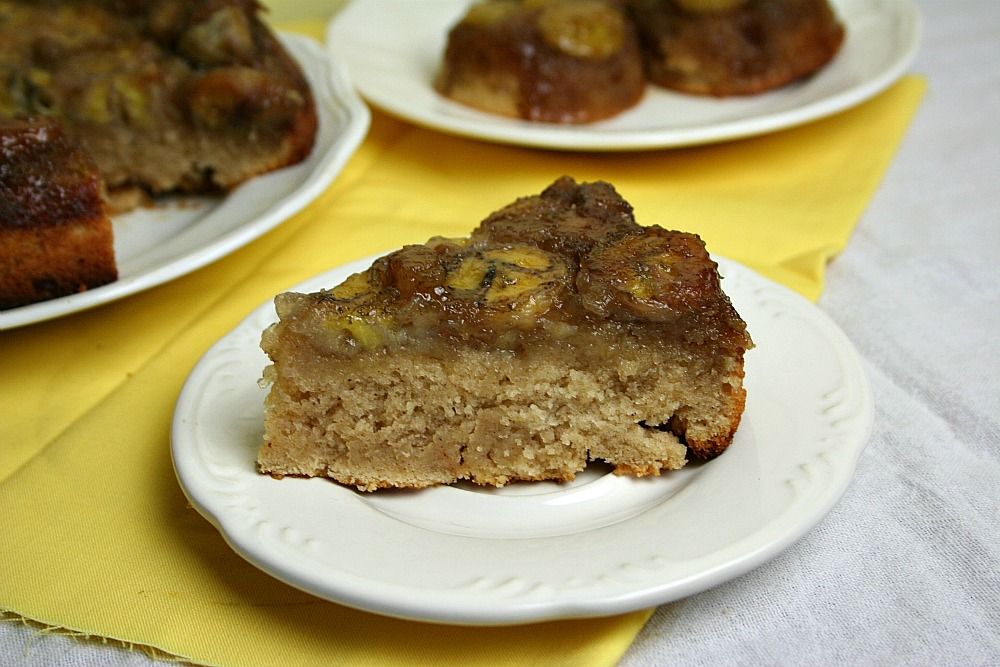
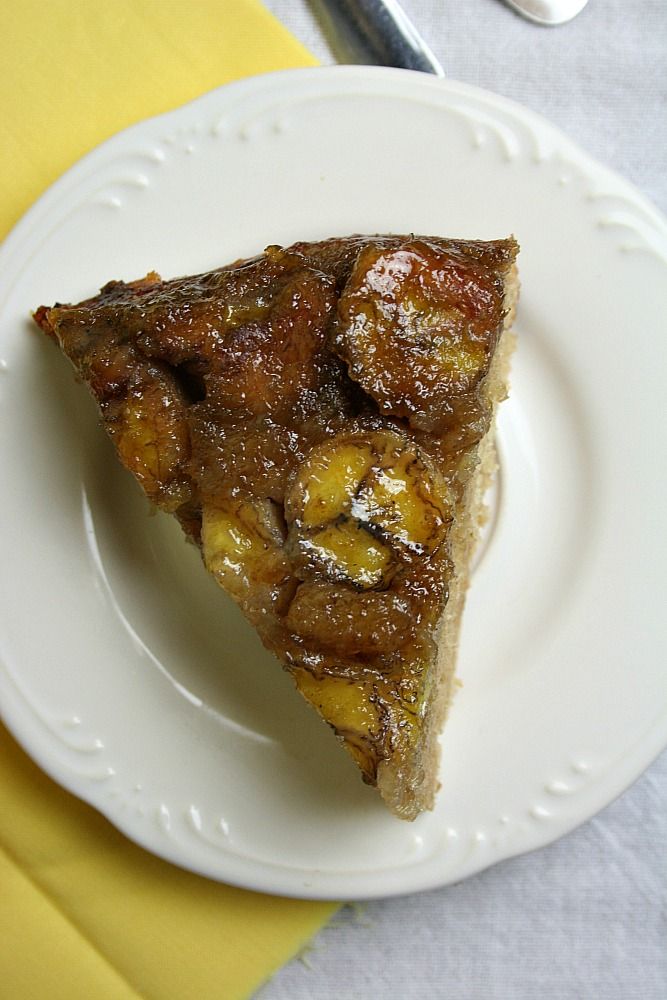
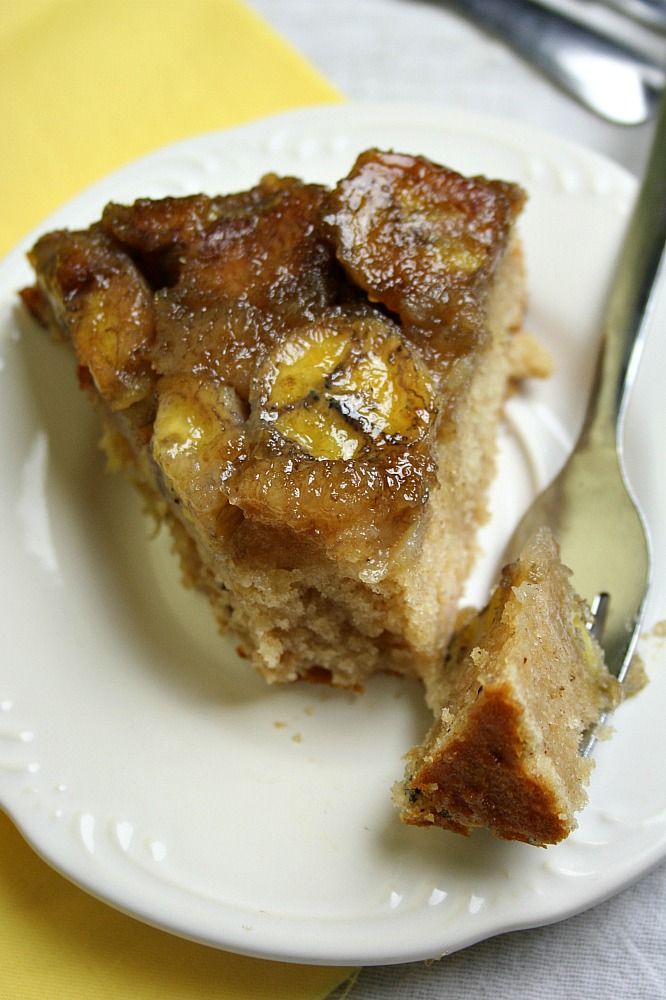
Upside-Down Banana Cake

Oh um...it's Wednesday?  You mean I missed Meal Plan Monday?

Oops.  Super Bowl Sunday really threw off the beginning of my week.

Next week though...I could almost promise that there will be one.  And you can bet that it will have a certain lovey dovey theme to it.  I may not adore Valentine's Day but, I do adore themed food.

But that's next week.

So let's talk about this cake.


I spent hours trying to figure out what I would make with the disgusting looking bananas that were rotting away in my fruit bowl.  I was feeling a little more adventurous than just whipping up some banana bread.  But not adventurous to the point that I might have to venture outdoors in the horribly frigid weather to grab ingredients.

I was leaning toward Banana Cream Pie.  Because come on.  How good is Banana Cream Pie?

But Banana Cream Pie meant going outside.  And like I said...I wasn't feeling that adventurous.  So I decided to go with this Upside-Down cake.  I've seen plenty of upside-down cakes but never one with bananas.  And I like going for the unknown when baking.

I knew within the first five minutes that this was going to be gold.  I may have started drooling while I was melting the butter and brown sugar that quickly turned into caramely goodness.  And then pouring it over those super sweet and super ripe bananas.  The delicious cake on top was just a bonus.

But let me tell you a secret.  You'll want to know this when it comes out of the oven.

The outside "crust" is the best thing in the entire world.  So I highly suggest taking it out of the oven, cutting all the way around the cake, and saving the "crust" for yourself.  The caramel pushes up the sides when baking and forms this crunchy, caramely, heavenly, super delicious thing that should be kept entirely to yourself.

Unless you're one of those sharing types.


Adapted from Gourmet Magazine via Foodess

Makes: 1 10-inch cake
Prep Time: 15 minutes
Bake Time: 30-35 minutes
Total Time: 50 minutes

{Printable Recipe}

Ingredients:
1/3 cup butter
3/4 cup packed brown sugar
2 tablespoons vanilla
3 large, ripe bananas, sliced
1 3/4 cups all purpose flour
2 teaspoons baking powder
1/2 teaspoon cinnamon
1/2 teaspoon nutmeg
1/4 teaspoon salt
1/3 cup butter, softened
3/4 cup white sugar
2 large eggs
2 teaspoons vanilla
3/4 cup milk

Directions:
  1. Preheat oven to 350°F.  Melt 1/3 cup butter in a large skillet.  Add brown sugar and 2 tablespoons vanilla; stir briefly and then allow to bubble and caramelize for about 5 minutes, until it becomes golden brown in color.  Remove from heat.
  2. Arrange sliced bananas in a 10-inch baking pan and pour toffee over bananas.
  3. In a medium bowl, whisk together flour, baking powder, cinnamon, nutmeg and salt.
  4. In the bowl of a stand mixer (or using a hand mixer), beat 1/3 cup softened butter and white sugar until light and fluffy, about 3 minutes.  Add eggs, one at a time, beating thoroughly after each addition.  Add vanilla.
  5. With the mixer on low speed, add one-third of the flour mixture, and then one half of the milk.  Repeat, ending with the flour mixture, mixing until just combined.
  6. Pour over toffee and bananas and bake for 30-35 minutes, until golden brown on top and a toothpick inserted in the center comes out clean.
  7. Allow to cool in pan 5 minutes before inverting onto a plate.


Friday, December 28, 2012

Nutella Stuffed Chocolate Chip Cookies

I'm back.  Sort of.

How was your holiday?  Wonderful I hope.  How are your bellies?  Still stuffed with food I hope.  Because mine definitely is.  And I wouldn't want to be the only one.

I'm pretty sure the feast we prepared a few days ago for 10 people could have easily fed 50.  I'm not sure why I do that, but I find it completely necessary to go way over the top for all holiday meals.  If the meal doesn't require two solid days in the kitchen...I'm not satisfied and neither is my mother.  The Bell women won't have it any other way.

Maybe we should start inviting more guests.  So...um...would you like to join us next year?

Great.


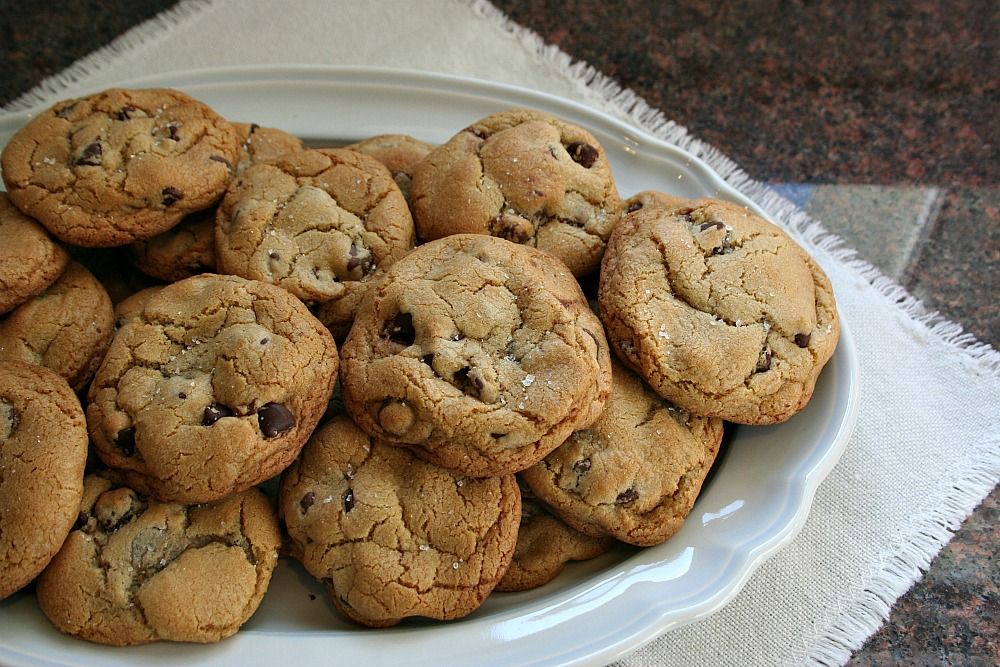
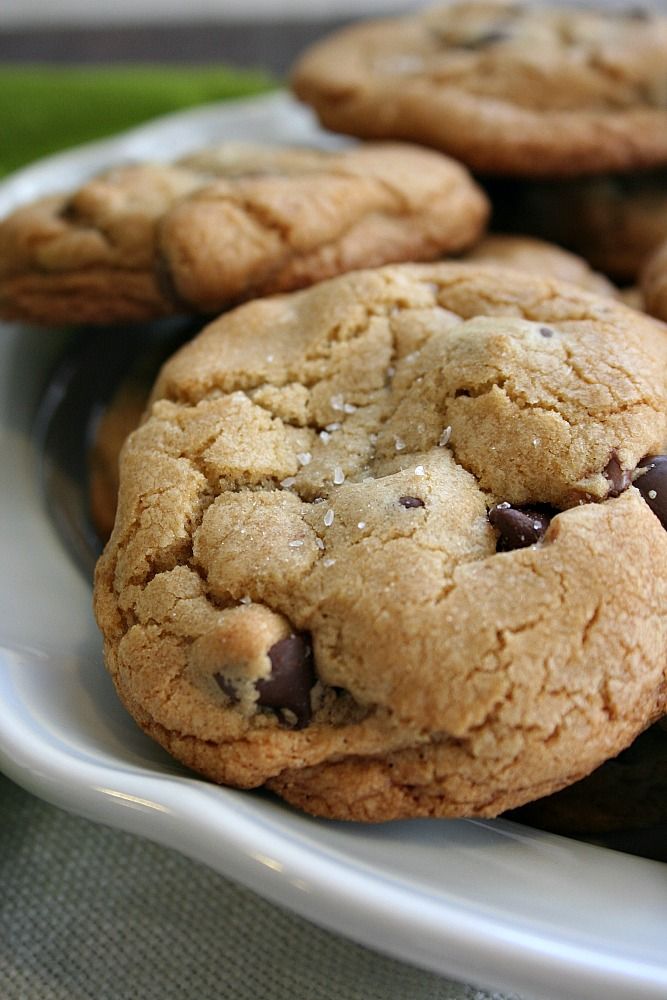
I'm completely aware that cookies are probably the last thing you want to see right now...but I need you to know that these are a very solid exception.

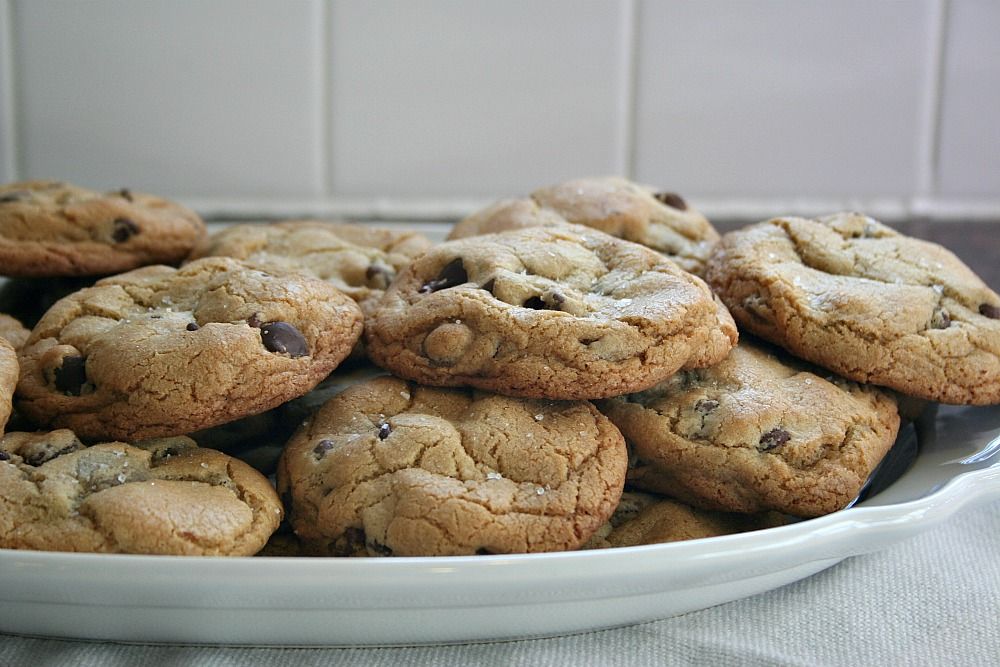
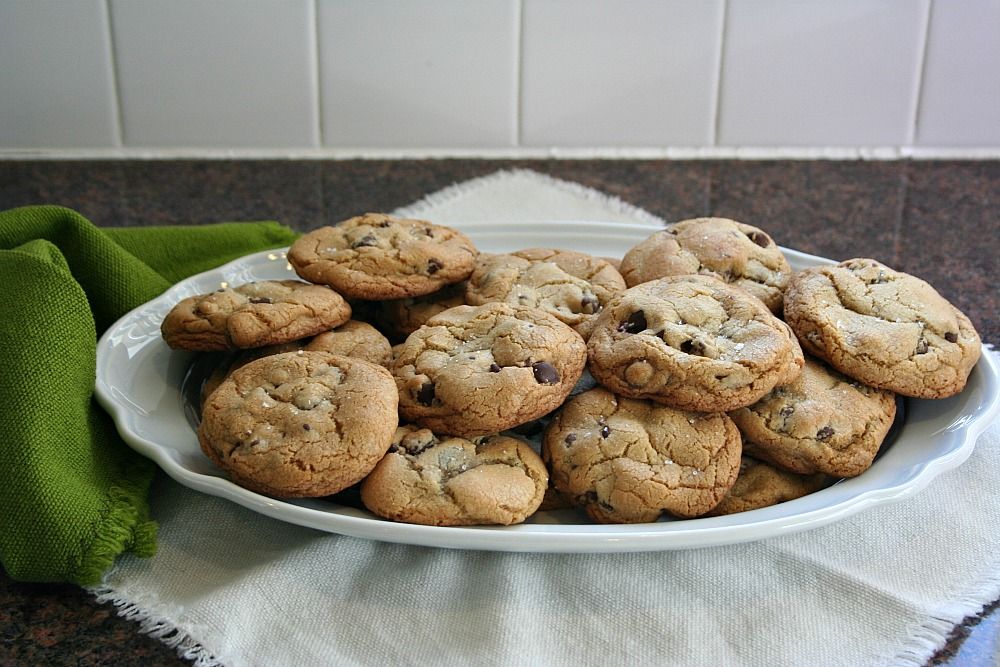
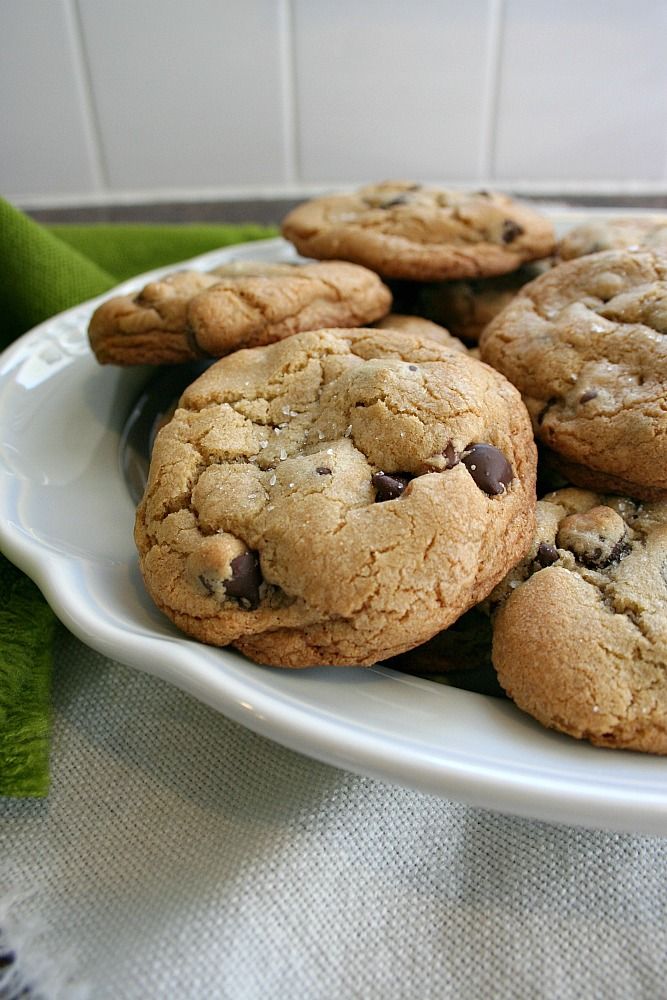
As of now I've already whipped up three batches.  And my father, who literally never eats sweets, can't keep his paws off of them.  He's the reason I decided to make a few more batches.  If dad even goes in for round one, you know you've got something worth while.  But if he's going back for number twelve three days later...you know you've hit it out of the park.

Trust me on this one.  Make these things.  And take a few (but probably way more) to your New Years festivities.  Or stay home on New Years and eat the whole batch.


Makes: 2 dozen
Prep Time: 2 hours
Bake Time: 9 Minutes
Total Time: 2 hours 9 minutes
Adapted From: Ambitious Kitchen

Ingredients:
2 1/4 cup all-purpose flour
1 1/4 teaspoon baking soda
1/4 teaspoon salt
2 sticks (1 cup) unsalted butter
1 1/4 cup packed dark brown sugar
1/4 cup granulated sugar
1 large egg plus 1 egg yolk
1 1/2 teaspoons vanilla extract
1 tablespoon plain greek yogurt
3/4 cup semi-sweet chocolate chips
1/2 cup milk chocolate chips
1/2 cup dark chocolate chips
1 jar Nutella, chilled in refrigerator
coarse sea salt for sprinkling

Directions:
  1. Whisk together flour, baking soda, and salt in a small bowl and set aside.
  2. In a saucepan over medium heat, melt butter until it beings to foam.  Continuously whisk until the butter begins to brown on the bottom of the saucepan, about 5-7 minutes.  As soon as the butter is brown and begins to give off a nutty aroma remove from heat and transfer to a small bowl to prevent from burning.  Set aside to cool for a few minutes.
  3. With an electric mixer, mix the butter and sugars until thoroughly blended.  Beat in the egg, yolk, vanilla, and yogurt until combined.  Add the dry ingredients slowly and beat on low-speed just until combined.  Gently fold in all of the chocolate chips with a wooden spoon.
  4. Chill the dough for 2 hours in the refrigerator.
  5. Preheat the oven to 350°.  Measure out a heaping tablespoon of dough and roll it into a ball.  Flatten the ball very thinly into the palm of your hand and then place 1 teaspoon of chilled nutella in the middle and fold the dough up and around it.  Gently roll into a ball (it doesn't have to be perfect!) and make sure the nutella isn't seeping out anywhere.  If it is, cover it up with more dough.
  6. Place dough balls on a cookie sheet, 2 inches apart and flatten the tops ever so slightly with your fingers.
  7. Bake the cookies 9 minutes or until the edges of the cookies begin to turn golden brown.  Remove from oven and let sit on the baking sheets for several minutes.  Sprinkle with coarse sea salt and transfer cookies to a wire rack to cool completely.  
  8. Enjoy!

Tuesday, December 18, 2012

Eggnog Crumble Cake

Last Monday I did a little guest post over at the lovely blog, This Heart is Mine.

And just in case you didn't have the chance to check it out last week, I promised that I would share it here this week.  I wouldn't want you missing out you know.

So, before I head off to Missouri (bright and early in the morning!) and get even slower with my blog posts...I figured now would be the best time to share this little gem as a little "please forgive me when I abandon the blog for a few weeks" type thing.


I've always been a lover of breakfast.  No matter the hour of day or time of year...I need my breakfast.  And if I'm deprived...you should probably steer clear.

I'm usually a light and savory type of breakfast girl.  But I completely understand the glory that comes from switching it up every once in a while.  It's a special occasion thing.  Like when my mom makes her world famous waffles.  Or when the holidays roll around.  That's the time when you need a big gooey cinnamon roll or a stack of pancakes and a steaming cup of coffee to get into the holiday spirit.  Nothing kills that spirit like an egg white omelet stuffed with vegetables. (Even though I'm on the egg white omelet boat 360 days a year.)


'Tis the season - Might as well eat cake for breakfast.  Right? Right.


Just as I'm not usually on the sweets for breakfast bandwagon, I'm typically not on the eggnog bandwagon.  But I will admit, I love the flavor.


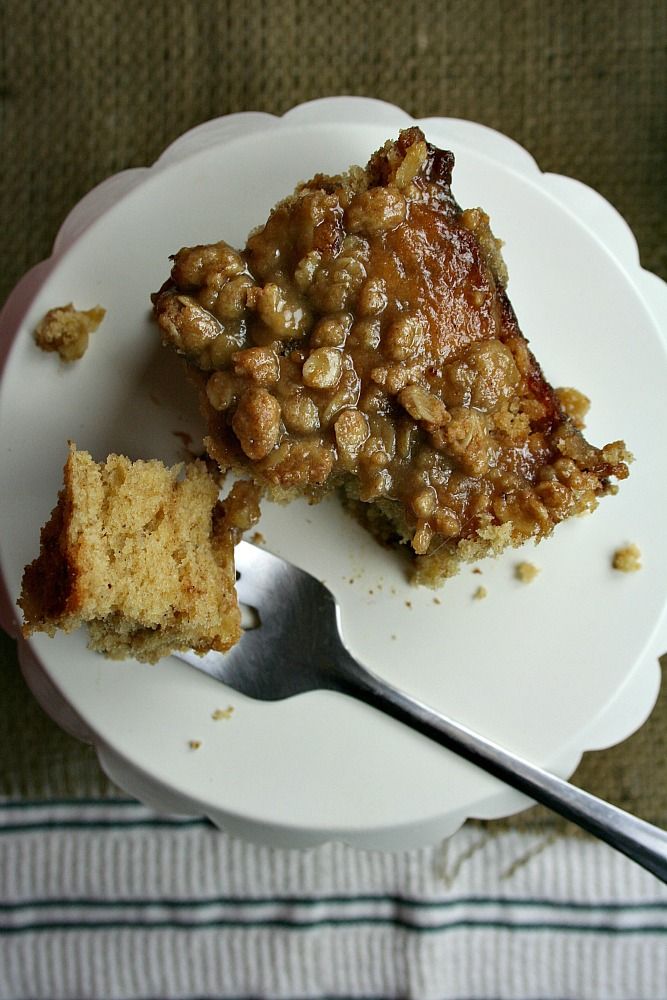
And that's why this breakfast "cake" knocks it out of the park.  It's sweet.  But not too sweet.  The flavor of eggnog is there but you don't feel like you're drinking a big glass of heavy cream.  The whole wheat flour gives it a boost in the texture department, and justifies the whole sweetness thing.  It's quite perfect.

I recommend whipping up this little treat for an early morning family gathering.  Or maybe a mid afternoon nibble.  But of course it would also do as a late night snack.  I don't want to limit you, you know.
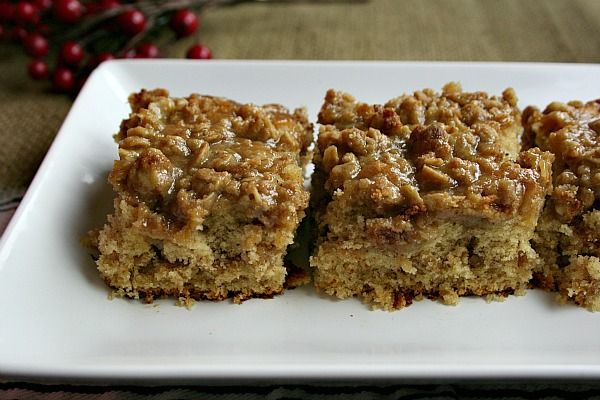
Either way, you'll be the hit of the season.


Adapted from How Sweet It Is

Makes: one 9x13 cake
Prep Time: 10 minutes
Bake Time: 20-25 minutes
Total Time: 35 minutes

Ingredients:
for the coffee cake-
2 cups whole wheat pastry flour
1 tablespoon baking powder
1/2 teaspoon nutmeg
1/4 teaspoon salt
1/4 teaspoon cinnamon + an extra 1/4 teaspoon
1/4 teaspoon cloves
6 tablespoons unsalted butter, melted and cooled
1/2 cup loosely packed brown sugar + an extra 1/3 cup
1/3 cup granulated sugar
2 large eggs
1 teaspoon vanilla extract
1 cup eggnog

for the crumble-
1/2 cup whole wheat pastry flour
1/3 cup oats
1/3 cup brown sugar
1/4 teaspoon cinnamon
4 tablespoons unsalted butter, melted

for the eggnog glaze-
1/2 cup brown sugar
1/3 cup eggnog
1/4 cup granulated sugar
1 teaspoon vanilla extract
pinch of nutmeg

Directions:
  1. Preheat oven to 350° and spray a 9x13 baking dish with nonstick spray or rub with butter.  
  2. In a small bowl combine 1/3 cup brown sugar and 1/4 teaspoon cinnamon, set aside.  In another small bowl combine flour, baking powder, salt, nutmeg, cinnamon, and cloves, whisking to combine.
  3. In a large bowl, add butter and sugars whisking until smooth.  Whisk in eggs one at a time, mixing well after each addition.  Stir in vanilla.  Slowly add dry ingredients and eggnog until a batter forms and then whisk until smooth.  Pour half of the batter in the baking dish and then sprinkle the brown sugar/cinnamon mixture over the top.  Cover with the remaining batter, gently spreading with a spatula until even.
  4. To make the crumble combine all ingredients in a bowl and mix until crumbly.  Sprinkle evenly over cake and bake for 20-25 minutes, or until cake is set in the middle.
  5. While the cake is baking, make glaze by heating all glaze ingredients in a small saucepan over medium heat.  Allow to come to a boil and then reduce heat and let simmer for 2-3 minutes.  Remove from heat and set aside until cake is finished baking.
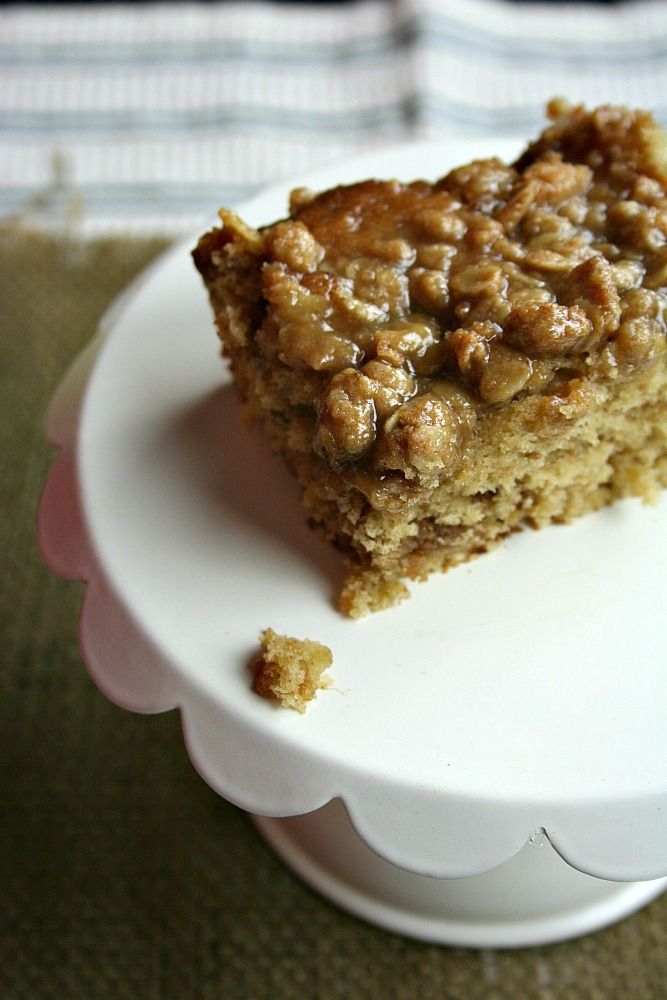
  6. When the cake comes out of the oven, immediately poke holes all over with a toothpick.  Drizzle glaze over the top.
  7. Cut, serve, enjoy!

Friday, November 30, 2012

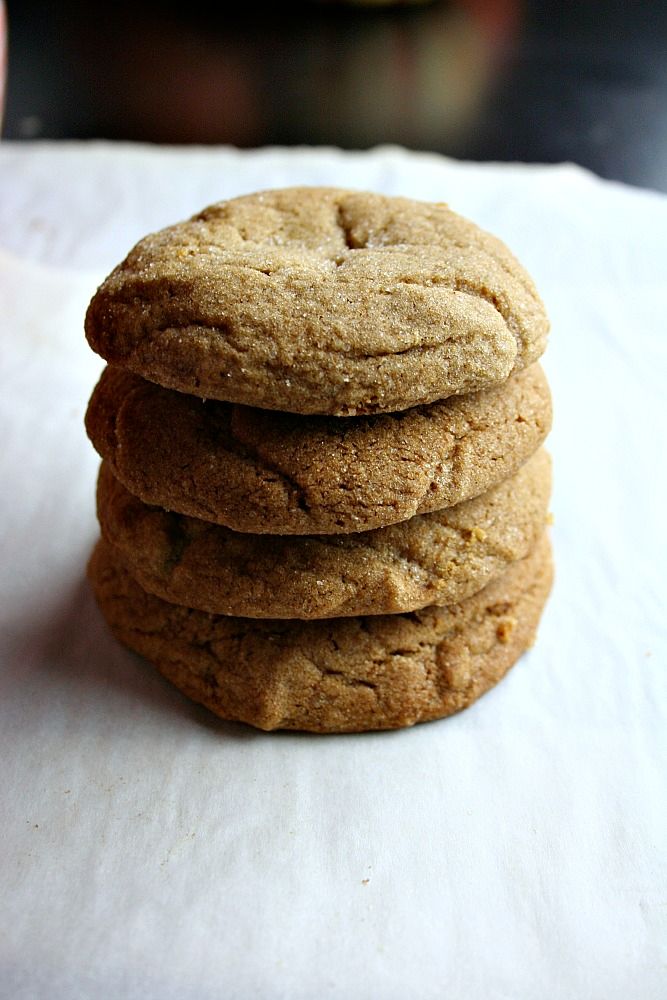
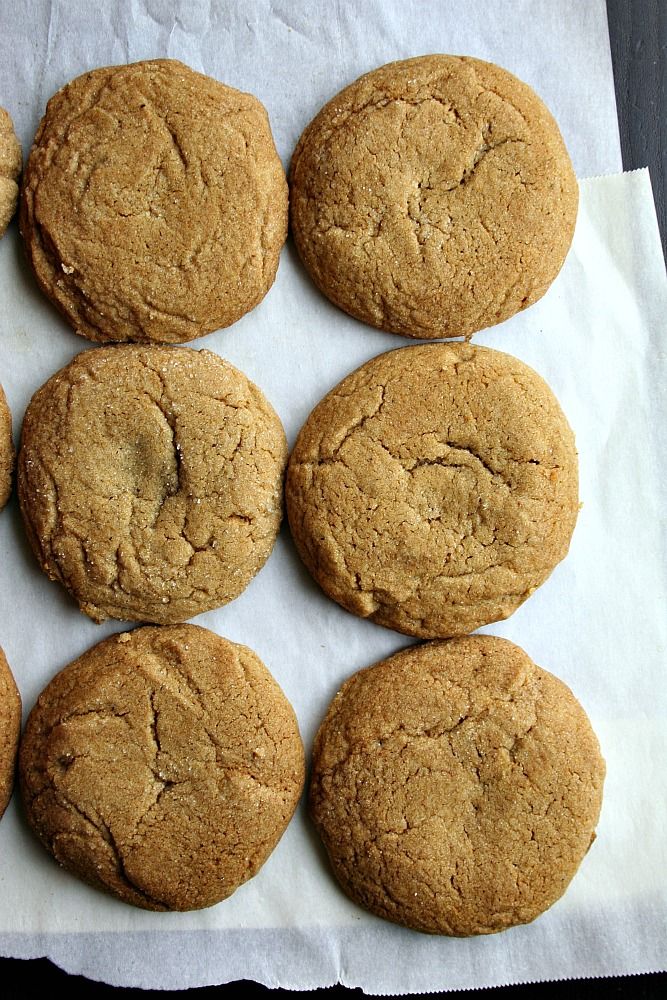
Chewy Gingersnap Cookies

It's been a while hasn't it?

I'm closing in on my last couple of days of class...and well...it's getting a little crazy.

So crazy in fact that I probably shouldn't even be writing this blog post.  But who is going to stop me?

Probably no one.  But I'll keep it short and sweet just in case.

First I must ask...have you signed up for the giveaway yet?  No??  Well that's silly.  Because you should.  Tonight at midnight I will choose a winner for my Plenty Cookbook giveaway.  Don't know what that is?  Click {here} to see the book.  All you have to do is click {here} and leave a comment telling me something about your Thanksgiving.  For extra chances to win you can share the giveaway on facebook or twitter.  So go go go!  You don't have much time!
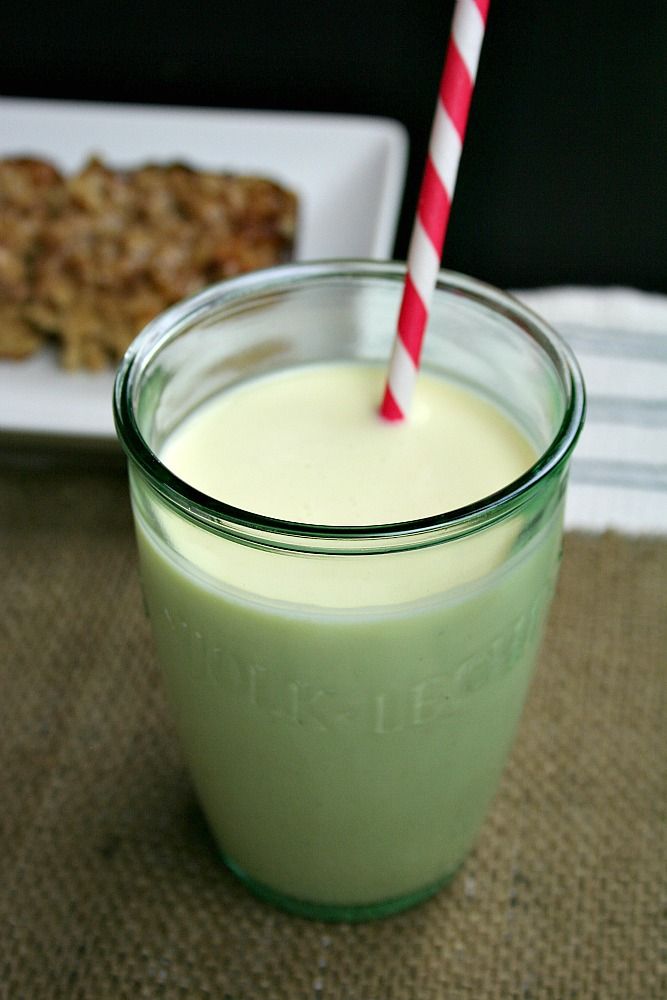
Next...these cookies.

My kitchen has successfully transitioned into a full steam ahead holiday baking kitchen.  Has yours?  I've been cranking out cookies left and right and have plans for quite a few more festive holiday treats before we head back to Missouri.  Tis the season right?

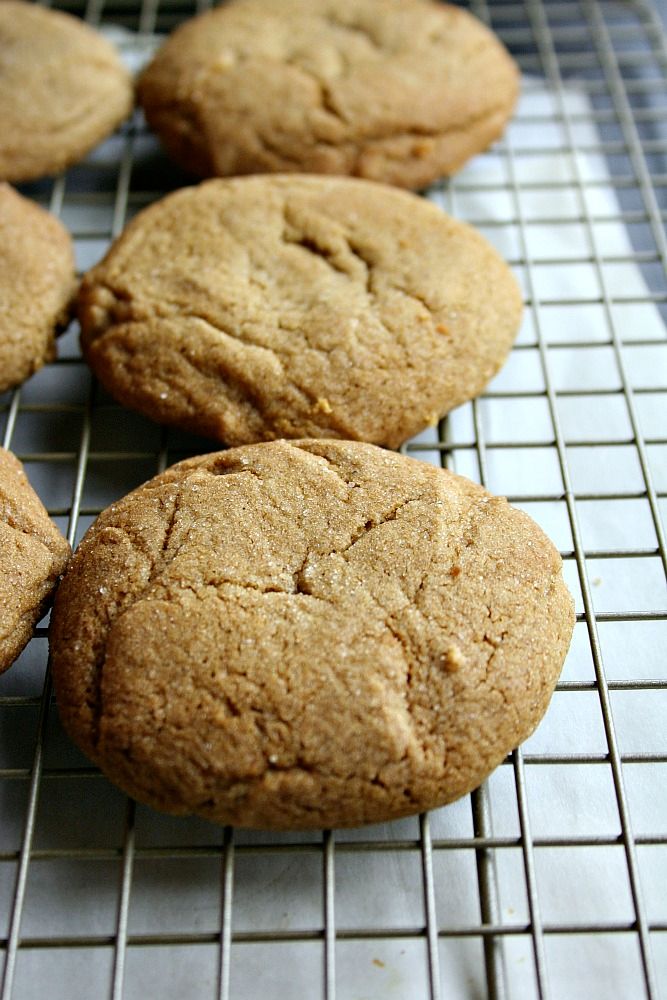
If any of you have met me...you probably know how much I love ginger.  Like...really love it.  I want it in and on everything.  Cooking.  Baking.  Doesn't matter.   I like when it's involved.  And these cookies are no exception.  I played with the thought of adding crystallized ginger but didn't for fear that it would completely throw off the texture.  I also desperately wanted to add white chocolate chunks just to give them a little boost.  But of course not one of the four grocery stores in my neighborhood carries white chocolate.  Nor do they carry yeast...but that's a story for a different time.  These cookies are perfectly soft.  But perfectly chewy.  A balance that is 100% necessary for gingersnap cookies in my opinion.
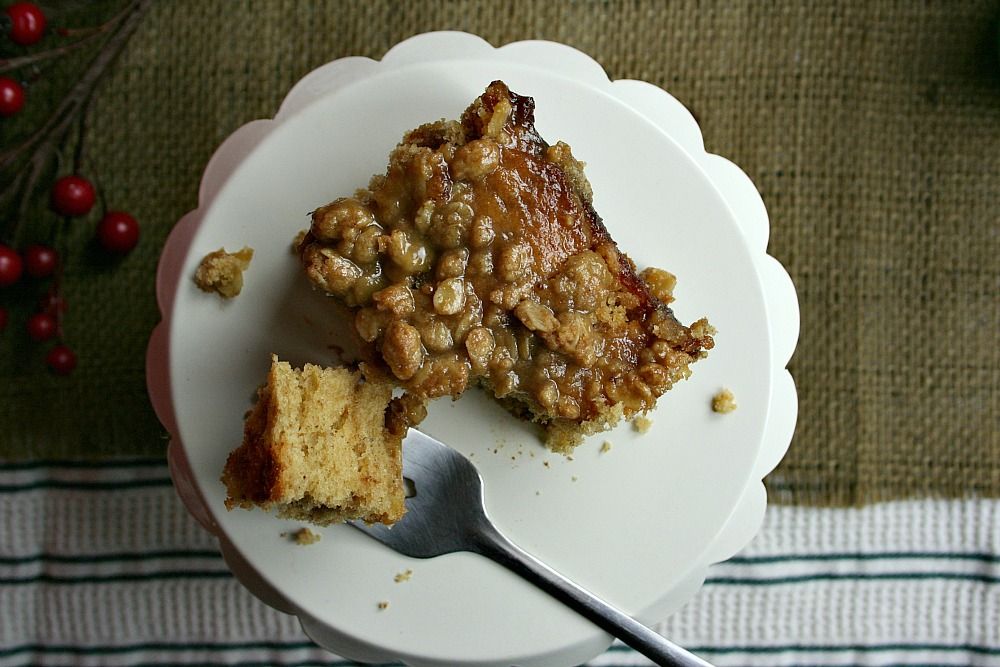
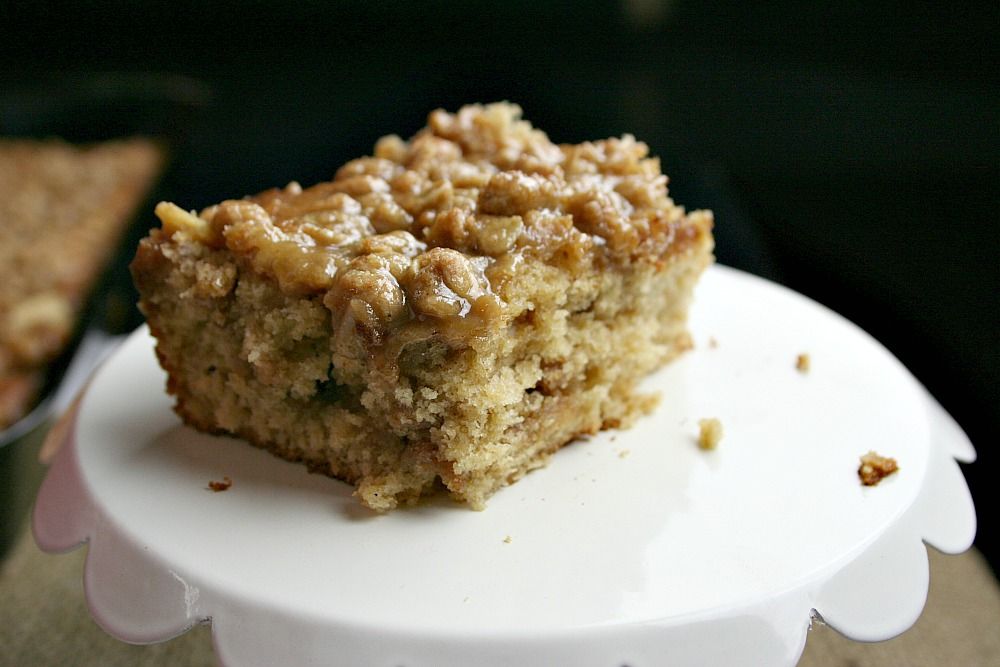
Throw these babies into your baking arsenal.  Everyone involved will thank you.

gingersnap cookies


adapted from two peas & their pod


Makes: About 3 dozen cookies
Prep Time: 5 minutes
Bake Time: 10 minutes
Total Time: 15 minutes (for the first batch!)

{Printable Recipe}

Ingredients:
1 cup unsalted butter, at room temperature
1 cup light brown sugar
1/3 cup molasses
2 tablespoons canola oil
1 teaspoon vanilla extract
2 1/4 teaspoons baking soda
1 teaspoon salt
1 1/4 teaspoons cinnamon
1 teaspoon ground cloves
1 teaspoon ground ginger
1/4 teaspoon ground nutmeg
2 large eggs
3 1/2 cups all-purpose flour
1 1/2 cups white chocolate chunks (optional)
1/2 cup granulated sugar for coating cookies

Directions:
  1. Preheat the oven to 350°F.  Line two large baking sheets with parchment paper.
  2. In a large bowl mix together flour, baking soda, salt, cinnamon, cloves, ginger, and nutmeg.  Set aside.
  3. In the bowl of a stand mixer, cream together butter and sugar until light and smooth.  Beat in the molasses, canola oil, and vanilla.
  4. Add the eggs, one at a time, and beat until smooth.
  5. Slowly add in the flour mixture and mix until fully incorporated.  Stir in white chocolate chunks (if using).
  6. Scoop the dough into balls and roll in granulated sugar.  Place on the lined baking sheets about two inches apart and bake for 10 minutes.  Remove from oven and let cookies cool on the baking sheet for five minutes.  Transfer to a wire rack and cool completely.


Friday, October 26, 2012

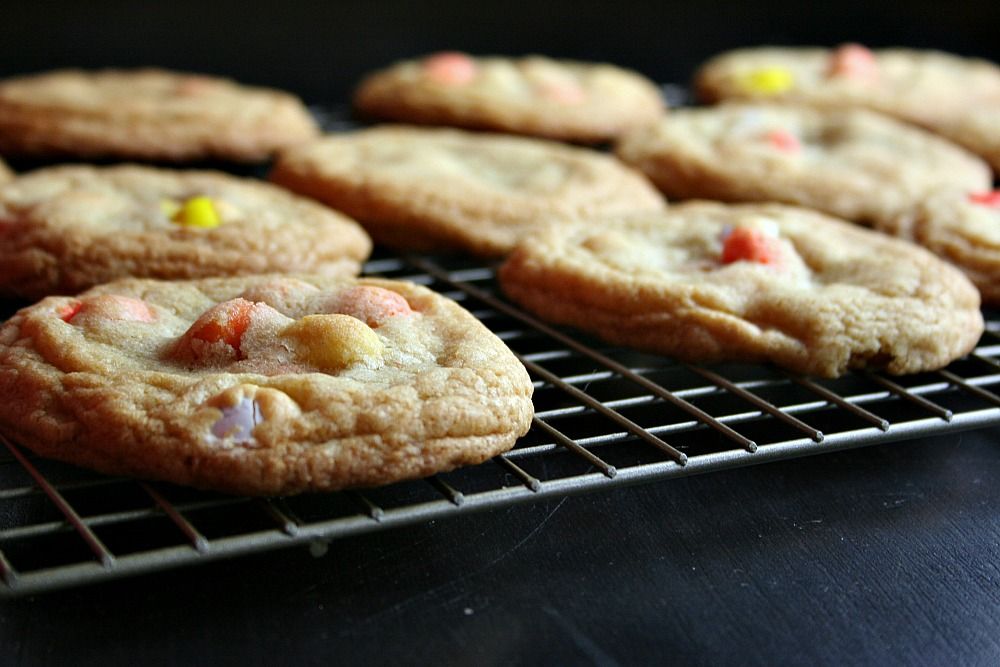
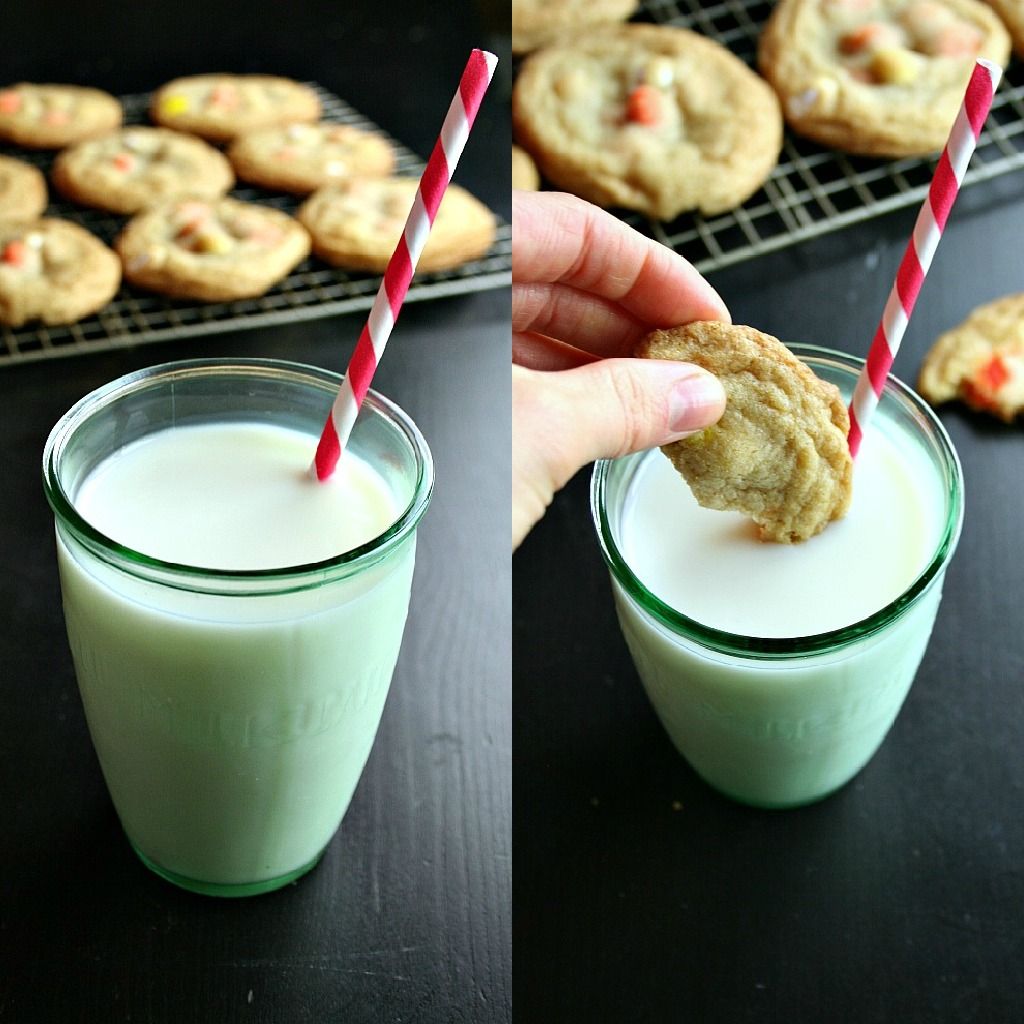
Halloween M&M Cookies

Listen.

It's that time of year again.  Halloween is upon us and that means costumes are being created, parties are being planned and of course candy is everywhere.

But here's the thing.  I don't really like candy.

Don't get me wrong.  I have a sweet tooth.  And it's not a small one.  But that monstrous sweet tooth of mine has this bizarre animosity towards candy.  It really shouldn't discriminate.  But it does.

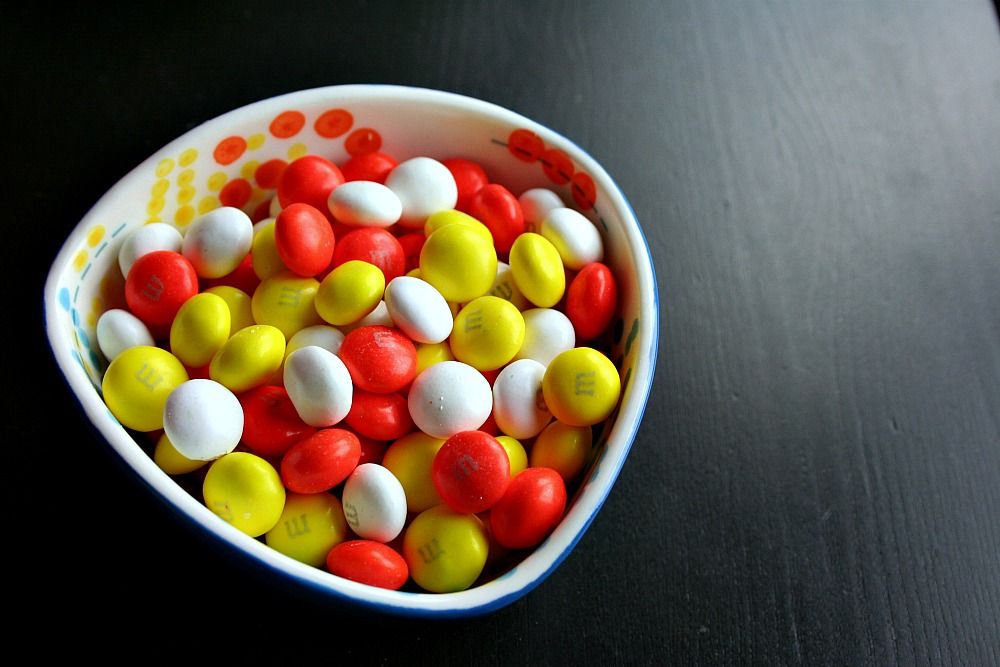
If someone were to offer me a bag full of M&M's or a handful of candy corn right at this very moment (or at any moment for that matter) I would decline without a second thought.  *Gasp* I know, it's just not my thing.  But...there's always an exception...and that exception comes in the form of White Chocolate Candy Corn M&M's.

Uh, what?

These things are like crack dipped in white chocolate.  I really don't understand it.  The part of me that dislikes candy is saying "Nooooooooooooo" but my taste buds are saying "YES".

Have I made my point that you should probably go grab a bag and try them?  Yes?  Okay, good.

But please don't eat the whole bag.  You'll need them for the cookies!

But...if you're a smart cookie...you'll get two bags.  One for you, one for the cookies!

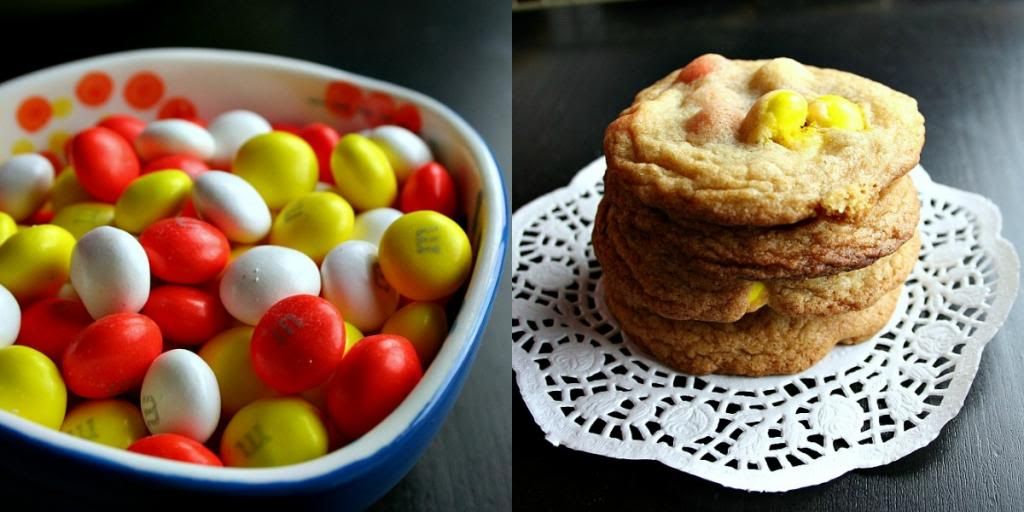
halloween m&m cookies


Makes: 2-3 dozen cookies (depending on size)
Prep Time: 10 minutes
Bake Time: 8-12 minutes 
Total Time: 20 minutes 

{Printable Recipe}

Ingredients:
2 1/4 cups all purpose flour
1 teaspoon baking soda
1 teaspoon salt
1 cup brown sugar
1/2 cup sugar
1 cup (2 sticks) butter, melted and cooled
2 eggs
2 teaspoons vanilla
1 cup M&Ms (preferably the Halloween M&M's!)

Directions:
Preheat oven to 325°.
Mix the flour, baking soda, and salt in a small bowl and set aside.
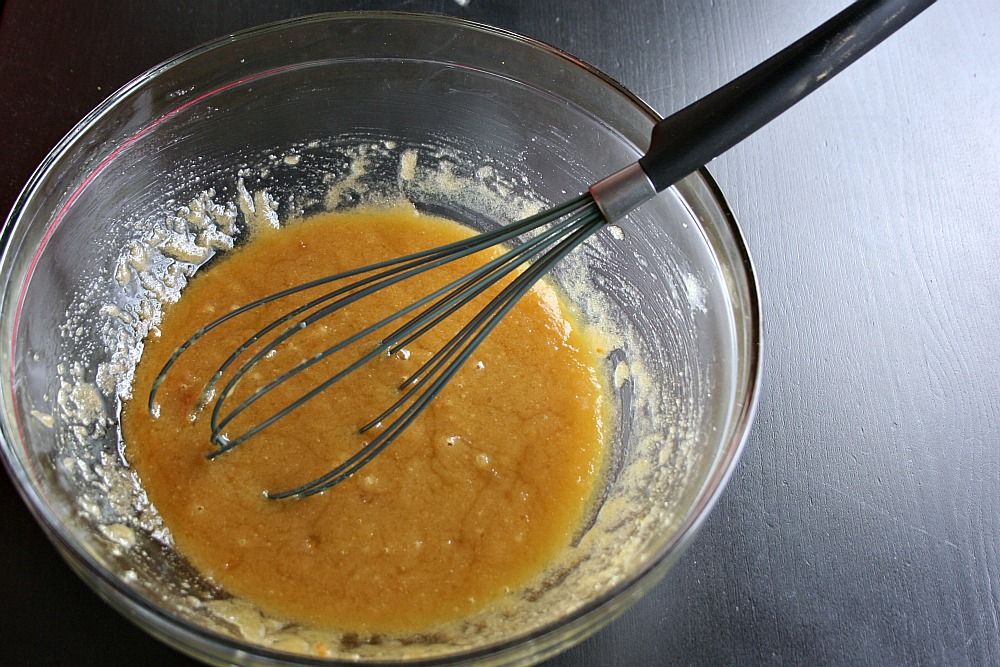
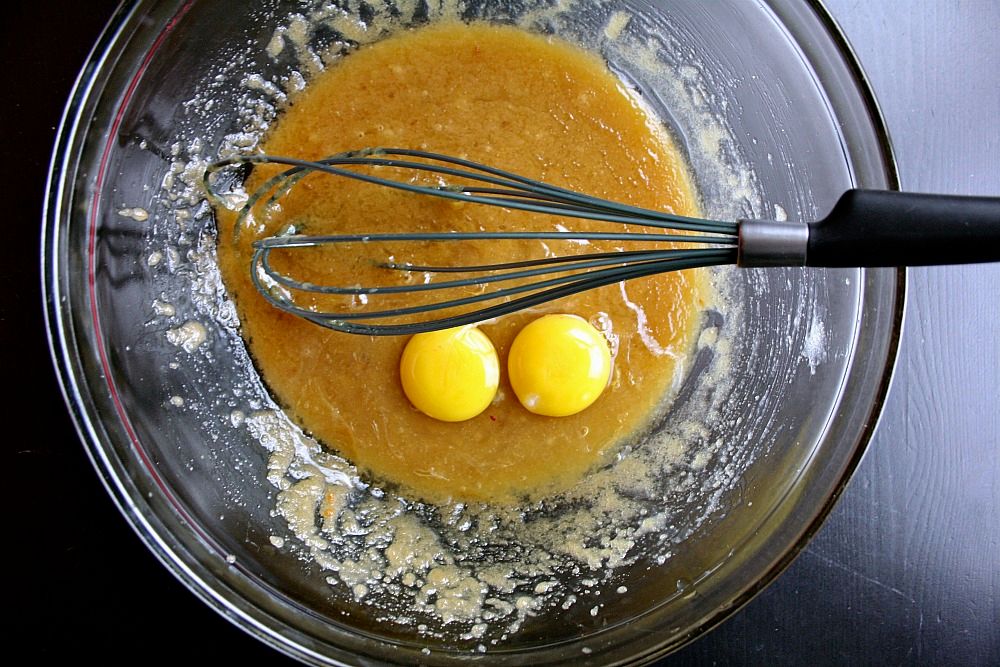
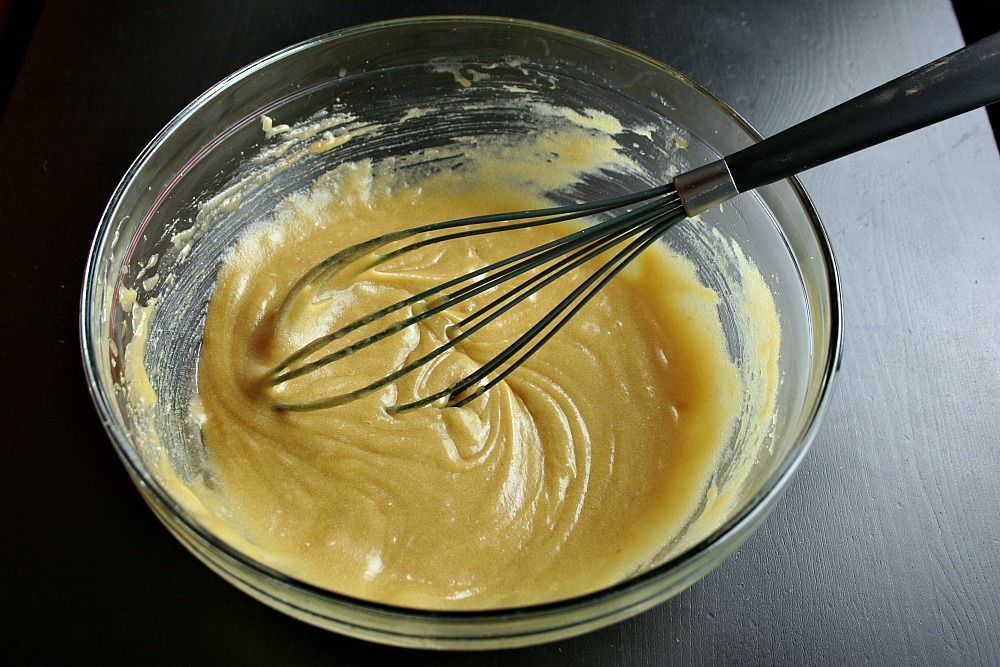
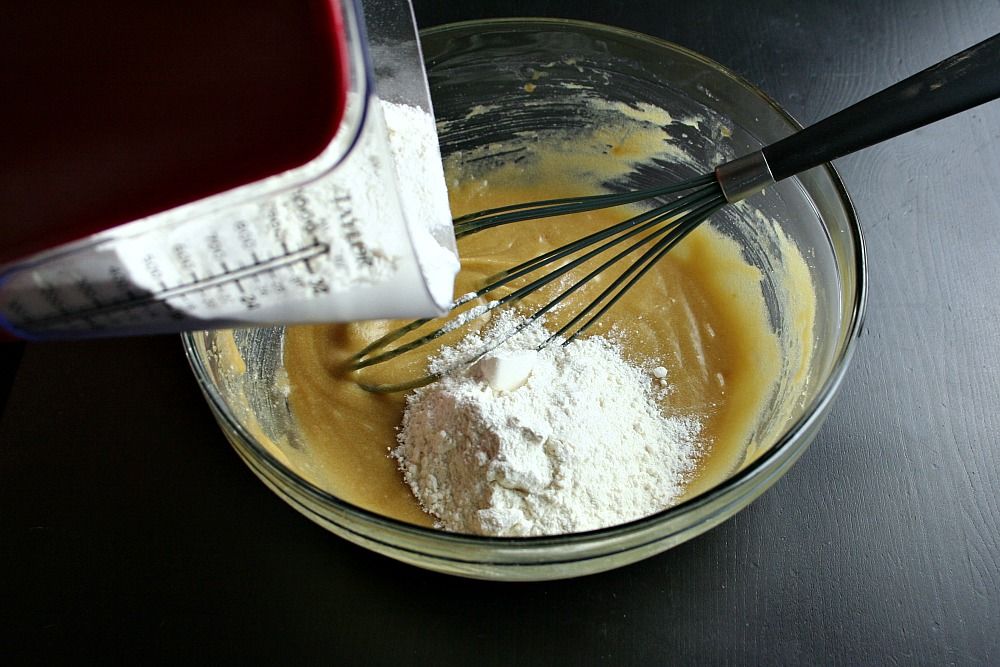
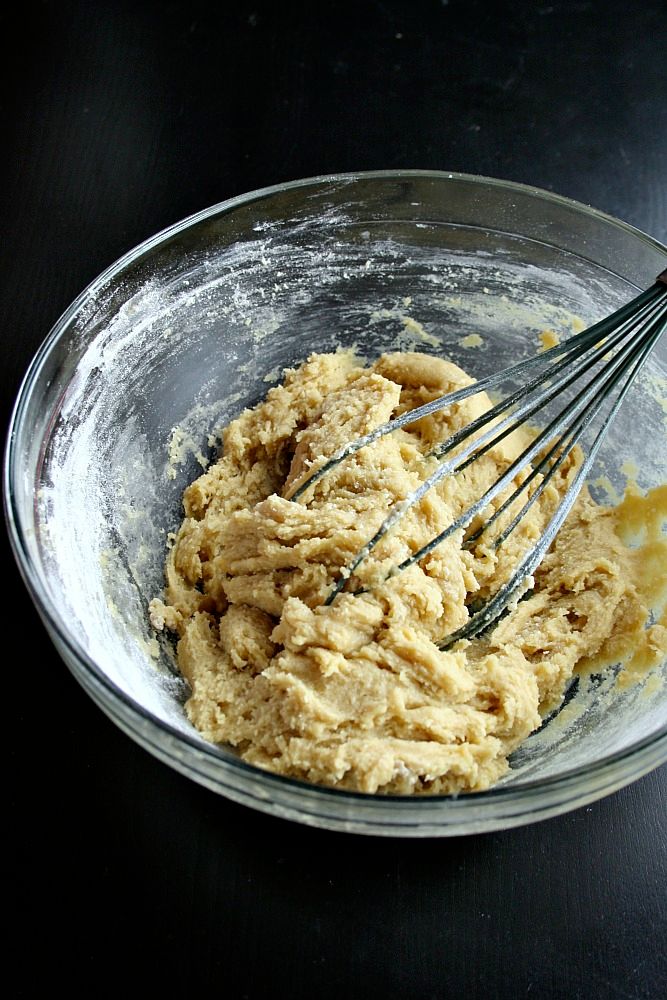
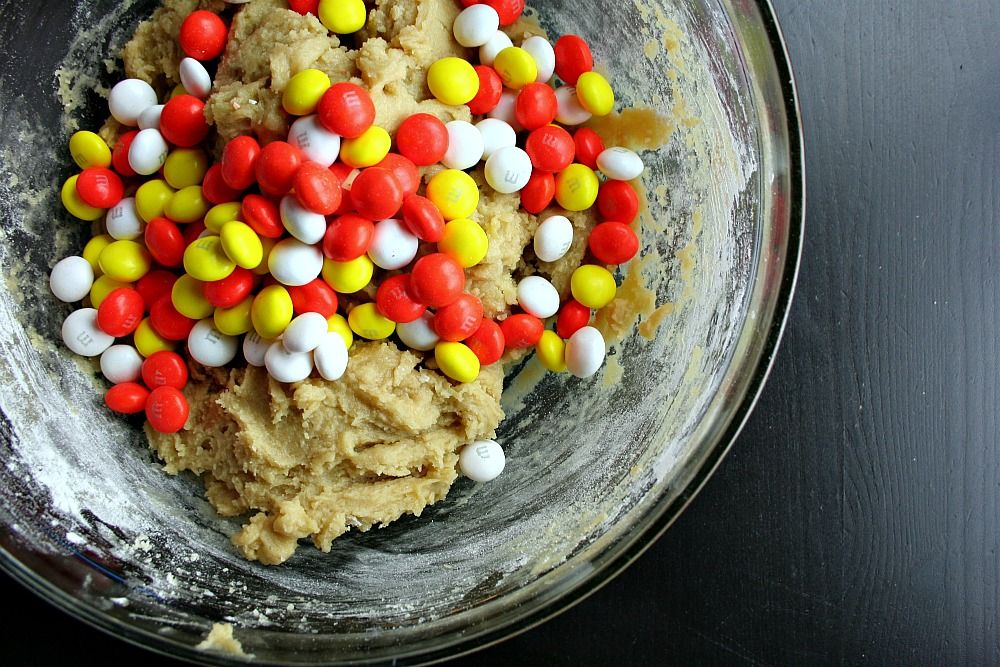
In a large bowl whisk the butter and sugars until they are combined and look like the first picture below.  Add eggs and vanilla and whisk until smooth.  Slowly incorporate flour until a dough forms.  Mix until all flour is added and then stir in M&M's.
Scoop out about 2 tablespoons worth of dough for each cookie and drop onto an ungreased baking sheet.  Bake for 8-12 minutes at 325° then remove from oven and cool on a wire rack.


P.S. - Please tell me you're proud that I took some process pictures?  It's been far too long.
Related Posts Plugin for WordPress, Blogger...