Showing posts with label vegetarian. Show all posts

Sunday, August 11, 2013

Homemade Bagels

I'm going to go ahead and admit that I've never really been an avid bagel fan.  I grew up in a household full of weirdos that didn't eat a lot of bread.  We never had buns with our burgers or hotdogs.  Rolls were never a side dish unless it was a holiday.  Sandwich insides were typically thrown on a bed of lettuce.  It had nothing to do with watching our carb intake.  Just something we did.


I still don't eat a ton of bread but interestingly enough, I find homemade bread to be one of the best and most fascinating things to bake.  Dough is so incredibly temperamental.  Everything has to be just right in terms of ingredients and temperatures.  And by making homemade doughs time and time again, you begin to learn all of the little secrets and start to be less reliant on recipes and more reliant on your senses.  It's such a captivating process.  And you end up feeling like a rocket scientist.

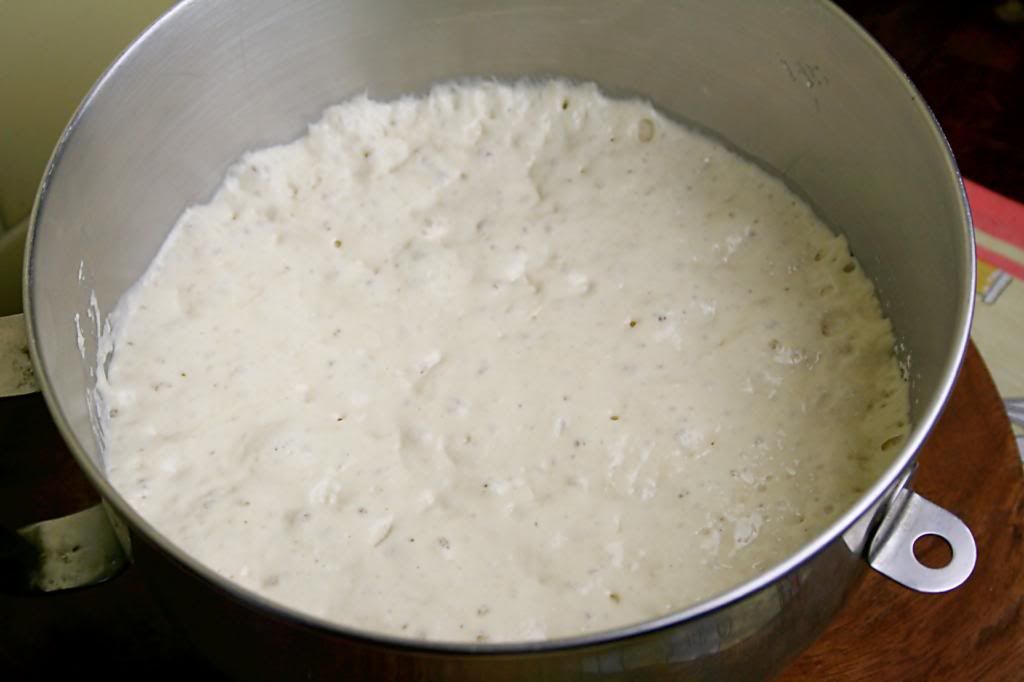
So even though my childhood would not deem me as a "bagel" person, I may have become one the moment I walked into my kitchen to see my "mother dough/sponge" almost overflowing out of the bowl and bubbling like crazy.  I ran around the house and made everyone watch the bubbling bread bowl.  However, no one was nearly as excited as I was.

Granted, they've seen a bread sponge before...but so have I...many, many times.  And it's still just as thrilling as the first time.

As you can imagine after my excitement over just the sponge, the whole process of forming the bagels, proofing them, doing a float test, boiling them, and then baking them was almost more than I could handle.  Especially the boiling part.  Boiling bread dough is just not something you do often...so of course it was a highlight.

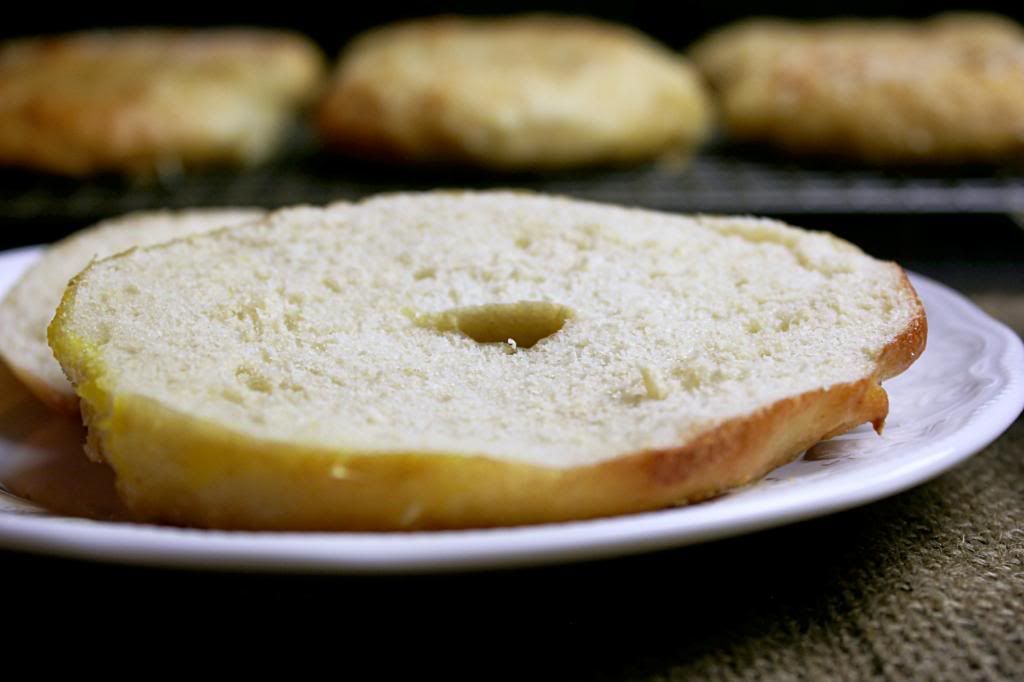
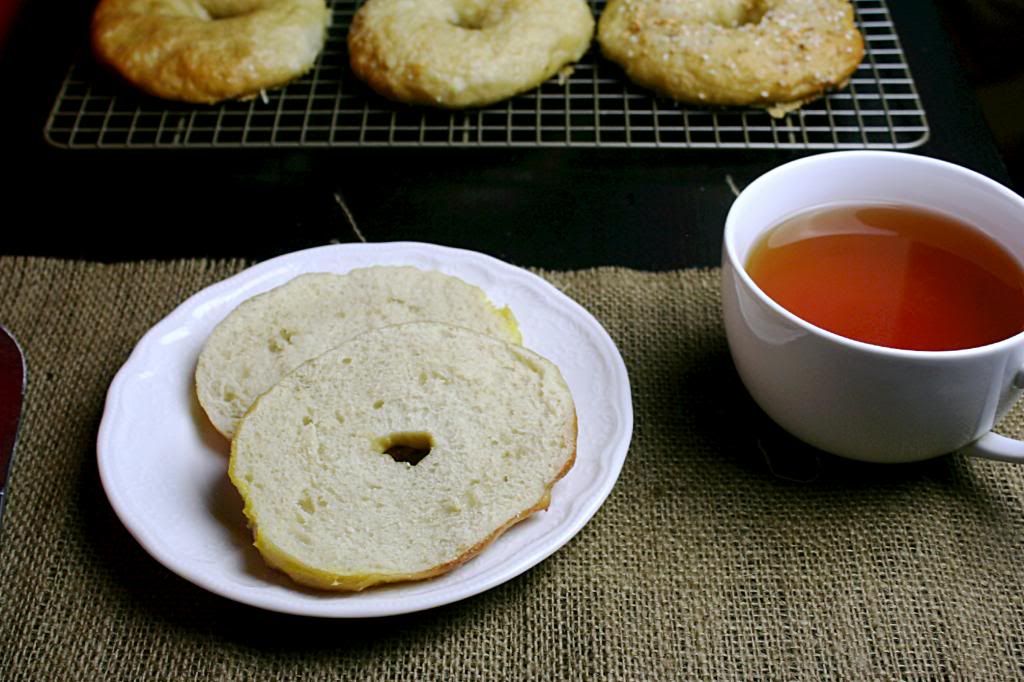
Unfortunately I can't give you a big comparison between these bagels and all of the other bagels I've had (but Smitten Kitchen can!).  But from all of the oooh's and aaah's and other expletives that rang in my ears while the herd was devouring the bagels straight off the hot pans, I'm going to go ahead and tell you that these are some of the best bagels ever.  They are the perfect combination of chewy on the outside and soft on the inside with neither being too much.  Needless to say...they blow store bought bagels out of the water.  But that was to be expected.

I know they take a while.  But oh goodness.  They're worth it.
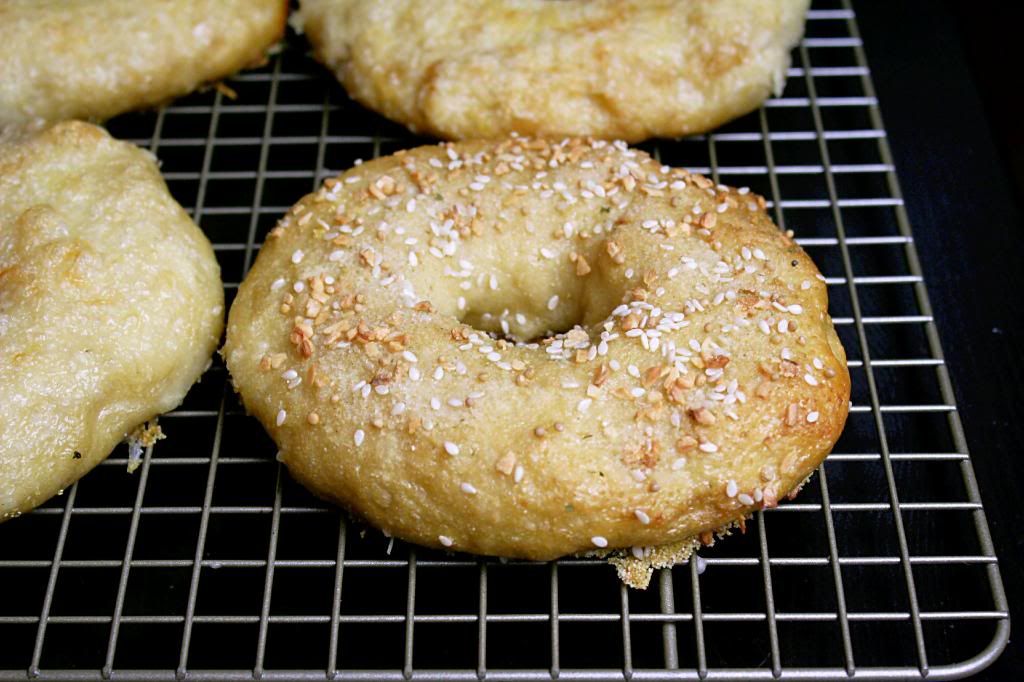


Adapted from Peter Reinhart's The Bread Baker's Apprentice via Smitten Kitchen

Makes: 12 standard or 24 miniature bagels
Prep Time: 3 hours 30 minutes + overnight refrigeration
Cook/Bake Time: 40 minutes (boiling + baking)
Total Time: 4 hours 10 minutes + overnight refrigeration

{Printable Recipe}

Ingredients:
for the sponge-
1 teaspoon instant yeast
4 cups unbleached bread flour
2 1/2 cups water, at room temperature

for the dough-
1/2 teaspoon instant yeast
3 3/4 cups unbleached bread flour
2 3/4 teaspoons salt
2 teaspoons malt powder OR 1 tablespoon dark or light malt syrup, honey, or brown sugar

to finish-
1 tablespoon baking soda
cornmeal for dusting
1 egg
1 tablespoon water
toppings (I did a combination of asiago, everything, and plain bagels.  For the everything bagels I used 2 teaspoons each of minced garlic, dehydrated onion, salt, mustard seeds, and sesame seeds.)

Directions:
  1. Day one: To make the sponge, stir the yeast into the flour in a large mixing bowl or the bowl of an electric mixer.  Add the water, stirring until it forms a smooth, sticky batter.  Cover the bowl with plastic wrap and leave at room temperature for approximately 2 hours, or until the mixture becomes very foamy and bubbly.  It should almost double in size and collapse when the bowl is tapped on the counter top.
  2. To make the dough, in the same mixing bowl, add the additional yeast to the sponge and stir.  Then add 3 cups of the bread flour, the salt, and malt powder (OR syrup, honey, or brown sugar).  Stir until the ingredients form a ball, slowly working in the remaining 3/4 cup bread flour to stiffen the dough.
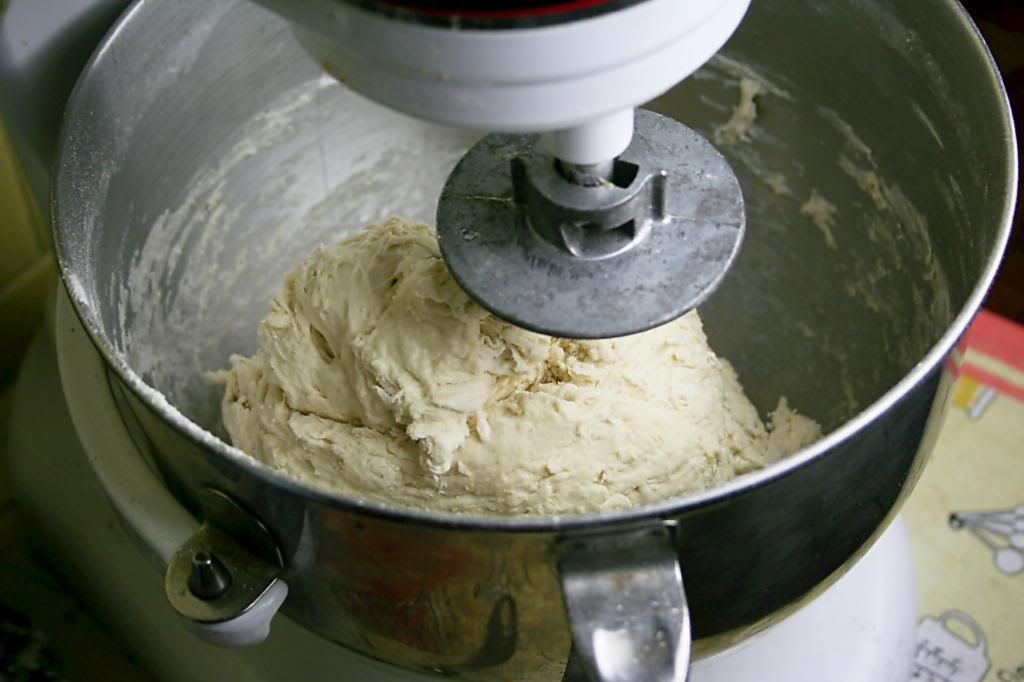
  3. If working by hand, transfer the dough to the counter and knead for at least 10 minutes.  If using an electric mixer, knead for about 6 minutes.  The dough should be firm but still pliable and smooth.  There should be no raw flour and all of the ingredients should be hydrated.  The dough should pass the windowpane test and register 71-77 degrees F.  If the dough seems too dry and rips, add a few drops of water and continue kneading.  If the dough seems tacky or sticky, add more flour to achieve the required stiffness.
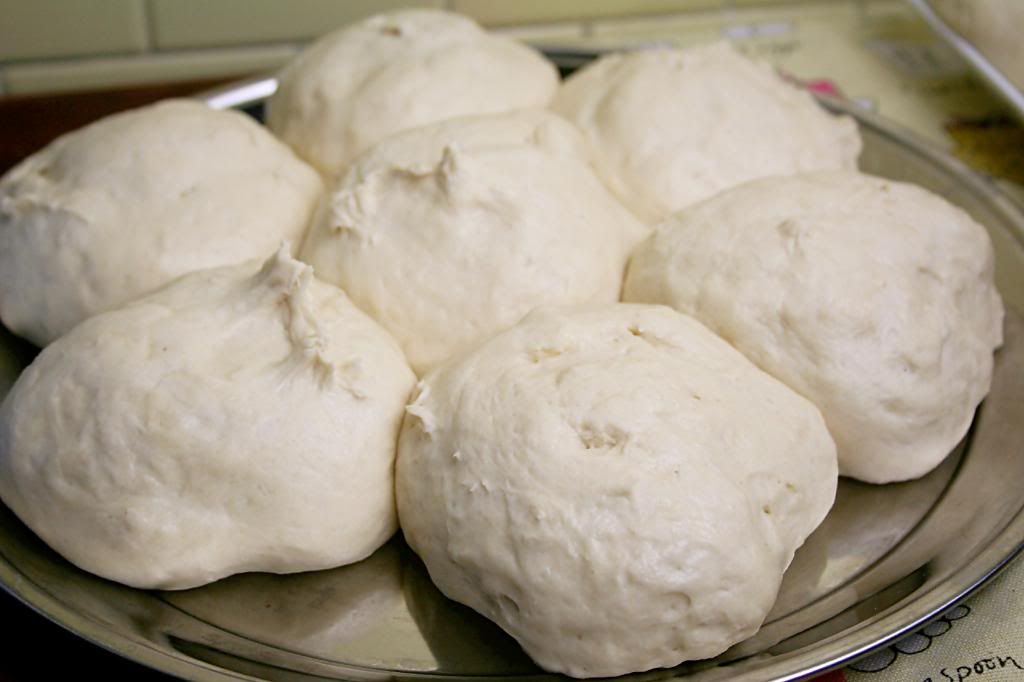
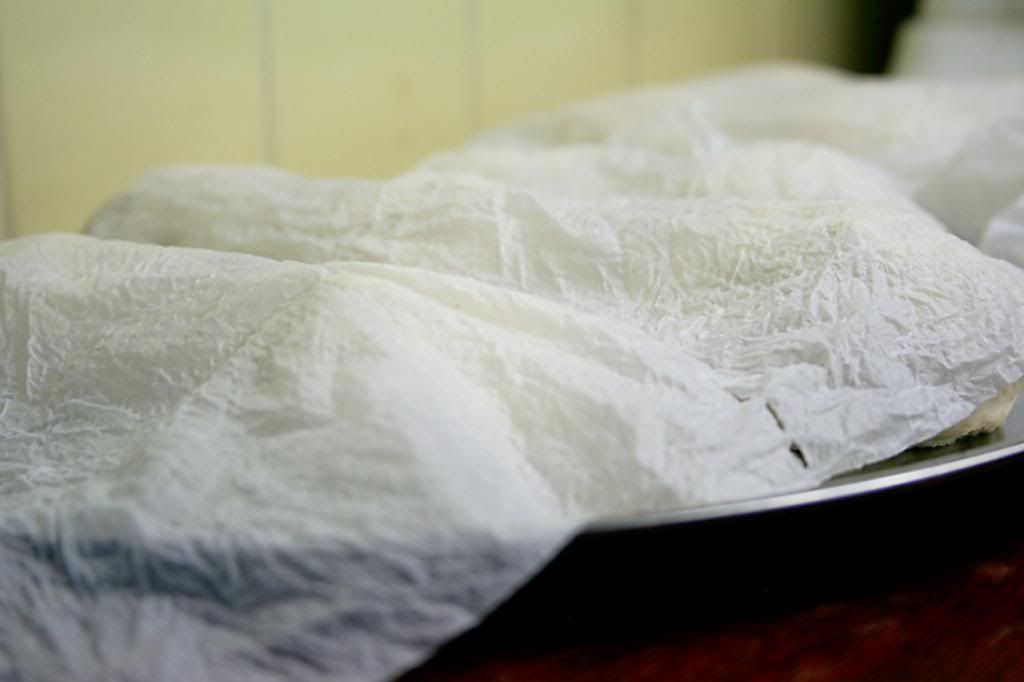
  4. Immediately divide the dough into 4.5 ounce pieces for standard bagels or 2.25 ounce pieces for miniature bagels.  Weigh the pieces if possible to ensure even baking in the oven.  Form the pieces into rolls and place on a baking sheet.  Cover the rolls with a damp towel and allow them to rest for approximately 20 minutes.
  5. Line 2 baking sheets with parchment and mist lightly with spray oil.  
  6. With your finger poke a hole in the very center of the ball.  Gently rotate your thumb around the inside of the hole to widen it to approximately 2 1/2 inches in diameter.  Be careful to keep the dough as evenly stretched as possible.
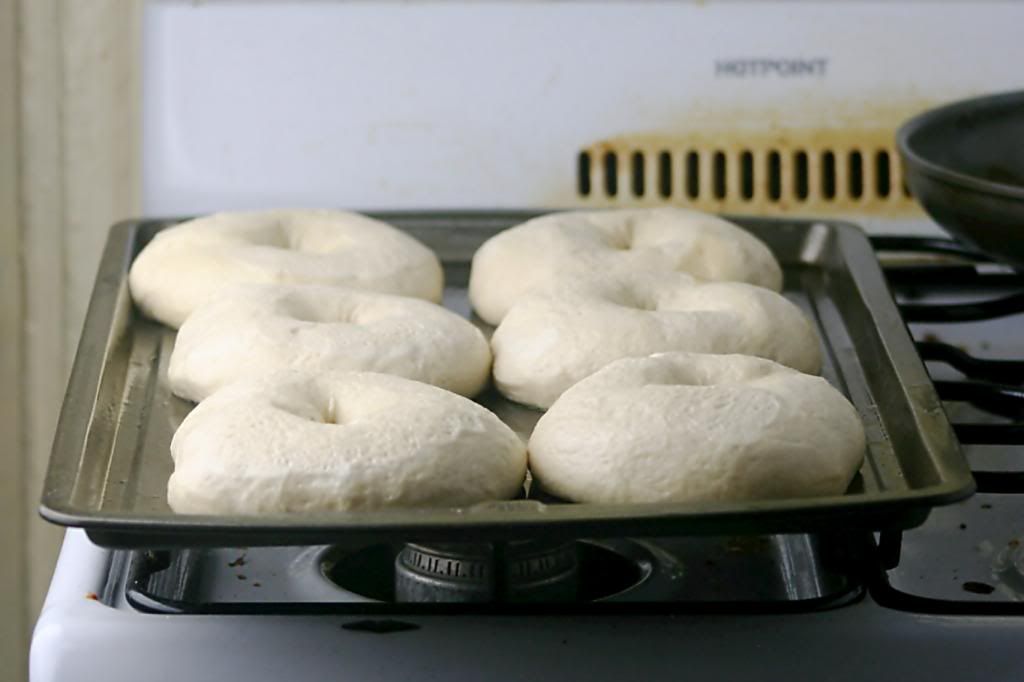
  7. Place each of the shaped pieces an inch apart on the pans and mist very lightly with the spray oil.  Cover loosely with plastic wrap and let sit at room temperature for another 20 minutes.
  8. After 20 minutes check to see if the bagels are ready to be retarded in the refrigerator by using the "float test".  Fill a small bowl with cool or room-temperature water and gently drop a bagel in the bowl.  If the bagel floats within 10 seconds of being dropped into the bowl immediately return the bagel to the pan, pat it dry, cover the pan, and place it in the refrigerator overnight.  If the bagel does not float return it to the pan and continue to proof the dough at room temperature, checking back every 10-20 minutes until a tester floats.
  9. Day two- preheat the oven to 500 degrees F with the two racks set in the middle of the oven.  In a small bowl whisk 1 egg and 1 tablespoon water for the egg wash and set aside.  Bring a large pot of water to a boil and then add the baking soda.  Have a slotted spoon or skimmer near by.
  10. Remove the bagels from the refrigerator and gently drop them into the water, boiling only as many as comfortably fit in the pot.  After 1-2 minutes (I did 1:30 but wouldn't have minded 2 minutes) flip the bagels over and boil for the same amount of time.  While the bagels are boiling, sprinkle the same parchment-lined sheet pans with cornmeal. 
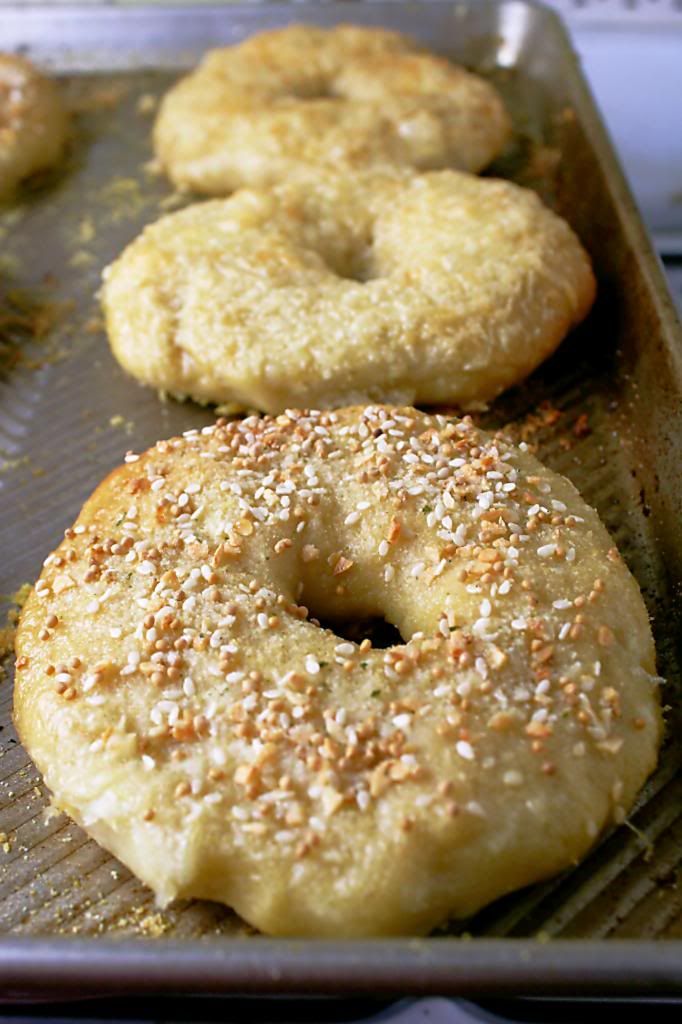
  11. As the bagels come out of the boiling water place them back on the cornmeal dusted baking sheets and brush with the egg wash before adding any additional toppings (like asiago or the "everything" mixture).
  12. When all the bagels have been boiled and properly "topped" place the pans on the 2 middle shelves in the oven and bake for approximately 5 minutes.  After 5 minutes rotate the pans, switching shelves and giving the pans a 180 degree rotation.  After the rotation, lower the oven setting to 450 degrees F and continue baking 8-10 minutes or until the bagels turn light golden brown.
  13. Remove the pans from the oven and let the bagels cool on a rack for at least 15 minutes before serving.










Wednesday, August 7, 2013

Orange Saffron Bread

I've decided it's time to start working on my horrible recipe A.D.D.

I'll make something, make the effort to take photos, upload them to my computer, even put them into their own file...and then all of a sudden I find myself browsing through entirely new and delicious recipes.  My attention quickly moves to making something new and the "old" recipe goes out the door.  Then, as you can imagine, the process repeats itself.  It's an unbelievably vicious cycle.

Besides the fact that these recipes deserve to make it out of their little files on my computer, I decided that now is the ideal time to start pulling things from the vault.  With a cross country move (we'll talk more about this later) only three weeks away my little apartment is taking a beating.  There are boxes starting to pile up due to some preliminary packing as well as all of the contents of my closet now being distributed throughout the apartment.

**MINOR RANT-My wonderful landlord decided to make the only closet in the apartment into a bathroom for the neighboring unit with one day's notice.  Such a sweetheart.**

Needless to say, cooking and photographing in this little apartment has just gotten that much harder.

But the silver lining is of course there.  Now these sweet little recipes get to present themselves to you! 

As I found this one I wanted to kick myself for not sharing before.  These delicious loaves of bread came from a cookbook that was given to me by the amazing woman that I work for after her and her husband's visit to Rancho La Puerta.  I salivated at first sight and have been making things from it on a regular basis ever since.  It's an unbelievable healthy and seasonal book that you wouldn't regret having on your shelves.

Ramble.  Ramble.  Ramble.

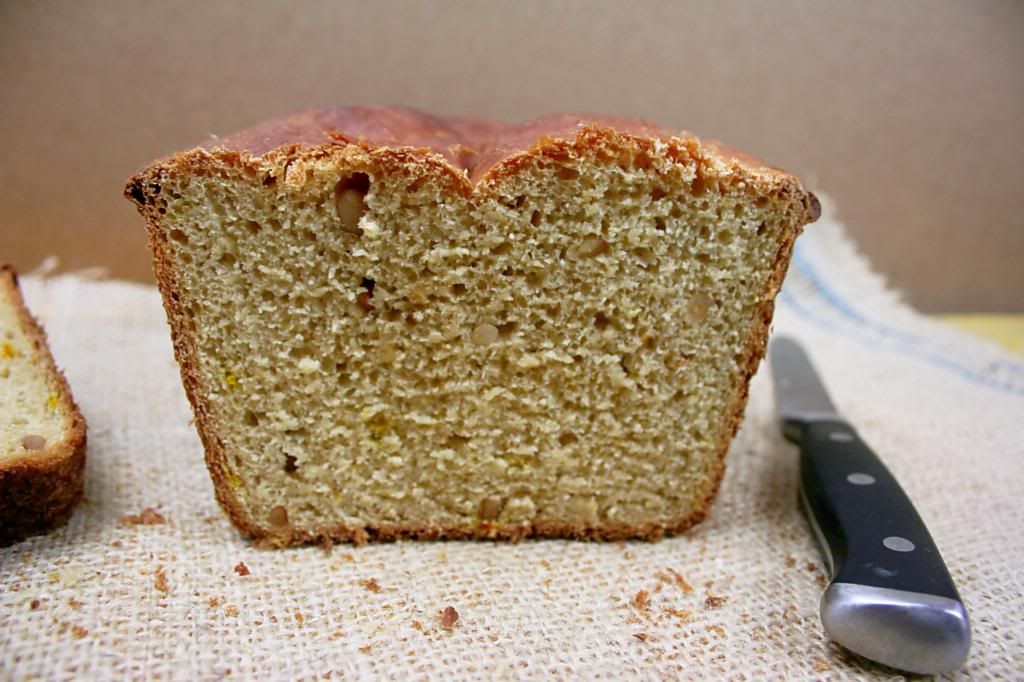
This bread is amazingly rich in flavor.  The orange and saffron are wonderful together and something I never would have thrown together on my own.  You need a piece of this.  Warm.  And slathered with butter.

So get to baking!


Adapted from the Rancho La Puerta Cookbook

Makes: 2 loaves
Prep Time: 20 minutes + 2 hours 40 minutes rise time
Bake Time: 1 hour
Total Time: 4 hours

{Printable Recipe}

Ingredients:
1 teaspoon Spanish saffron threads
4 cups warm water
2 tablespoons active dry yeast
1 cup agave syrup or maple syrup
zest of 2 oranges
1/2 cup (1 stick) unsalted butter, melted
1 tablespoon sea salt
4 cups whole-wheat flour
1 cup toasted pine nuts
4-5 cups unbleached all-purpose flour, plus more as needed

Directions:
  1. Soak the saffron threads in 1/2 cup of the water for 30 minutes.
  2. Combine the remaining 3 1/2 cups of water and the yeast.  Let stand until frothy, about 10 minutes.
  3. Stir the syrup, orange zest, saffron, melted butter, and salt into the yeast until thoroughly combined.  Add the wheat flour and mix until smooth.
  4. Stir in the pine nuts and most of the all-purpose flour, reserving 1 cup.  The dough will be a little sticky.  Flour the countertop with some of the remaining flour and knead the dough until it is smooth and elastic, about 5 minutes, adding flour to the surface as needed to make the dough more manageable.  You may not use all the flour, or you may need a little more. The final dough should feel moist and a little tacky, but not sticky or wet.
  5. Place the dough in a clean, lightly oiled bowl.  Turn over once to coat and cover with a barely damp tea towel.  Let the dough rise in a warm, draft-free place until it has doubled in size, about 2 hours.
  6. Punch down the dough.  Divide into 2 equal portions.  Spread or roll each portion into a rectangle and pinch the edges together.
  7. Place each loaf in an oiled loaf pan.  Cover and let rise in a warm, draft-frea place until the loaves have doubled in size, about 40 minutes.
  8. Bake in a preheated 375° oven for 1 hour, or until the tops are browned and the loaves sound hollow when tapped.  Cool completely on a rack before slicing.


Thursday, July 11, 2013

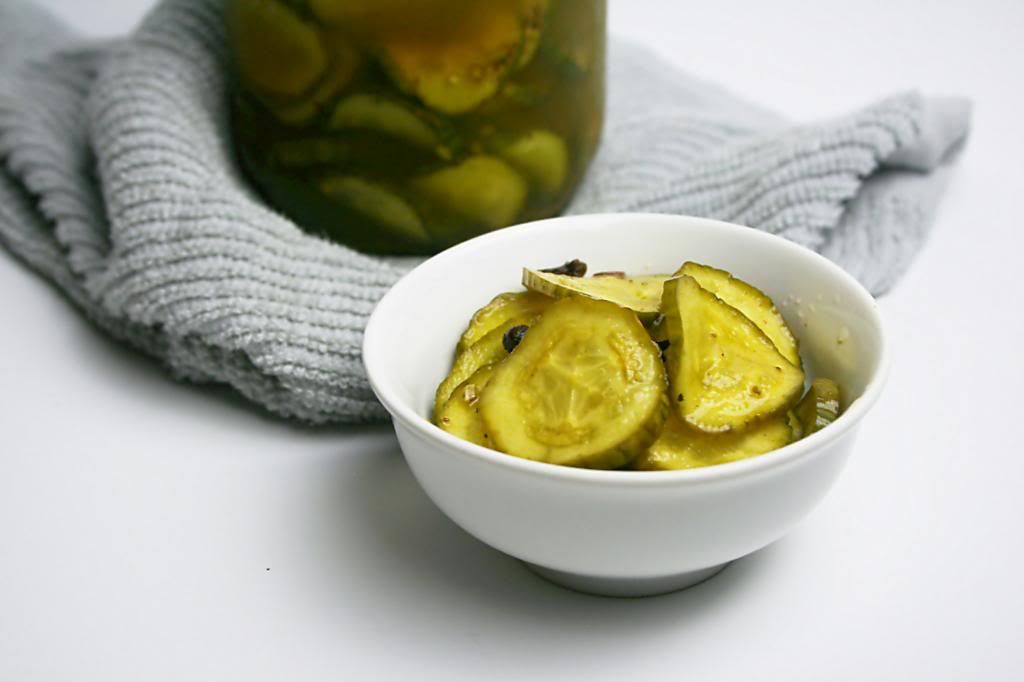
Homemade Pickles

I've already told you about the over consumption of cheese-hotdogs and macaroni and cheese by my dad and I during our summers at the lake.  But what I didn't tell you is that between those meals...we ate a significant amount of peanuts, green olives, and pickles.

Anyone in my family will vouch for me.  These are a few of my dad's favorite things.  And guess what.  They've turned into some of my favorite things. 

Or at least the green olives and pickles. 

But this wasn't just a lake thing.  On nights that no one was really up for dinner, mom and I would head to the kitchen to prepare the "Bell" cheese and pickle plate of deliciousness.  It's contents always included green olives, pickles (both sweet and dill), cheese, crackers, baby corn, some sort of fruit, and any other random thing we had on hand.  It's kind of like the Missouri version of an antipasti plate.  And I love it.

While I love all of the above things, the love for pickles is pretty deep.  Both sides of the family did some pretty mean pickling back in the day.  And I have sneakily gotten my hands on several of those recipes.  They're beautifully handwritten and just waiting to be used.

But I haven't gotten to them quite yet. 

I went for these pickles in the Flour, Too cookbook A) Because I love it. B) Because I trust everything Joanne Chang writes. C) Because there is no "canning" involved. D) Because simplicity is wonderful.

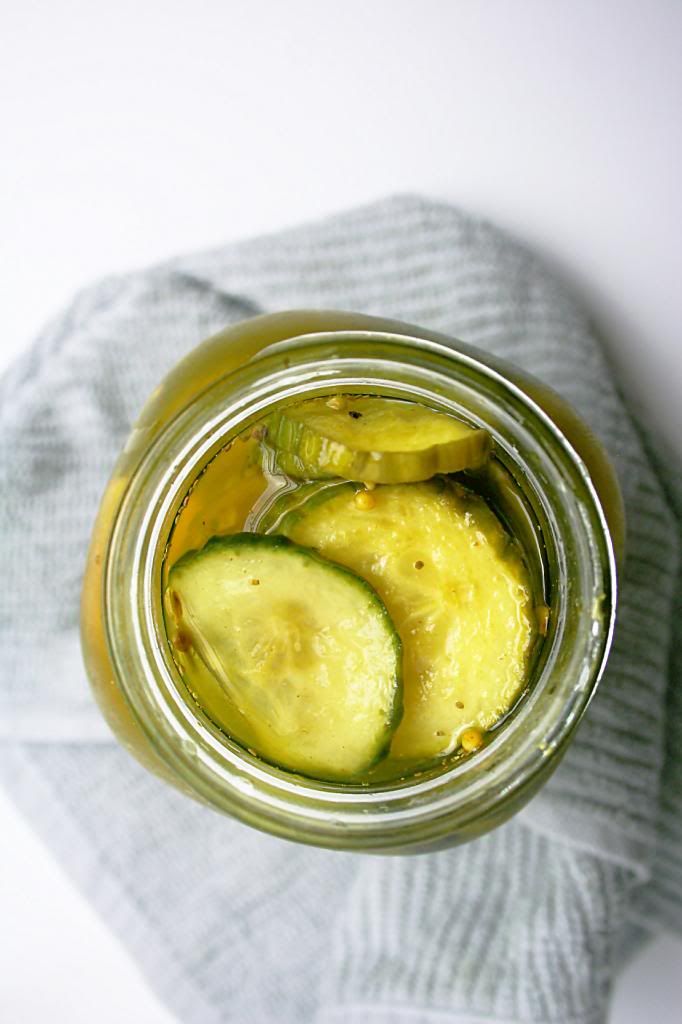
I mean come on.  Have you ever wanted to make pickles but didn't really want to go through the whole canning process?  Of course you have.  Especially if they produce pickles like these.

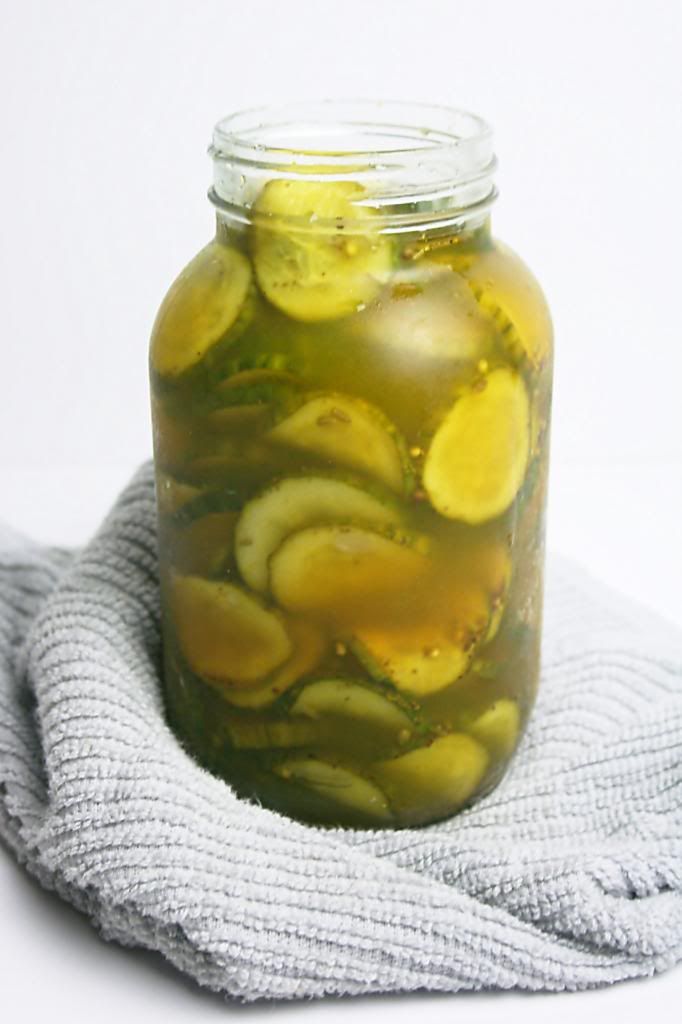
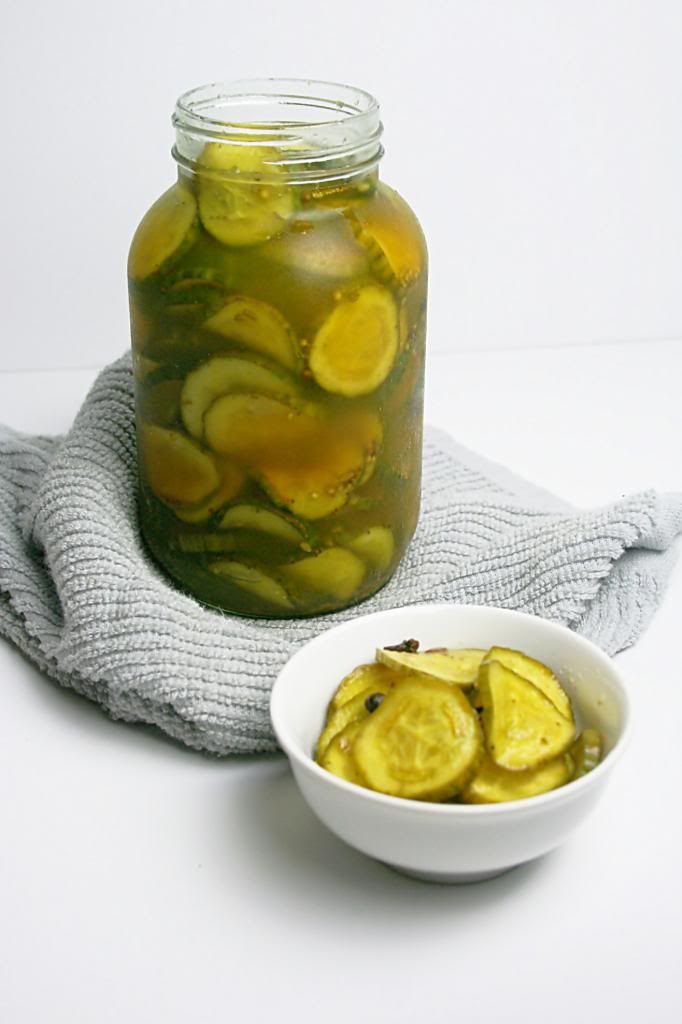
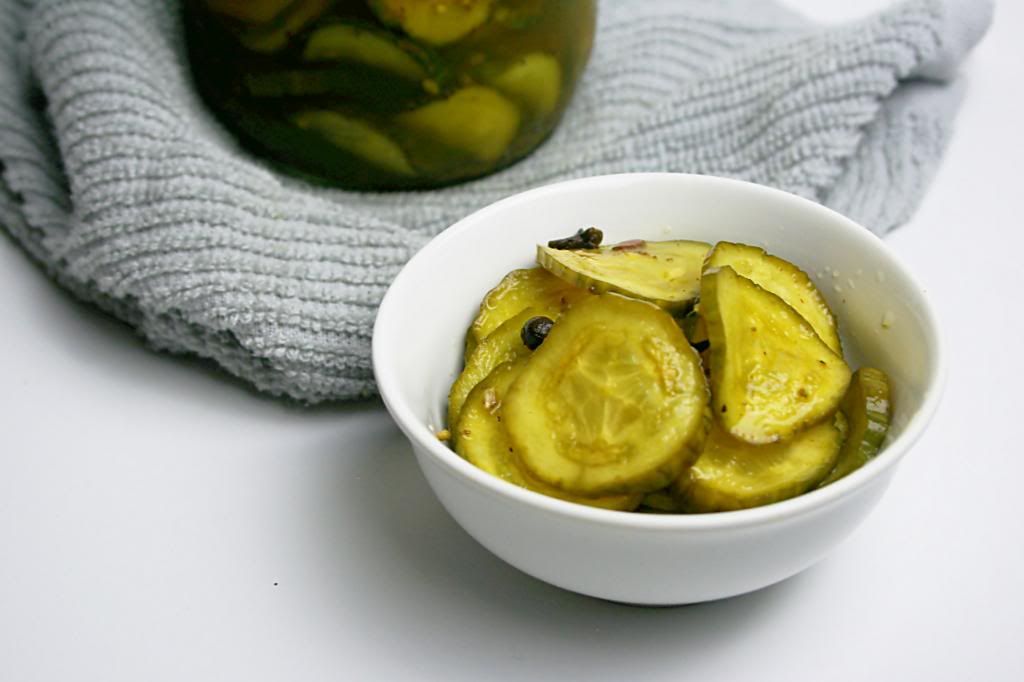
At first they were a little heavy on the fennel/black licorice taste but that died down significantly as they chilled.  I was also a little worried that there were far too many cucumber slices for the amount of brine.  But don't worry about this either!  Just keep pushing them into the brine and all will workout.

They are heavenly.  And simple.  It's summer.  You need these.


Adapted from Flour, Too Cookbook

Makes: 1 1/2 Quarts
Prep Time:
3 hours 30 minutes
Cooling Time: 8 hours
Total Time: 11 hours 30 minutes

{Printable Recipe}

Ingredients:
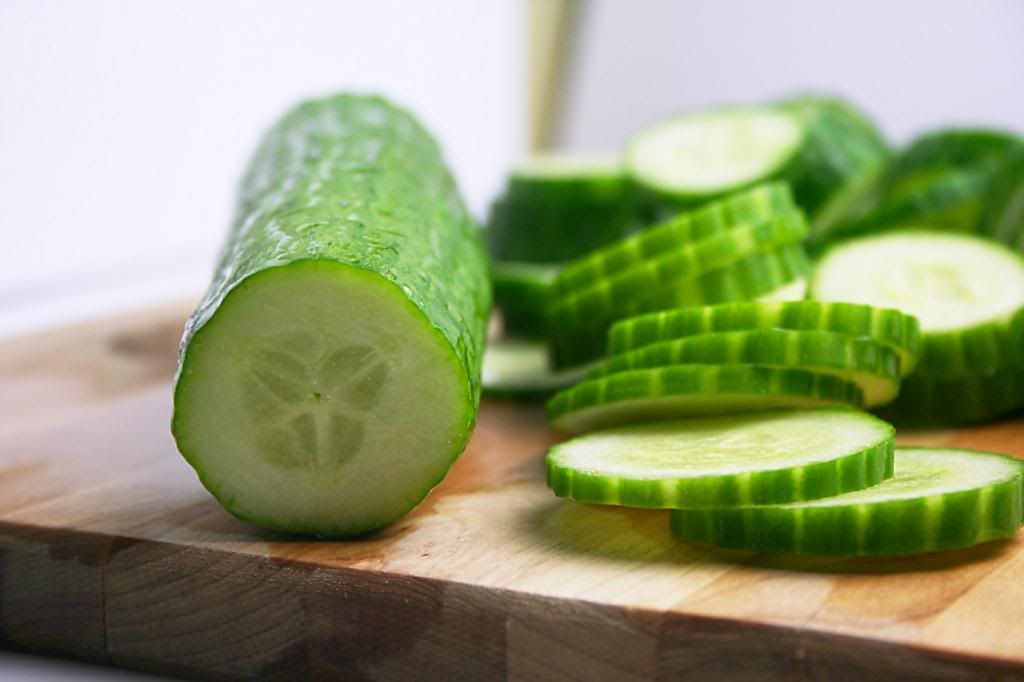
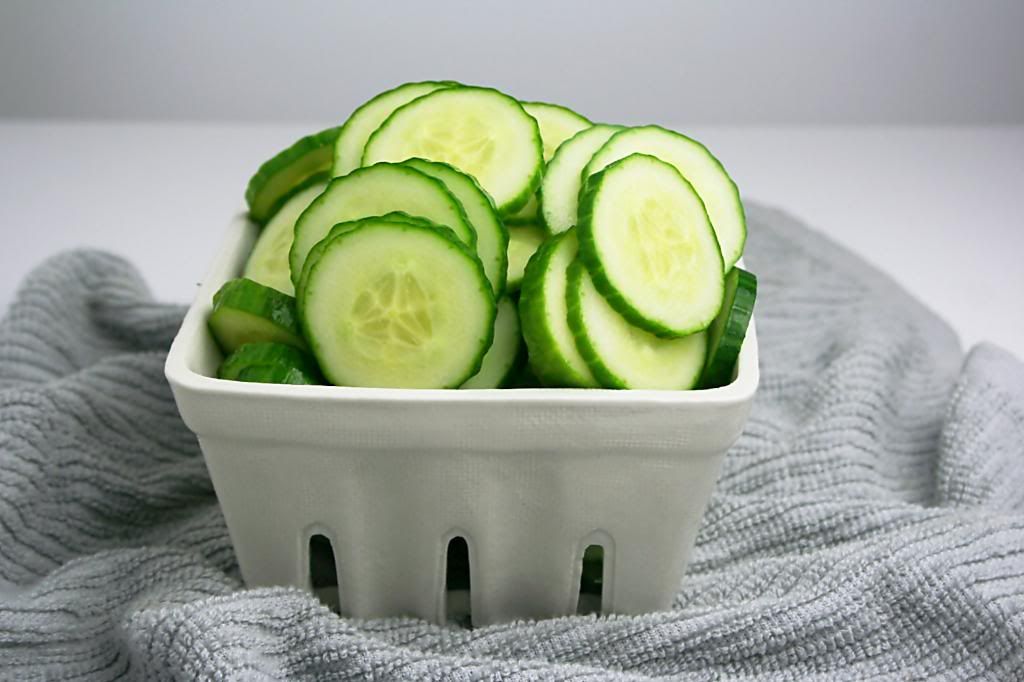
4 English Cucumbers, cut crosswise into rounds 1/4 inch thick
1 1/2 cups granulated sugar
1 1/2 cups Champagne vinegar
2 tablespoons kosher salt
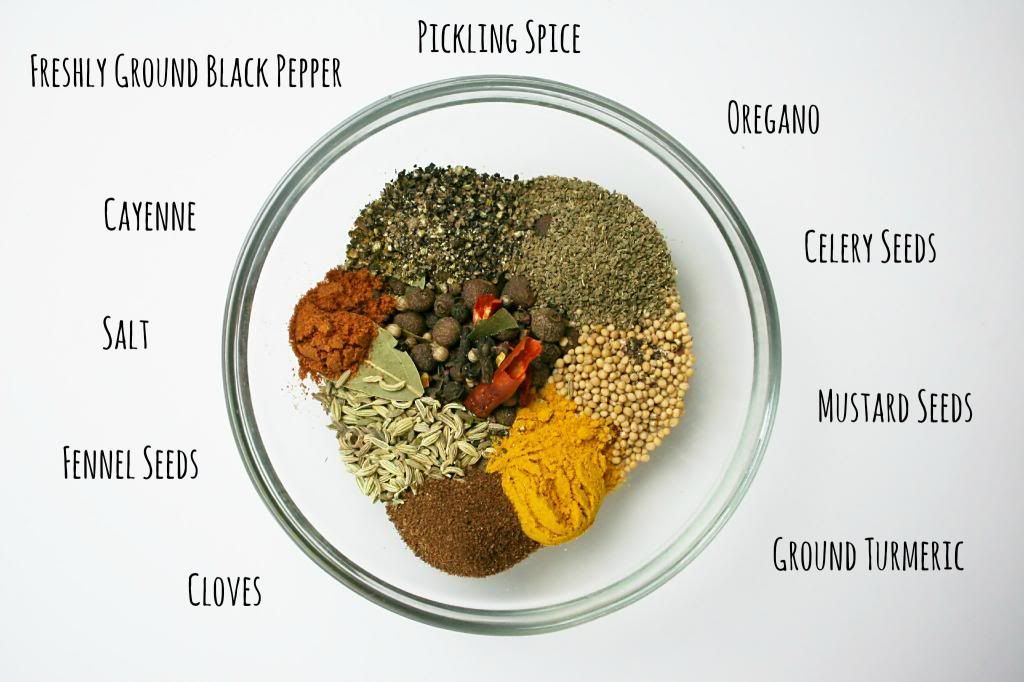
4 teaspoons pickling spice
1 teaspoon mustard seeds
1 teaspoon celery seeds
1 teaspoon fennel seeds
1 teaspoon ground turmeric
1 teaspoon freshly ground black pepper
1/2 teaspoon ground cloves
1/2 teaspoon cayenne

Directions:

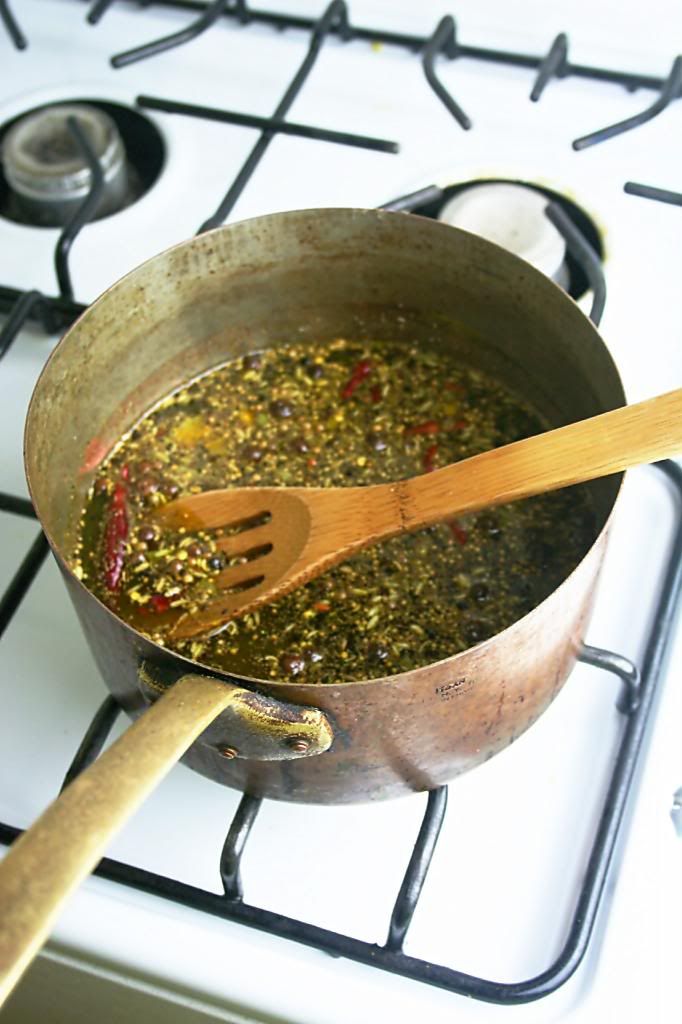
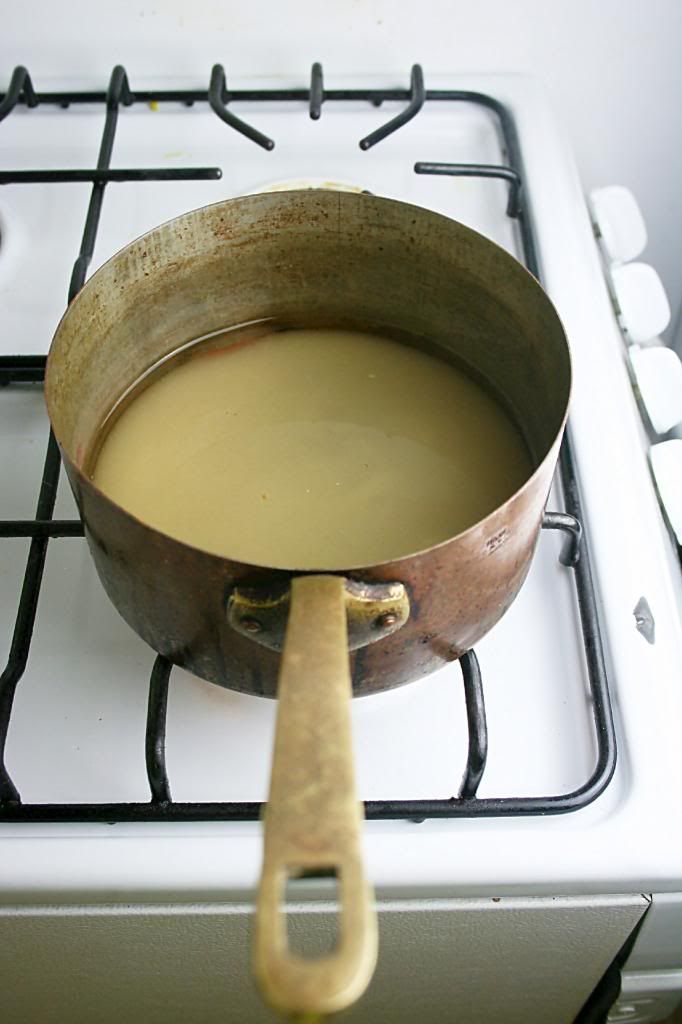
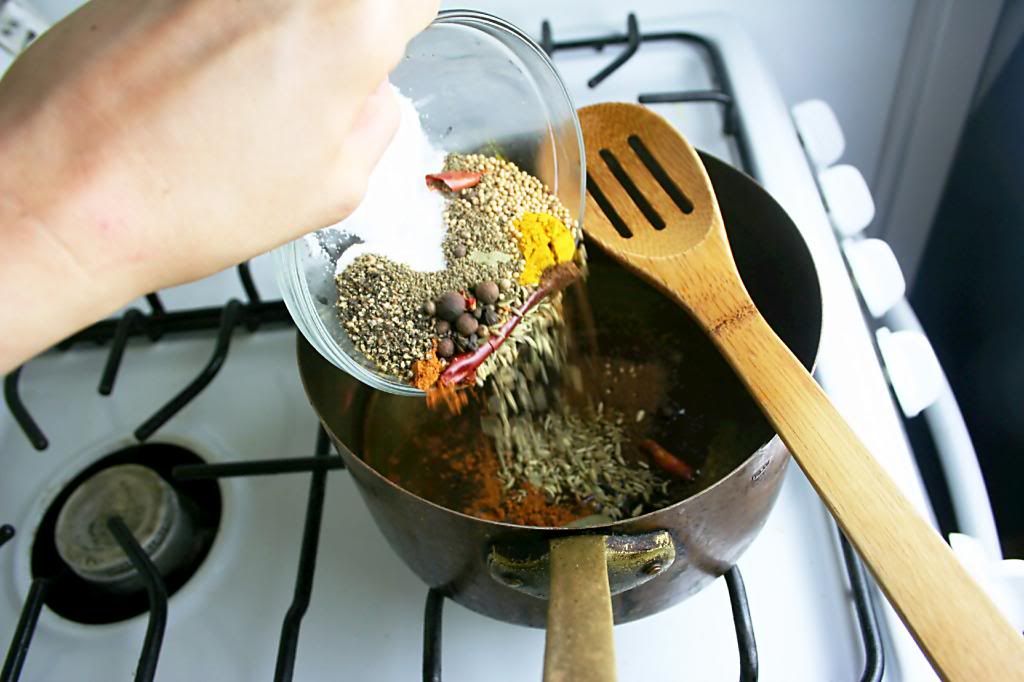
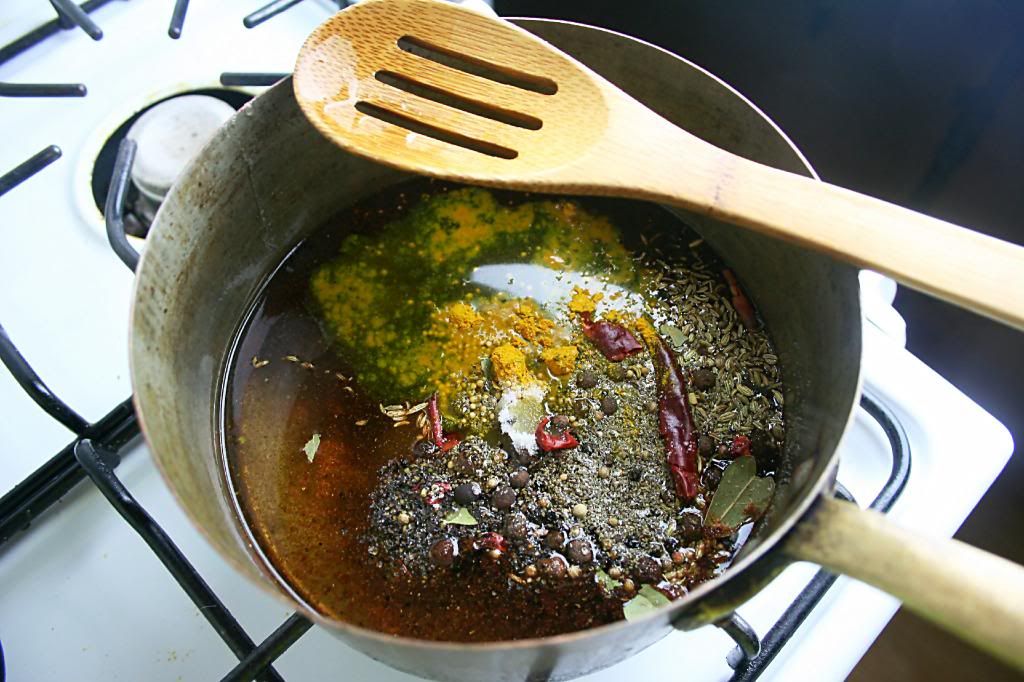
  1. Put the cucumber rounds in a large container with a lid.  In a medium saucepan, combine the sugar and vinegar.  Bring to a boil over high heat, and boil until the sugar dissolves.  Remove the pan from the heat, add the salt, pickling spice, mustard seeds, celery seeds, fennel seeds, turmeric, pepper, cloves, and cayenne.  Pour the brine over the cucumbers and set aside to cool at room temperature for 2-3 hours.
  2. When pickles have cooled to room temperature, cover and refrigerate them.  The pickles are ready to serve after they have chilled for at least 8 hours.  They may be stored in an airtight container in the refrigerator for up to 3 weeks.


Friday, June 7, 2013

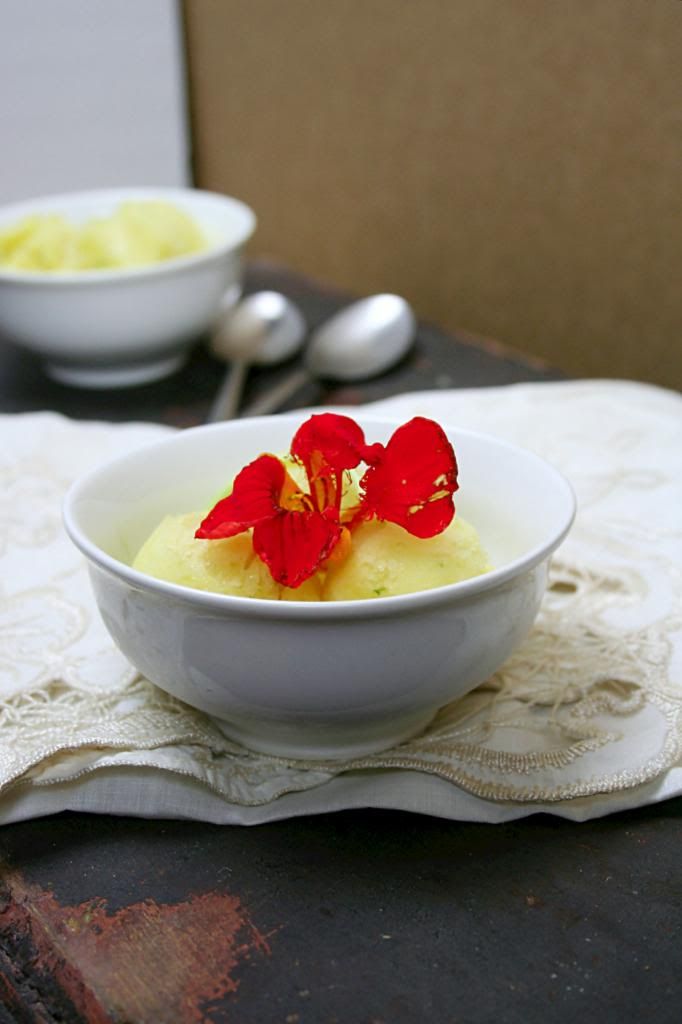
Mango and Candied Ginger Sorbet

Oh come on.

You didn't actually think I was going to leave for three weeks without doing another blog post did you?  Oh...you think that sounds like a typical move of mine?  Well.  You're right.  But not this time!

It's one of those mornings that I totally have my priorities in line.  I should be packing and getting everything ready for the trip but instead I'm sitting in the leaving room, listening to the storm outside, and working on blog posts.  I'm going to be freaking out in a couple of hours but it's totally worth it.  There's nothing like blogging on rainy mornings.


A rainy and somewhat cold morning doesn't seem like the ideal time to be posting about a fruity summer sorbet.  However, I feel that sorbet is ideal at all times and therefore negates the whole issue.

I decided to go with mango in this recipe because I loved the idea of mango and ginger together.  But it would be divine with basically any other ripe fruit.  I say head to your garden, farmers market, or local grocery store and scope out the best looking fruit around.  If it's ripe and looks delicious you're sorbet will probably be even more delicious.  And if you come up with mind blowing flavor combinations I would love to hear about them!

It tastes like a treat, it looks like a treat, and it's super healthy.  What more can you ask for?  Go make some sorbet!

PS- I'll try to be as diligent as possible about posting while I'm on the road for the next three weeks!  I definitely have some stored up recipes and some guest bloggers to share so keep your eyes peeled!


Adapted from Cooking with the Seasons at Rancho La Puerta 

Makes: 6 servings
Prep Time: 2 hours in the freezer + 10 minutes preparation
Cook Time: None!
Total Time: 2 hours 10 minutes

{Printable Recipe}

Ingredients:
1 1/2 bananas (about 1 cup), chopped into 1-inch cubes
2 cups ripe mango (or other fruit), peeled and cut into 1-inch pieces
1/2 cup fresh orange juice
2 tablespoons fresh lime juice (about 1 lime)
zest of 1 lime
2-3 tablespoons minced candied ginger, or more to taste
edible flower to garnish (optional)

Directions:
  1. Freeze fruit cubes on a sheet pan for several hours until they are solid.  Remove from freezer and let stand about 5 minutes.
  2. Place the fruit in the bowl of a food processor with the orange and lime juice, the lime zest, and ginger.  Puree until creamy.
  3. Add ginger, as needed, to taste.  Serve in chilled sorbet dishes, martini glasses, or bowls.  Garnish each serving with a flower or two.


Wednesday, May 29, 2013

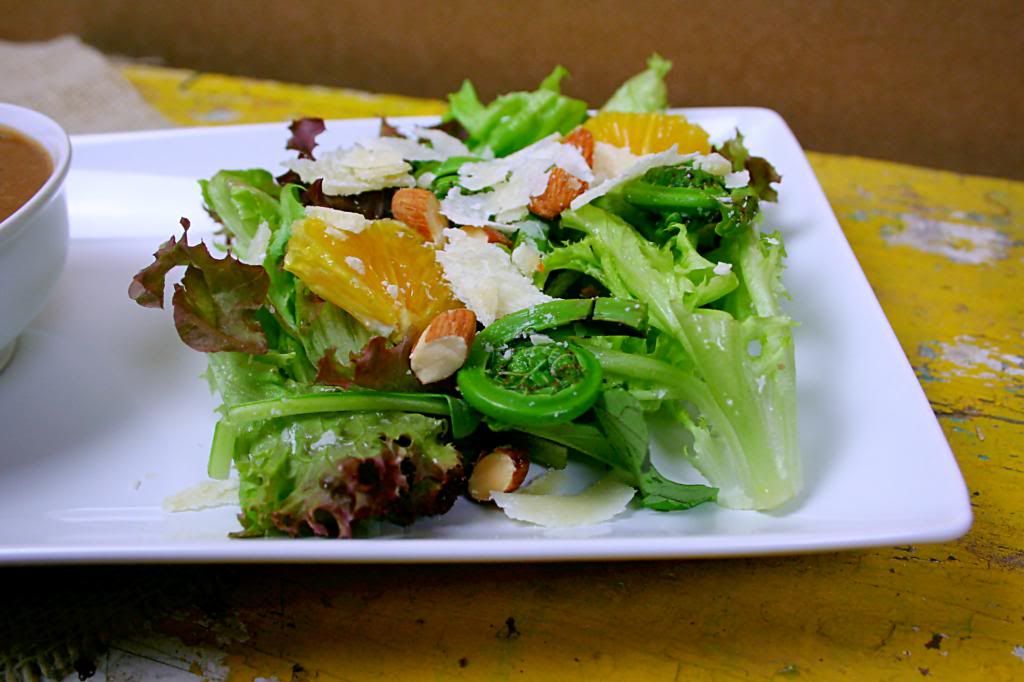
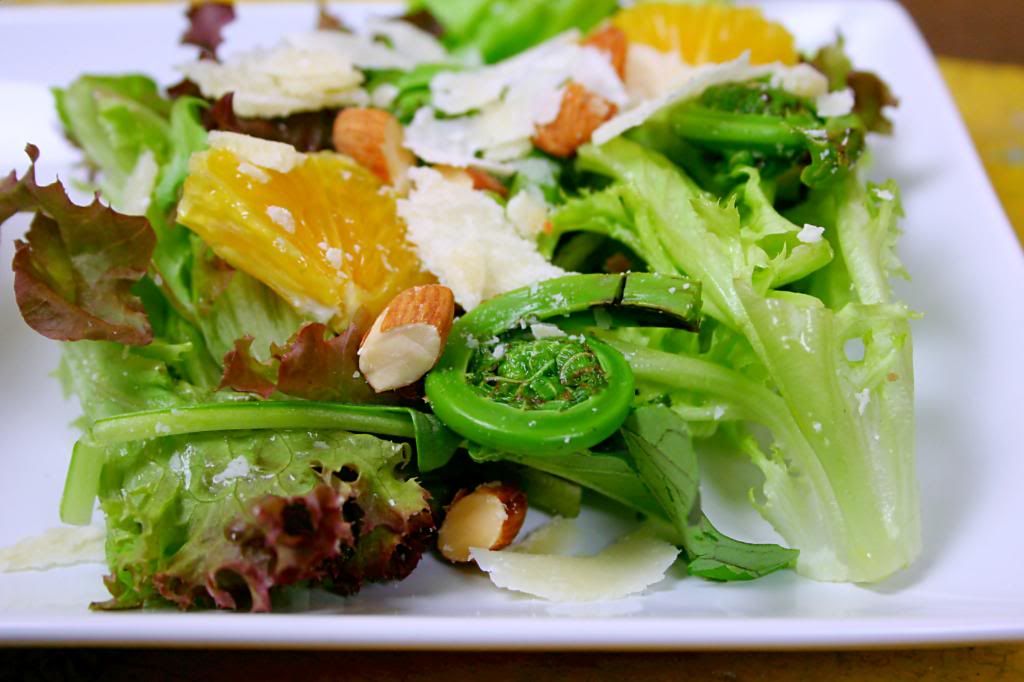
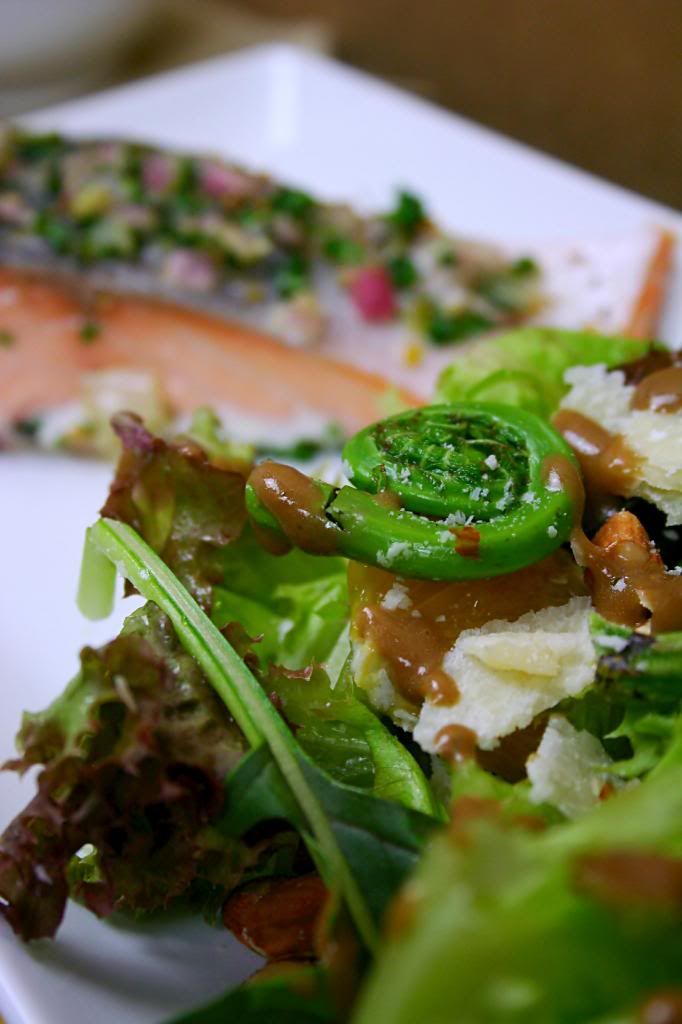
Spring Fiddlehead Salad

All too often I gather up every vegetable in my refrigerator, cut them up, and throw them on top of some lettuce.

A literal "everything but the kitchen sink" type of salad.

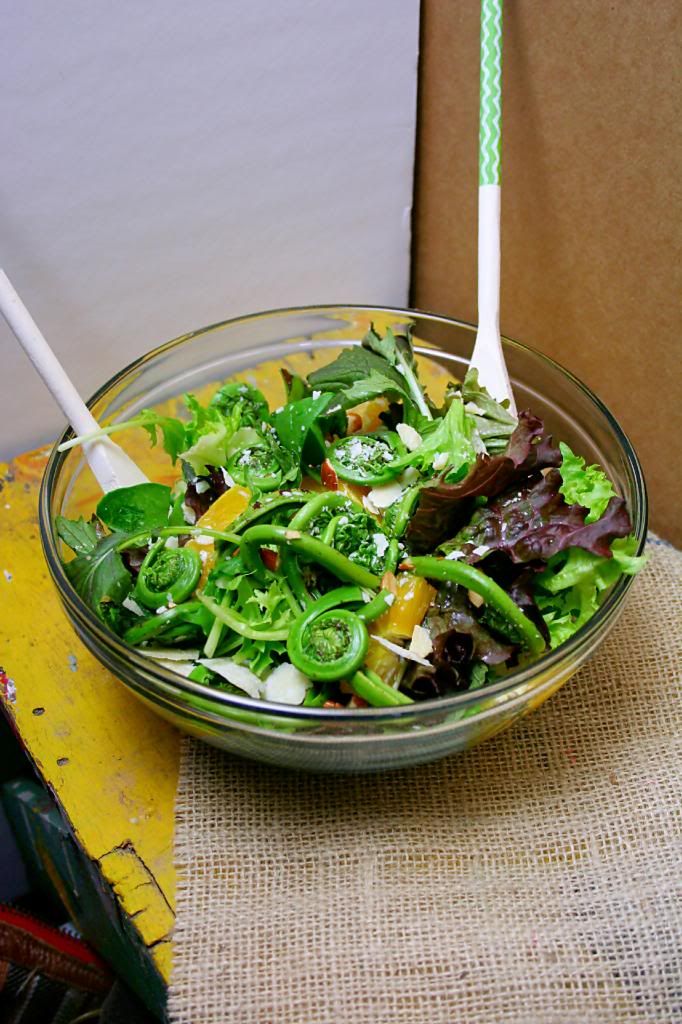
Now, I'm not complaining.  Nor is a vegetable loaded salad a bad thing.  However, I forget about the delicious simplicity that comes out of just a few ingredients and a delicious dressing.  And this was the salad that reminded me of that whole "simplicity is key" thing. 

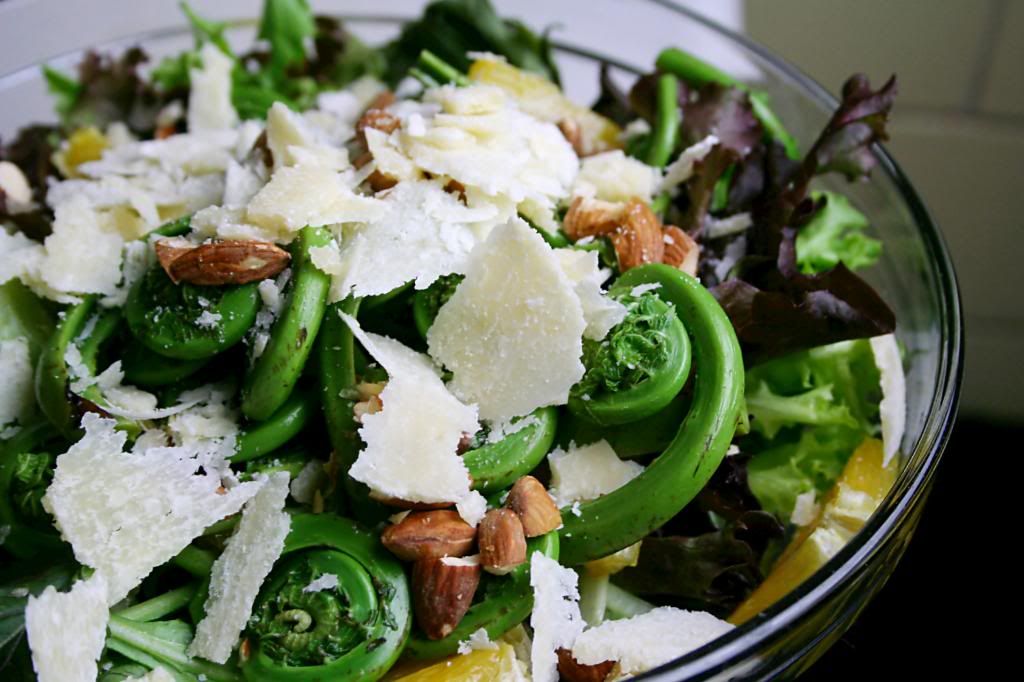
A vegetable, a fruit, a nut, and some dairy.  Seriously.  Could it get any more simple?

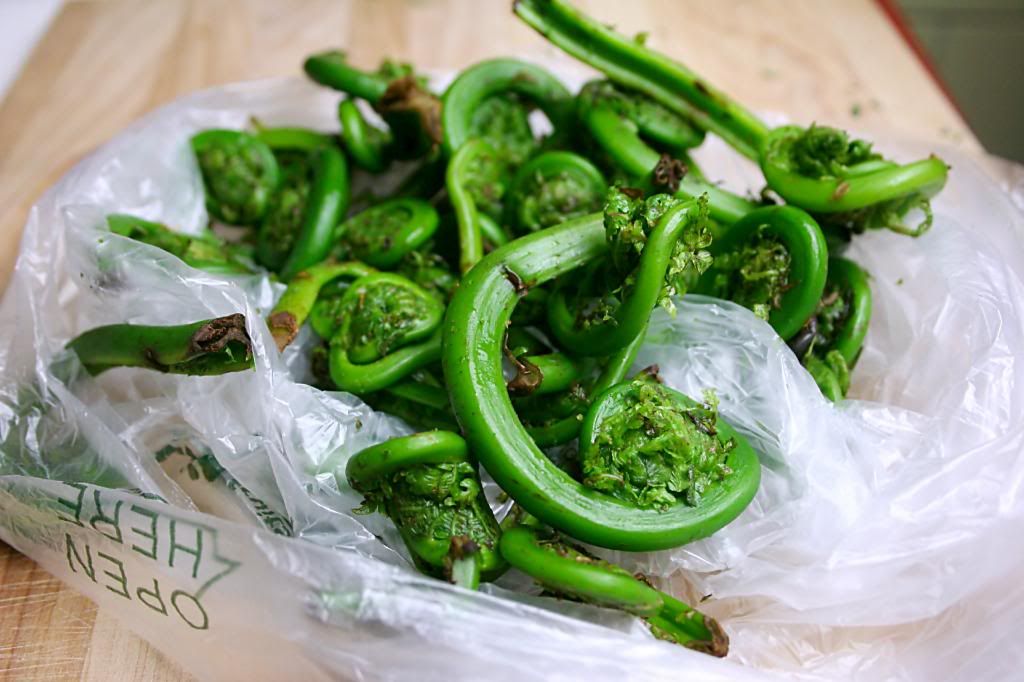
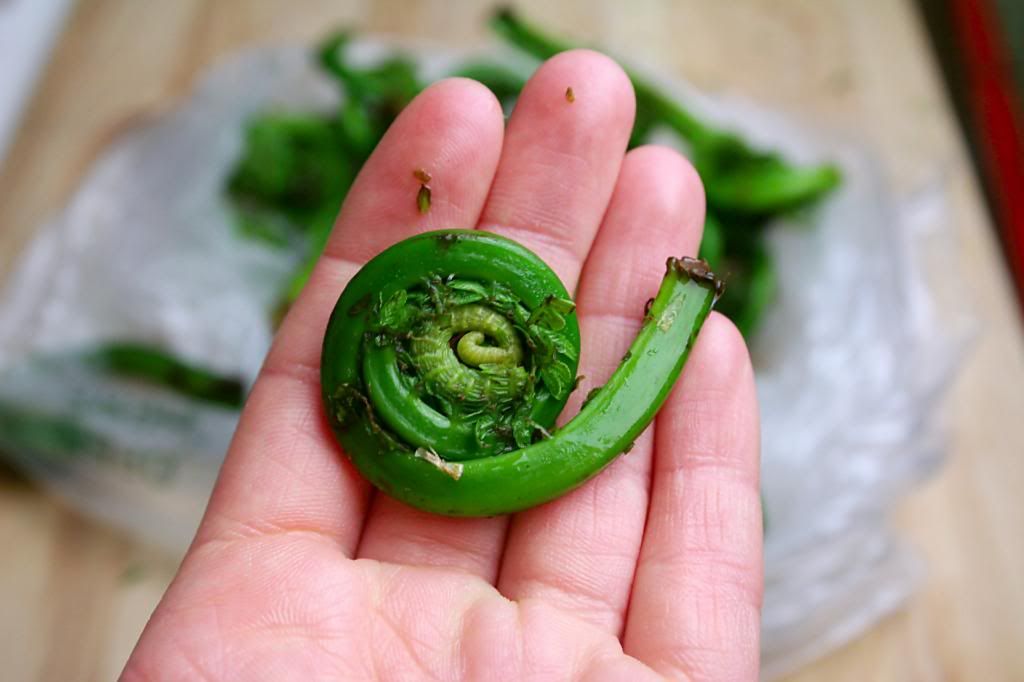
Before I let you in on the whole simplicity thing, we obviously need to chat about the whole fiddlehead fern thing.  I first had fiddleheads at Journeyman, an unbelievable little restaurant in Somerville (that I've probably already told you about).  They were served with a spruce panna cotta, morel mushrooms, and a spruce crumble.  Easy to say I was swooning as soon as the plate hit the table. 

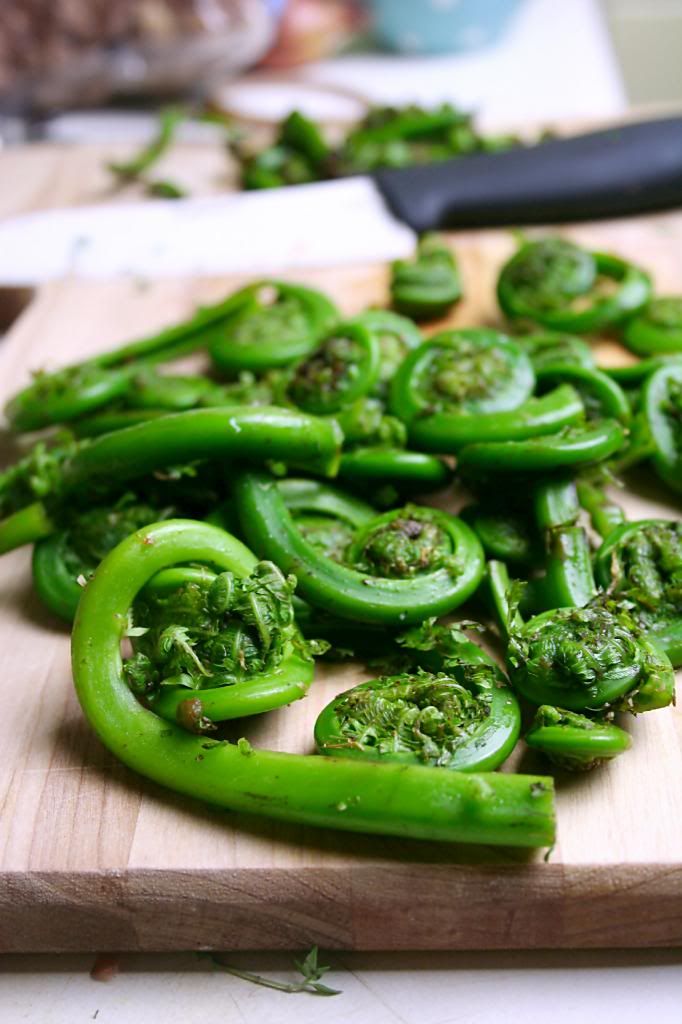
They have this unbelievably earthy flavor (but nothing like eating dirt) that I can't compare to anything else, they have the perfect "crunch", and let's be honest...they are easily the most fun looking vegetable.

So go grab some fiddleheads.  They are a little hard to find so check your local farmers market or a local grocery store with a great produce section.  Don't wait though.  They have a short season and won't be around long!


Adapted from Roost

Makes: 4 servings
Prep Time: 10 minutes
Cook Time: 5 minutes
Total Time: 15 minutes

{Printable Recipe}

Ingredients
1 pint fresh fiddlehead ferns
spring mix lettuce
1 large orange, cut into chunks
handful of toasted almonds, roughly chopped
parmesan reggiano

for the dressing-
1 medium shallot, finely minced
1/3 cup balsamic vinegar
1 tsp fresh thyme, chopped
3/4 cup extra virgin olive oil
salt and pepper to taste

Directions
  1. Bring a pot of generously salted water to a boil.  Trim the stem off of the fiddleheads and wash thoroughly, gently rubbing them between your fingers.  Drain well.  Blanch fiddleheads until tender, about 5 minutes.  Pour into a strainer and run under ice cold water to halt the cooking.  Drain again and chill until ready to serve.
  2. To make the dressing, combine the first four ingredients in a blender and pulse several times.  Slowly pour in the olive oil while on low speed.  Taste and adjust seasoning.
  3. Toss the lettuce, orange, almonds, and fiddleheads in a large bowl.  Top with parmesan and toss with dressing.


Wednesday, May 15, 2013

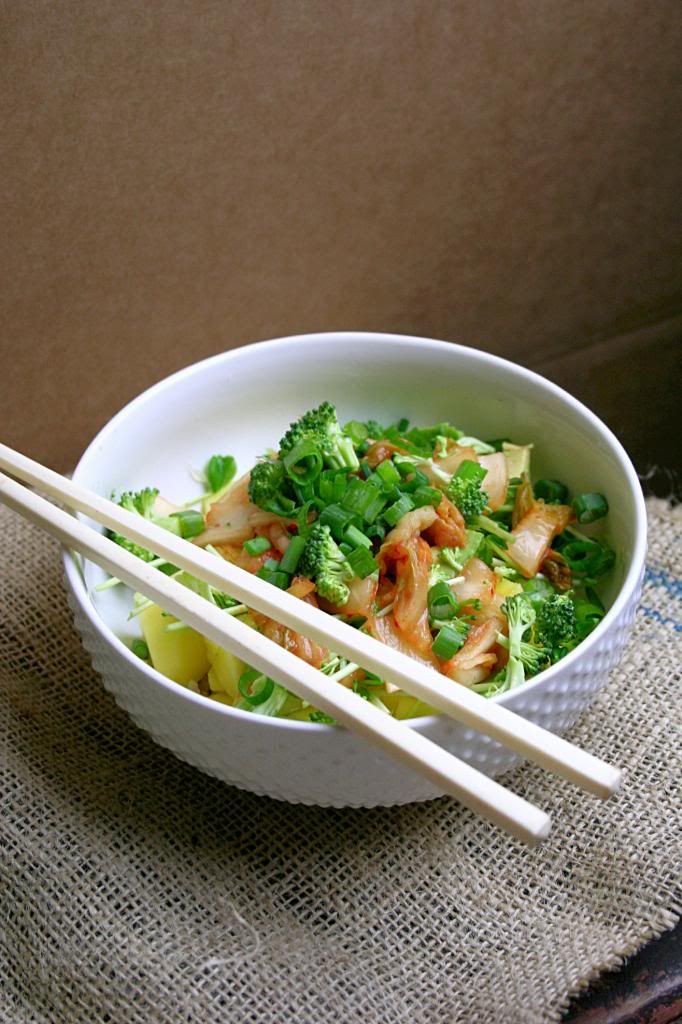
Spicy Mango and Rice Bowl

I just spent 30 minutes going back and forth on which post to put out today.  The indecisiveness thing is paralyzing.

But really it's a good situation for all of us.  It means that I have so many delicious recipes to share with you that picking just one is almost beyond my capabilities.

Luckily, I looked at the clock and realized I was wasting precious time and decided to just go for this one.  Why not right?


We've talked about my love for food "bowls" on multiple occasions.

Food bowls are:
  1. unbelievably simple
  2. the perfect vehicle for testing out new flavor combinations
  3. quite healthy
  4. capable of being edible in less than 15 minutes
  5. adaptable to any mood
I could obviously give far more than five reasons...but people get bored at six.  Or start thinking your crazy.  And I don't need either of those.

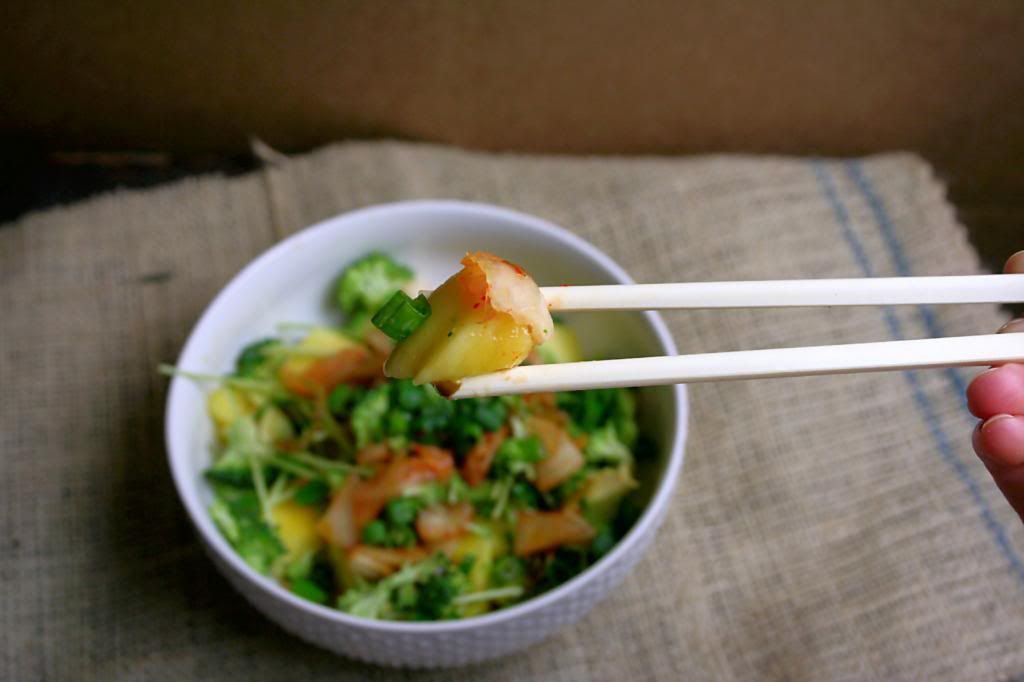
This dish isn't too far off from my typical go-to bowl.  But there are three ingredients that absolutely seal the deal: mango, kimchi, and sriracha.  These must not be left out.  I repeat.  Must NOT be left out.  I know I said bowls are adaptable, but in this situation I need you to include those things.  At least the first time.  And then if you hate it well...you're crazy.  But you can leave them out the next time.

So go.  Go make yourself a big bowl of deliciousness.


Adapted from Betacyanin

Makes: 1 serving
Prep Time: 15 minutes
Cook Time:  None!
Total Time: 15 minutes

{Printable Recipe}

Ingredients:
1/2 cup cooked rice
1/2 mango, diced
1/2 avocado, diced
handful pea shoots
1/4 cup broccoli, roughly chopped
2 tablespoons kimchi
2 tablespoons green onion, thinly sliced
juice of 1/2 lime
soy sauce and sriracha to taste (optional)

Directions:
Heat rice if desired and put on a plate or bowl.  Top with mango, avocado, pea shoots, broccoli, kimchi, and green onions.  Squeeze the lime juice all over and season with soy and sriracha if desired.


Related Posts Plugin for WordPress, Blogger...